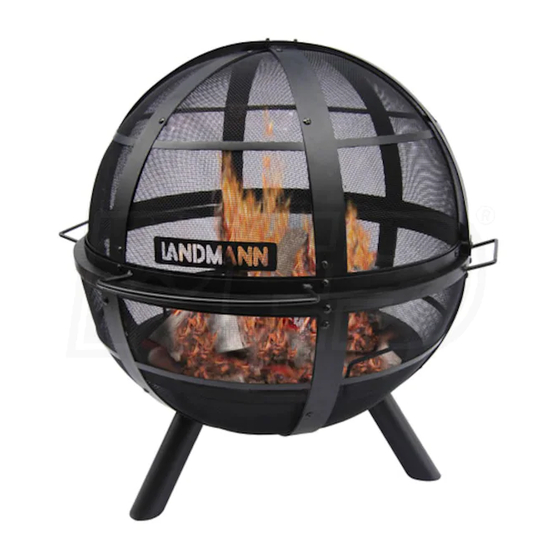
Publicidad
Assembly and Use
Instructions for Model:
28923
28924
28925
Instrucciones de armado y uso
para el modelo
:
28923
28924
28925
VER. 11, 12/30/2013
!
PLEASE READ ALL RULES FOR SAFE OPERATION
AND HELPFUL HINTS BEFORE USING.
POR FAVOR LEA TODAS LAS REGLAS DE SEGURIDAD OPERACIONAL
Y CONSEJOS ÚTILES ANTES DE USAR.
Publicidad
Tabla de contenido

Resumen de contenidos para LANDMANN 28923
- Página 1 Assembly and Use Instructions for Model: 28923 28924 28925 Instrucciones de armado y uso para el modelo 28923 28924 28925 VER. 11, 12/30/2013 PLEASE READ ALL RULES FOR SAFE OPERATION AND HELPFUL HINTS BEFORE USING. POR FAVOR LEA TODAS LAS REGLAS DE SEGURIDAD OPERACIONAL...
- Página 2 PAGE 2 READ FIRST! RULES FOR THE BALL O FIRE SAFE OPERATION. ¡LEER PRIMERO! NORMAS PARA UN FUNCIONAMIENTO SEGURO DEL BALL O FIRE. • ¡ESTE BRASERO PARA EXTERIORES SOLO DEBE USARSE EN EXTERIORES! • THIS OUTDOOR FIRE PIT IS FOR OUTDOOR USE ONLY! •...
-
Página 3: Parts List
PAGE 3 PARTS LIST LISTA DE PARTES When unpacking the fire pit from the carton, make sure you find and become familiar with all the parts listed below. Use caution as some parts may have sharp edges. Al desembalar el brasero de la caja, asegúrese de buscar y familiarizarse con todas las partes mencionadas a continuación. Tenga cuidado ya que algunas piezas pueden tener bordes afilados. -
Página 4: Instrucciones Para El Armado Del Brasero
FIRE PIT ASSEMBLY PAGE 4 INSTRUCTIONS INSTRUCCIONES PARA EL ARMADO DEL BRASERO A Phillips or plain screwdriver and an adjustable wrench are needed for assembly. Se necesita un destornillador Phillips o plano y una llave ajustable para el armado. Assembly time: 45 minutes El tiempo de la asamblea: 45 minutos STEP 1: ASSEMBLE THE BOTTOM PASO 1: ENSAMBLE LA PARTE INFERIOR... - Página 5 FIRE PIT ASSEMBLY PAGE 5 INSTRUCTIONS INSTRUCCIONES PARA EL ARMADO DEL BRASERO STEP 4: ASSEMBLE THE TOP SCREEN SECTIONS PASO 4: ENSAMBLE EL SECCIONES DE LA PANTALLA SUPERIORES Find the top screen sections [ E,F,G ] and assemble together using (6) 10MM bolts [ T ] and (6) capnuts [ X ].
- Página 6 PAGE 6 FIRE PIT ASSEMBLY INSTRUCTIONS E F G INSTRUCCIONES PARA EL ARMADO DEL BRASERO STEP 8: ASSEMBLE THE TOP SCREEN SECTIONS TO CENTER RING PASO 8: ENSAMBLE EL SECCIONES DE LA PANTALLA SUPERIOR PARA EL ANILLO CENTRAL Assemble top screen section assembly [ E,F,G ] to the center ring [ C ] using (2) 13MM bolts [ U ] and (2) hexnuts [ W ].
-
Página 7: Helpful Hints
DEBE ESTAR COMPLETAMENTE FRÍO AL TACTO. Congratulations on your purchase of the Ball O Fire Fire Pit! At Landmann USA, we strive to provide you with an easy to use, easy to assemble product. However, in the unlikely event your package should have a missing or defective part, please contact us at: customerservice@landmann-usa.com...

