Publicidad
Idiomas disponibles
Idiomas disponibles
Enlaces rápidos
INSTRUCTIONS MANUAL
Warranty
This Westinghouse Lighting Fixture is warranted against defects in material and workmanship for a
period of Five Years from purchase date. This warranty is in lieu of all other warranties expressed
or implied. This warranty does not cover acts of nature such as lightening damage, or corrosion
and discoloration of components, nor does it cover damages caused through abuse, improver
installation, surges in electric current, or acts of third parties. This warranty does not cover the costs
of removing and re-installing the lighting xture. If this product fails for any reason covered by this
warranty, please contact us at www.westinghouselighting.com/contact-us.
CAUTION
1. SUITABLE FOR OPERATION IN AMBIENT NOT EXCEEDING 45°C.
2. SUITABLE FOR DAMP LOCATION.
3. THIS PRODUCT MUST BE INSTALLED IN ACCORDANCE WITH THE APPLICABLE INSTALLATION
CODE BY A PERSON FAMILIAR WITH THE CONSTRUCTION AND OPERATION OF THE PRODUCT
AND THE HAZARDS INVOLVED.
4. CAUTION – RISK OF FIRE.
5. ALL COMPONENTS IN THE LUMINAIRE SHALL NOT BE REPLACED OR SERVICED.
6. The electrical installation must be carried out in accordance with the current national electrical
regulations.
7. In the interests of electrical safety, an earth leakage protective device should be installed in the
supply circuit. This may be part of a consumer unit or a separate unit.
8. Turn o the electrical supply before connecting the power cord. Always take care of the working
load in the cables when multiple products are installed.
9. Do not allow the power cord to come into contact with hot surfaces, including the luminaire
shell or bodywork. The cord should be safely routed and secured.
10.This appliance must be grounded via the power cord plug and the electrical supply to the
socket and must be correctly connected to the ground point in the terminal box or consumer
unit.
11.The product may get hot during normal operation. Keep the product surroundings clean to
allow natural ventilation and away from any ammables or explosives.
12.The product is heavy. Design and set up the installation structure properly to ensure the
strength of the entire setup, especially when multiple products are installed in your facility.
INSTALLATION
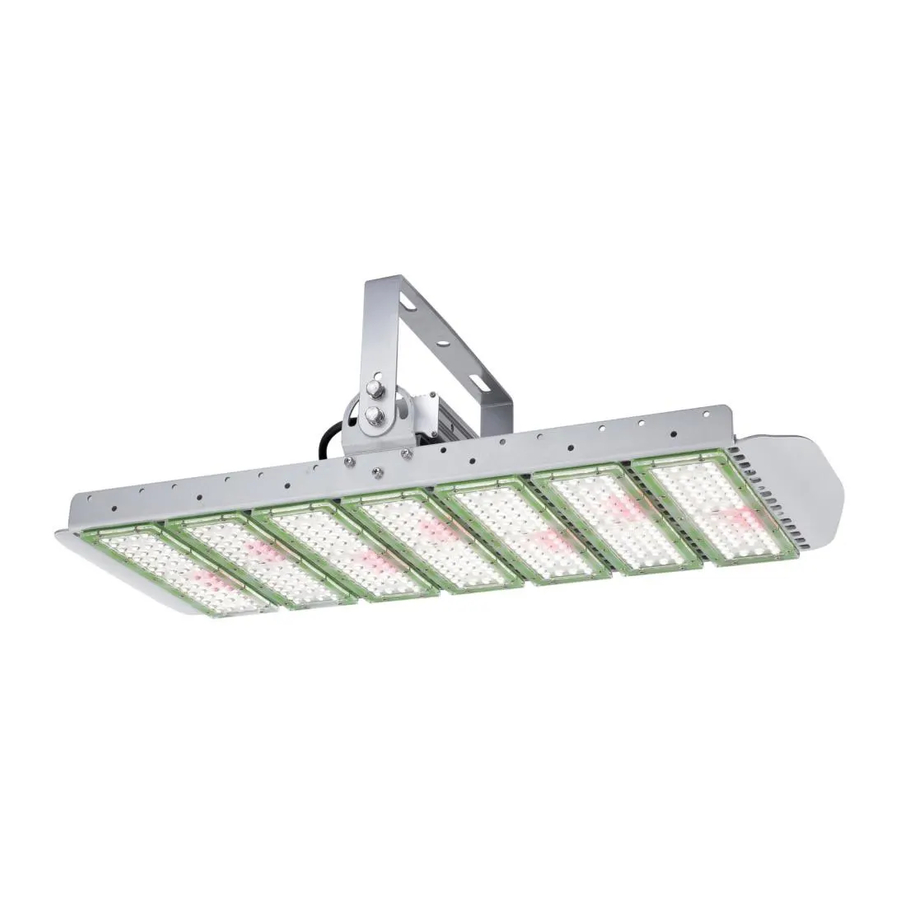
1. Fixed installation: Prepare the installation by referring to the drawing. Use two M10x20
hexagonal bolts (optional accessory) through the two slots on the bracket to attach the
product onto a beam. Tighten the two adjustment screws after positioning the xture to
direct the light in the direction you desire.
2. Hanging installation: Insert the two rope rachet hangers through the two slots on the
bracket. Adjust the length of the rope ratchet hangers to achieve the desired xture position
for both the height and beam direction.
Packing list
Parts
LED xture with US power cord
M10x20 hexagonal bolts
1/8'' rope ratchet
Star washer
Flat washer
1
Q'ty
1pc
2pcs
2pcs
2pcs
2pcs
ESF-WH-062
Publicidad

Resumen de contenidos para Westinghouse ESF-WH-062
- Página 1 INSTRUCTIONS MANUAL Warranty This Westinghouse Lighting Fixture is warranted against defects in material and workmanship for a period of Five Years from purchase date. This warranty is in lieu of all other warranties expressed or implied. This warranty does not cover acts of nature such as lightening damage, or corrosion and discoloration of components, nor does it cover damages caused through abuse, improver installation, surges in electric current, or acts of third parties.
- Página 2 MANUAL DE INSTRUCCIONES Garantía Este accesorio de Westinghouse Lighting está garantizado frente a defectos de material y de mano de obra por un periodo de 5 años a partir de la fecha de compra. Esta garantía sustituye cualquier otra garantía expresa o implícita. Esta garantía no cubre los daños debidos a fenómenos naturales, como daños por caída de rayos, corrosión o decoloración de los componentes, ni tampoco los...
- Página 3 MANUEL D'INSTRUCTIONS Garantie Ce luminaire Westinghouse est garanti pièces et main-d'œuvre pour une période de Cinq ans à compter de la date d'achat. Cette garantie remplace toute autre garantie, explicite ou implicite. Cette garantie ne couvre pas les phénomènes naturels comme les dommages de la foudre, ni la corrosion ou la décoloration des composants, pas plus qu'elle ne couvre les dommages causés...
