Publicidad
Idiomas disponibles
Idiomas disponibles
Enlaces rápidos
CAUTION:
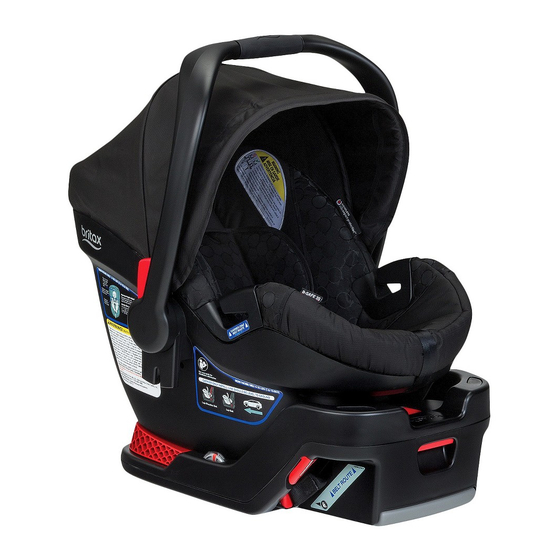
Your infant car seat carry handle may crack or fracture while carrying it, causing risk of injury to
your child. Please follow the instructions below before further use of the carry handle. If your carry handle is
already cracked or broken, please contact Britax Customer Service.
Tools Required: Hex Wrench (included)
Carry Handle Bracket Installation
1
1
2
3
4
2
Red
release
lever
3
4
C us to m er S e r v i c e :
8 0 0 . 6 8 3. 20 4 5 o r
b r it ax . reca l l@ b r it a x . c o m
Remove your child from
the infant car seat then
lock the infant car seat
carry handle in position 4.
NOTE: Position 4 is
below horizontal. It may
be necessary to tilt the
infant car seat forward in
order to engage.
Turn the infant car seat
upside down and rotate
so that the red release
lever is toward you.
Align the logo on the carry
handle bracket with the
logo on the infant car seat
carry handle.
Wrap the bracket around
the carry handle while
maintaining proper
alignment of the Britax
logos.
IMPORTANT: The logo
on the carry handle
should be completely
covered by the bracket.
B-SAFE
35 / B-SAFE 35 ELITE
®
5
6
Fasteners
7
Inner sides
8
Br itax Child Sa fety , Inc ., 4140 P lea sa nt Road , For t M ill, S C 29 70 8, U. S . A .
© 2016 Br itax Child Sa fety , Inc . A ll righ ts re se r v ed .
Carry Handle Kit
Tip up the infant car seat
so that it is resting on the
carry handle.
Use one hand to apply
pressure and hold the
bracket closed. Then
use your other hand to
engage and firmly tighten
both fasteners into the
bracket with the hex
wrench.
The fasteners are tight
when the inner sides of
the bracket are flush.
The remedy is now
complete and your infant
car seat carry handle is
safe for normal use. If
you have any questions,
please contact Britax
Customer Service.
For a video of this
procedure please visit
www.bsafe35recall.com.
w w w. B rita x. c om
P 0 44 66 80 0_ A : 01 . 16
Publicidad

Resumen de contenidos para Britax B-SAFE 35
- Página 1 Your infant car seat carry handle may crack or fracture while carrying it, causing risk of injury to your child. Please follow the instructions below before further use of the carry handle. If your carry handle is already cracked or broken, please contact Britax Customer Service. Tools Required: Hex Wrench (included)
- Página 2 S’il vous plaît suivez les instructions ci-dessous avant de poursuivre l’utilisation de la poignée de transport. Si votre poignée de transport est déjà fissuré ou brisé, s’il vous plaît communiquer avec le service à la clientèle de Britax. Outils requis : Clé hexagonale (incluse) Installation du renfort de poignée de transport...
- Página 3 Por favor siga las siguientes instrucciones antes de seguir utilizando la manija de transporte. Si su manija de transporte ya está agrietada o rota, por favor póngase en contacto con el Departamento de Atención al Cliente de Britax. Herramientas requeridas: Llave hexagonal (incluida) Instalación del soporte de la manija de transporte...


