STA-RITE PoolShark Instrucciones De Instalación
Ocultar thumbs
Ver también para PoolShark:
- Manual de uso (41 páginas) ,
- Manual del usuario (12 páginas) ,
- Pasos fáciles (2 páginas)
Publicidad
Enlaces rápidos
Easy Steps Installation Guide
Installation Instructions for the PoolShark
For detailed installation, operation,
and safety information, see your
Owner's Manual.
The suction through the hose is danger-
ous. Do not let children use or play with the pool
cleaner. Do not allow swimmers in the pool during
cleaner operation.
1. Use the vacuum regulator to limit the force of the suc-
tion through the hose.
Suction can grab and hold body parts or clothes and can
trap hair or body against the end of the hose.
2. The hose can entangle swimmers.
3. The oscillator could bruise or injure a child's hand.
STEP 2:
Clean
System
Clean and
backwash
your filter
system,
skimmer and
pump baskets.
STEP 6:
Connect together
as many
hose sections as needed to reach
from the vacuum source to the far
side of the pool, plus one section.
Submerge the assembled hose so it
fills with water. Leave the ends
accessible.
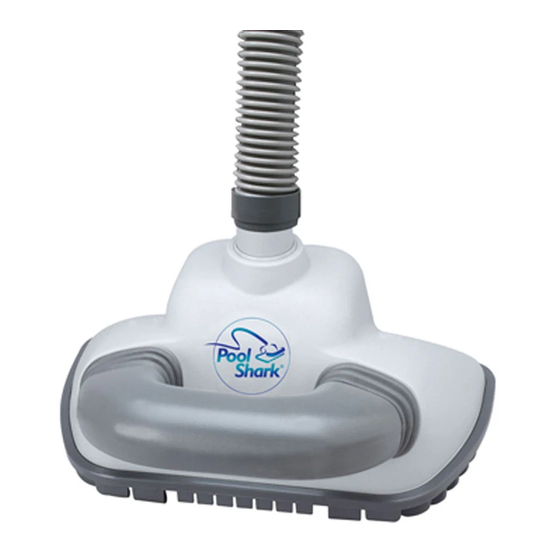
STEP 1: Check Parts
Make sure you have all parts to your PoolShark
A. Pool Cleaner
B. Short Leader Hose
C. Hose (10 Lengths, 1 Meter Each)
D. Hose Weights (2)
E. Eyeball diverters (2)
F. Reducer Cone
G Vacuum Port
H. Automatic Regulator Valve #1
J. Regulator Cap
K. Flow Gauge
STEP 3:
Install
Vacuum Port
A. Install the included
vacuum port in the
suction opening in
the side of the pool.
B. Screw the port into the opening so the up
arrow on the door points up.
C. Tighten the allen-head screw in the cover to
secure the port.
1880 07
Add one hose weight to the third cuff from the PoolShark
®
Automatic Pool Cleaner
®
.
A
STEP 4: Install Regulator
Install the regulator and reducer cone in the
skimmer. Install
Regulator Cap
the regulator
(Use with vac
port connection)
.
cap. Attach the
end of the hose
to the vacuum
port. If your
pool does not
have a vac
port, go on to
Skimmer
Vac
Port
Step 5.
STEP 7:
Close the main drain so all the suction will be from
the cleaner hose. Insert the flow gauge into the end of
the hose and start the pump. Keep
the hose and flow gauge underwater.
Adjust the regulator until the disc
indicator in the flow gauge is
between maximum and minimum
flow.
Remove the gauge and attach the
cleaner.
Drop the cleaner into the pool and
start the pump.
B
D
C
G
STEP 5: Pools
without Vac Port
If your pool does not
have a dedicated suction
Regulator
line, install the regulator
Reducer
valve on the hose and
Cone
install the assembly in
your pool's skimmer. Use
the adapter cone if neces-
sary. Do not use the regu-
lator's cap inside the
skimmer.
Summary:
For Safety:
No Bathers in the pool while using the pool cleaner!
For Best Results:
Disc Indicator
A. Be sure filter system is clean.
B. No toys or floating chlorinators in pool while cleaning.
C. Close main drain and make sure that pump suction is
coming through the skimmer or dedicated wall fitting to
which you have connected the cleaner.
Customer Service: 1-800-752-0183
E
F
H
K
J
Skimmer
Regulator
Adapter Cone
To Pump
WC80-220 (6/23/05)
Publicidad

Manuales relacionados para STA-RITE PoolShark

Resumen de contenidos para STA-RITE PoolShark
- Página 1 Remove the gauge and attach the which you have connected the cleaner. cleaner. Customer Service: 1-800-752-0183 Drop the cleaner into the pool and Add one hose weight to the third cuff from the PoolShark start the pump. WC80-220 (6/23/05)
- Página 2 PASO 1: I I n n s s p p e e c c c c i i o o n n e e l l a a s s p p i i e e z z a a s s .