Publicidad
Thank you for purchasing our Studio Designs, Inc.
Gracias por comprar nuestro mueble Studio Designs, Inc.
Merci d'avoir acheté un meuble Studio Designs, Inc.
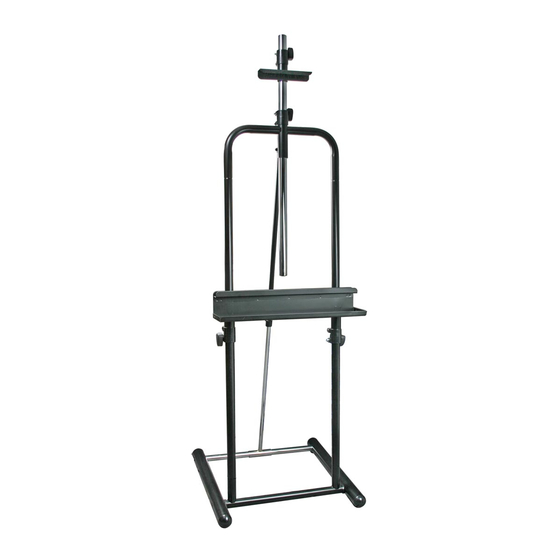
DELUXE EASEL
#13188 Black • Negro • Noir
Office: 562.942.0492
Product Support Line: 866.942.0492
www.studiodesigns.com
Rev. 3.3.2020
Publicidad
Tabla de contenido

Resumen de contenidos para Studio Designs 13188
- Página 1 Thank you for purchasing our Studio Designs, Inc. Gracias por comprar nuestro mueble Studio Designs, Inc. Merci d’avoir acheté un meuble Studio Designs, Inc. DELUXE EASEL #13188 Black • Negro • Noir Office: 562.942.0492 Product Support Line: 866.942.0492 www.studiodesigns.com Rev. 3.3.2020...
-
Página 2: Instrucciones Para Armar - Importante
ASSEMBLY INSTRUCTIONS - IMPORTANT: Carefully unpack and identify each component before attempting to assemble. Refer to parts list. Please take care when assembling the unit and always set the parts on a clean, soft surface. Do not use power tools to assemble. - Página 3 PARTS LIST / LISTA DE PARTES / LISTE DES PIÈCES DÈTACHÉES DESCRIPTION / DESCRIPCIÓN / DESCRIPTION QTY / CANT/ QTÉ PICTURE / DIBUJO / IMAGE 1. Left Foot Pie Izquierdo Pied Gauche 2. Right Foot Pie Derecho Pied Droite 3. Spacer Espaciador Entretoise 4.
- Página 4 PARTS LIST / LISTA DE PARTES / LISTE DES PIÈCES DÈTACHÉES DESCRIPTION / DESCRIPCIÓN / DESCRIPTION QTY / CANT/ QTÉ PICTURE / DIBUJO / IMAGE 11. Clamp Abrazadera Pince 12. Height Adjustment Tube Tubo de Ajustar Altura Tube de Réglage la Hauteur 13.
- Página 5 Rotate end cap if necessary. Gire la tapa si es necesario. Faites pivoter le capuchon si nécessaire. Deluxe Easel...
- Página 6 Hole faces in - see arrow. Agujero hacia adentro - vea la flecha. Trou vers l’intérieur - voir flèche. Holes face up. Agujeros hacia arriba. Trous vers le haute. Deluxe Easel...
- Página 7 Knob faces down. Manija hacia abajo. Poignée vers le bas. Deluxe Easel...
- Página 8 Deluxe Easel...
- Página 9 Rotate Legs upward and slide Clamps (11) onto Legs (thin edge faces up), then tighten knobs. Slide Bottom Tray (9) onto Legs and insert into Clamps (11) (loosen bolt if necessary - see arrow, then retighten). Slide Top Pole (8) onto Legs (note the bracket position).
- Página 10 Rotate Tilt Pole (6) upward and attach to bracket. Secure Top Pole using two Phillips Screws (17). Gire el Poste de Inclinación (6) hacia arriba y fíjelo a la ménsula. Fije el Poste Superior usando dos Tornillos de Cruz (17). Faites pivoter le Poteau Inclinable (6) et fixez-le aux support.
- Página 11 Loosen bolt on Clamp (11), slide onto Top Pole (8), then retighten bolt. Slide Tube (12) into the same Clamp (11), and tighten knob. Loosen bolt on second Clamp (11), slide Clamp (11) onto Top Tray (10), then retighten bolt. Slide Top Tray assembly onto Pole (12) and tighten knob.
-
Página 12: Garantía Limitada
GARANTIE LIMITÉE Studio Designs (la « Compagnie ») garantit à l’acheteur original que ce produit sera exempt de tout défaut de fabrication et matériel s’il est utilisé à la maison et dans des conditions d’exploitation normales, tel que décrit à la présente. La Compagnie réparera ou remplacera, à...


