Publicidad
Idiomas disponibles
Idiomas disponibles
INSTALLATION INSTRUCTIONS
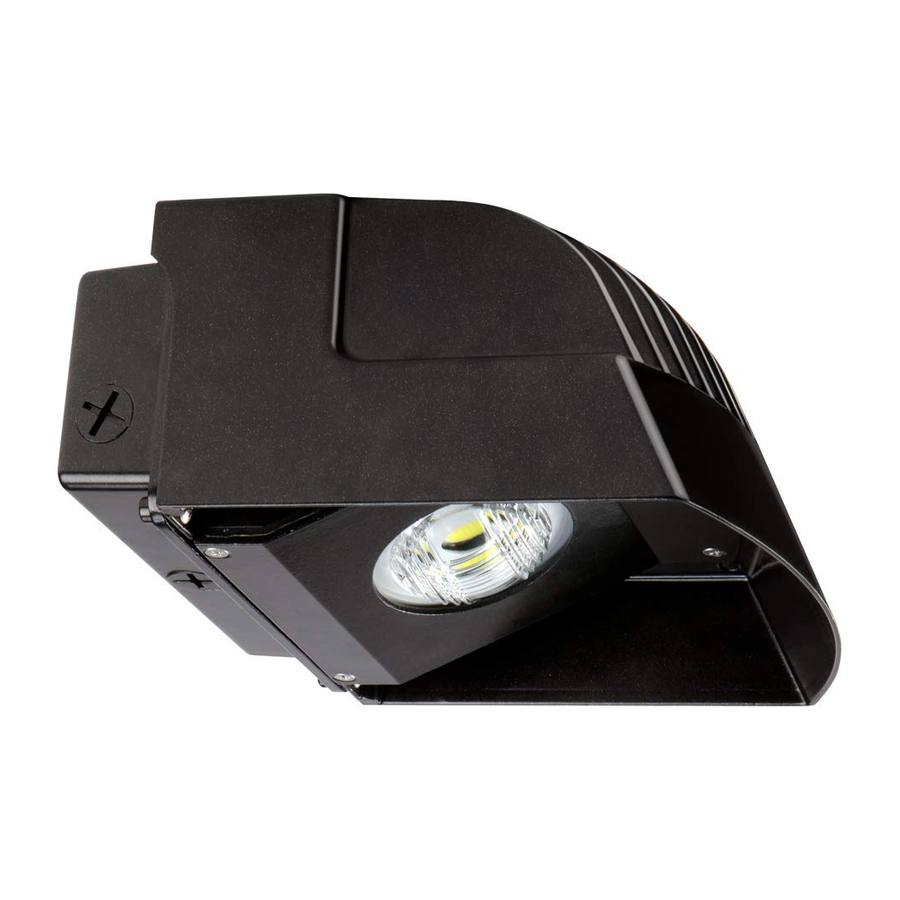
C-WP-A-FCT3 Series
CAUTIONS
IMPORTANT SAFEGUARDS
When using electrical equipment, basic safety
precautions should always be followed including the
READ AND FOLLOW ALL
SAFETY INSTRUCTIONS
1.
DANGER- Risk of shock- Disconnect power before
installation.
DANGER – Risque de choc – Couper l'alimentation
avant l'installation.
2.
This luminaire must be installed in accordance with the
NEC or your local electrical code. If you are not familiar
with these codes and requirements, consult a qualified
electrician.
Ce produit doit être installé conformément à NEC ou votre
code électrique local. Si vous n'êtes pas familier avec ces
codes et ces exigences, veuillez contacter un électricien
qualifié.
3.
Mount as down-light only.
Lumiere vers le bas seulement.
4.
Do not recess the fixture.
5.
Conduit holes must be sealed with conduit plugs.
6.
Seal the fixture mounting surface with high quality
waterproof silicone sealant.
7.
For supply wire temperature rating, refer to fixture label
SAVE THESE INSTRUCTIONS
FOR FUTURE REFERENCE
MOUNTING TO JUNCTION BOX
1.
Remove the two screws securing the Mounting Box to the fixture.
See Figure 1.
NOTE: Do not remove lens frame from the luminaire.
Position the Mounting Box over the junction box, see Figure 2,
2.
and remove the appropriate mounting screw and wire-way knock-
outs in the back of Mounting Box to match the junction box. Apply
waterproof silicone to mounting surface.
3.
Route supply wires through the wire-way and secure the fixture
Mounting Box to the junction box with junction box screws. See
FIGURE 2.
4.
Locate the hook inside of the mounting box (See Figure 2) and
pull it down. The fixture can be hung on the hook while electrical
connections are made.
5.
Complete the wiring to the incoming power and ground (see
Electrical Connections). Remove the fixture from the hook and
reposition the hook back inside the mounting box.
following:
http://lighting.cree.com/warranty
Document:
LPN00487X0001A0_A
Created By:
TMT
6.
Slide the fixture over the mounting box ensuring all wires are
within the mounting box and secure the fixture with the two screws
removed in Step 1.
FIGURE 1
FIGURE 2
DIRECT MOUNTING USING CONDUIT
1.
Remove the two screws securing the Mounting Box to the fixture.
See Figure 1.
2.
Remove the appropriate mounting screw knock-outs and apply
water proof silicone on mounting surface. Secure Mounting Box
to the mounting surface using customer supplied mechanical
fasteners.
Locate the hook inside of the mounting box (See Figure 2) and
3.
pull it down. The fixture can be hung on the hook while electrical
connections are made.
4.
Remove the conduit plug from the direction you intend to feed
conduit and attach customer supplied conduit, using a sealing
compound at threads.
5.
Complete the wiring to the incoming power and ground (see
Electrical Connections). Remove the fixture from the hook and
reposition the hook back inside the mounting box.
6.
Slide the fixture over the mounting box ensuring all wires are
within the mounting box and secure the fixture with the two screws
removed in Step 1
|
866.924.3645
Date:
03-22-2017
Publicidad
Tabla de contenido

Resumen de contenidos para Cree C-Lite C-WP-A-FCT3 Serie
- Página 1 Step 1 Complete the wiring to the incoming power and ground (see Electrical Connections). Remove the fixture from the hook and reposition the hook back inside the mounting box. http://lighting.cree.com/warranty 866.924.3645...
- Página 2 L’exploitation est autorisée aux deux conditions suivantes : (1) l’appareil ne doit pas produire de brouillage, et (2) l’utilisateur de l’appareil doit accepter tout brouillage radioélectrique subi, même si le brouillage est susceptible d’en compromettre le fonctionnement. http://lighting.cree.com/warranty 866.924.3645...
-
Página 3: Medidas Importantes De Seguridad
El accesorio puede ser colgado en el gancho mientras haga las conexiones eléctricas. Complete el cableado de la energía entrante y la tierra (ver conexiones eléctricas). Retire el accesorio del gancho y vuelva a colocar el gancho dentro de la caja de montaje. http://lighting.cree.com/warranty 866 924-3645... -
Página 4: Conexiones Eléctricas
— Incrementar la separación entre el equipo y el receptor. — Conectar el equipo a un enchufe de un circuito diferente del que el receptor está conectado. — Solicitar la ayuda de un distribuidor o técnico experimentado de radio o televisión. CAN ICES-005 (B)/NMB-005 (B) http://lighting.cree.com/warranty 866 924-3645... - Página 5 électriques. Terminez le câblage entre l'alimentation et la mise à la terre (consultez la section Connexions électriques). Retirez le luminaire du crochet et remettez le crochet en place à l'intérieur du boîtier de montage. http://lighting.cree.com/warranty 866 924-3645...
-
Página 6: Connexions Électriques
— Augmenter la distance entre l'équipement et le récepteur. — Brancher l'équipement dans une prise sur un circuit différent de celui où le récepteur est branché. — Consulter le fournisseur ou un technicien radio/télé expérimenté pour de l'aide. CAN ICES-005 (B)/NMB-005 (B) http://lighting.cree.com/warranty 866 924-3645...
