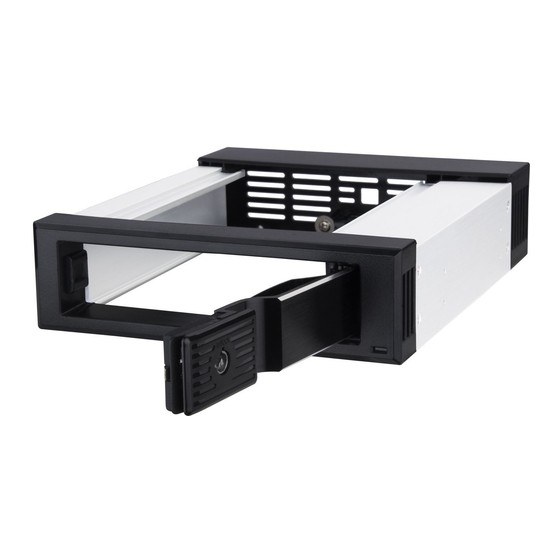
Resumen de contenidos para SilverStone SST-FS301
- Página 1 FS301 Front Panel Storage 1 x 5.25" device bay to 1 x 3.5" SAS 12 Gbit/s or SATA 6 Gbit/s trayless hot-swap cage...
-
Página 2: Product Overview
For security, each drive tray also has metal key lock. For those that need to upgrade their current PC with more drive flexibility, SilverStone’s FS301 series is a great choice. - Página 3 Front Panel Storage Product Overview A1 = Power LED A2 = Triangle Safety lock A1 = Strom LED A2 = Dreieckigen Metallschloss A1 = DEL power A2 = Serrure triangulaire de sécurité A1 = Power LED A2 = Cerradura de seguridad de forma triángulo A1 = Elettricità...
- Página 4 Front Panel Storage Product Overview B1 = 7pin signal data connector B2 = 15pin SATA power connector B3 = HDD LED Switch (enable/disable) B4 = 12V 2 pin fan header B1 = SATA Datenübertragung Anschlüsse B2 = 15pin Netzanschluss B3 = HDD/SSD LED Schalter (Ein / Aus) B4 = 12V 2-poliger Lüfterkopf B1 = Câble de données signaux SATA B2 = Câble d’alimentation SATA...
-
Página 5: Installation Chart
Front Panel Storage Installation Chart Before you begin, please make sure that you have all components collected check that all components do not have compatibility problems with each other or with the case if possible, assemble the components outside the case first to make sure they are working keep the motherboard manual ready for reference during installation prepare a Phillips screwdriver. - Página 6 Front Panel Storage Installation Chart Install drive chassis into case Bauen Sie die Festplatte ins Gehäuse ein Installer le châssis du disque dur dans l’emplacement Instalar el chasis de disco en ハードディスク固定台を機械 la carcasa ケース中に入れます Installare chassis dischi in caso Connect SATA and power cable Schließen Sie SATA an die Leitung an...
- Página 7 Front Panel Storage Installation Chart Secure with screws Schrauen Sie ein Visser la vis Asegurar con tornillos ねじをしめる Fissare con viti Close drive door Machen Sie den Vorderrahmen Fermer la lunette avant Cerrar el marco frontal フロントフレームをオフにし ます Chiudere il frontalino...
- Página 8 Front Panel Storage Installation Chart Installation complete Komplettinstallation Installation complète Instalación completada インストール完成 Completamento installazione...
- Página 9 Front Panel Storage Indicator Status Power Enable Disable State HDD in HDD Access HDD Access Color Blue Purple Blue Blink *When B3 switch is turned to DISABLE position, the HDD accessing function is off. In this case, the front LED is displayed in solid blue only and that means it is with the power ON function only but without blinking accessing signal.
- Página 10 Front Panel Storage Indicator Status Power Enable Disable Stato HDD esistere HDD accesso HDD accesso Colore Viola Lampeggiare * Quando l'interruttore B3 è spegnere in posizione DISABLE, l'HDD / SSD funzione l'accesso è disabilitata. In questo caso, la parte anteriore accesso LED è visualizzata solo in blu fisso e che significa che è con l'elettricità ON funzione solo ma senza lampeggiante segnale accedere.
- Página 11 Front Panel Storage Indicator Status Power Enable Disable Power Enable Disable Power Enable Disable...
