Publicidad
Enlaces rápidos
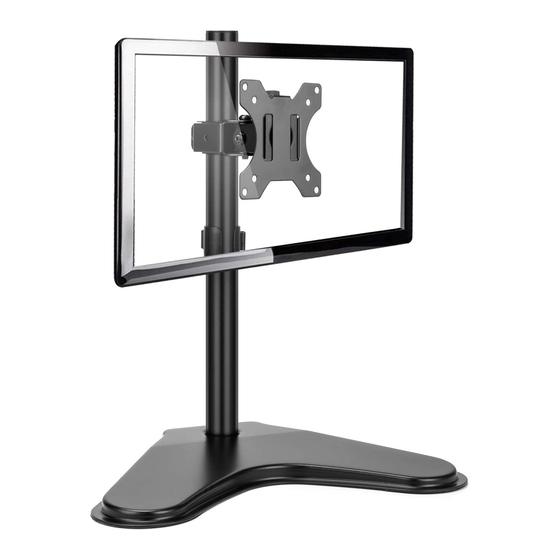
Monitor Table Stand
Instruction Manual
V3.0
Model: HNCM5
Thank you for choosing this HUANUO product! At HUANUO we strive to
provide you with the best quality products and services in the industry.
Should you have any issues, please don't hesitate to contact us at
Technical Support:
(US/CA) 1-800-556-0533 Mon-Fri 8am - 8pm (CST)
(UK) 44-808-196-3874 Mon-Fri 2pm - 10pm (UTC)
Other Info:
support@huanuoav.com (US/CA)
support_eu@huanuoav.com (DE/UK/FR/IT/ES/NL/SE/AU/PL)
Publicidad

Resumen de contenidos para HUANUO HNCM5
- Página 1 Instruction Manual V3.0 Model: HNCM5 Thank you for choosing this HUANUO product! At HUANUO we strive to provide you with the best quality products and services in the industry. Should you have any issues, please don't hesitate to contact us at...
- Página 2 •Check package contents against Supplied Parts and Hardware Lists to assure that all components were received undamaged. Do not use damaged or defective parts.lf you require replacement parts, contact customer service at support@huanuoav.com •Not all parts and hardware included will be used. •Carefully read all instructions before attempting installation.If you do not understand the instructions or have any concerns or questions, please contact customer service at support@huanuoav.com...
- Página 3 •Verifique los contenidos del paquete de acuerdo con Piezas Suministra- das y Listas de Equipo para asegurarse de que los componentes se reciban sin daños. No utilice las piezas dañadas ni faltas. Si necesita piezas de repuesto, por favor póngase en contacto con nuestro servicio de atención al cliente: supporteu@huanuoav.com •No se necesita usar todo el equipo incluido.
- Página 4 Parts List and Hardware Teileliste und Hardware Liste des pièces et Matériel Lista de Piezas y Equipo Elenco delle Parti e Hardware A (X1) B (X1) C (X1) D (X1) E (X1) 4 mm 6 mm F (X1) G (X1) H (X1) I (X1) M4x12 (X4)
- Página 5 Install the Pole to the Base Bringen Sie die Stange an der Basis an Installer le Poteau à la Base I Instalar el Palo a la Base Installare il Palo sulla Base...
- Página 6 Install Cable Clip & VESA Connector to the Pole Installieren Sie die Kabelklemme und den VESA Verbinder an der Stange Installer le Clip de Câble & le Connecteur VESA sur le Poteau Instalar el Clip de Cable y Conector de VESA al Palo Installa il Fermaglio per Cavo e il Connettore VESA sul Palo...
- Página 7 Attach VESA Plate to the Back of Monitor Befestigen Sie die VESA-Platte an der Rückseite des Monitors Attacher la Plaque VESA à l’Arrière du Moniteur Sujetar la Placa VESA a la Espalda del Monitor Collegare la Piastra VESA sul Retro del Monitor monitor monitor monitor monitor...
- Página 8 Hang Monitor to the Stand Hängen Sie den Monitor an den Ständer Accrocher le Moniteur au Support Colgar el Monitor al Soporte Appendere il Monitor al Supporto Fix Tilt Angle Neigungswinkel fixieren Fixer l’Angle d’Inclinaison Fijar el Ángulo de Inclinación Fissare l'Angolo di Inclinazione...
- Página 9 Manage Cables Kabel Management Gérer des Câbles Manejar Cables Gestire i Cavi Store Allen Keys into the Cable Clip Bewahren Sie die Inbusschlüssel in der Kabelklemme auf Ranger la Clé Allen dans le Clip de Câble Guardar Llaves Allen en el Clip de Cable Conservare le Chiavi a Brugola nel Fermaglio per Cavi...
- Página 10 Features Eigenschaften Caractéristiques Característica Caratteristiche...


