Publicidad
Idiomas disponibles
Idiomas disponibles
Enlaces rápidos
Publicidad

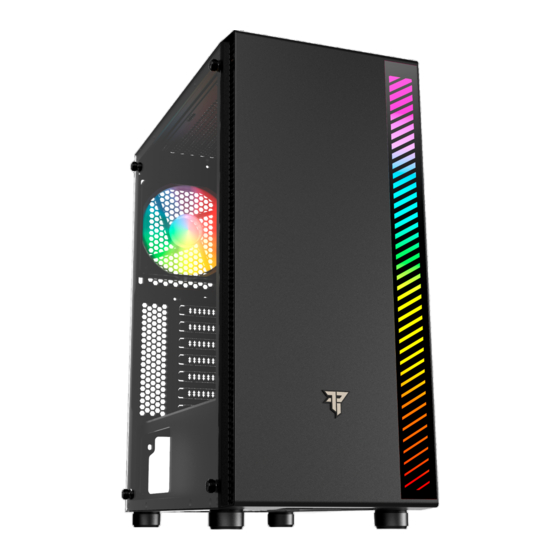
Resumen de contenidos para Tempest SOUL RGB ATX
- Página 1 S O U L RGB AT X G AM I NG C A SE...
- Página 3 S O U L RG B AT X G A MI NG C A S E...
- Página 4 ACCESSORY BAG Zip ties for cable management Motherboard stando s (6,5mm) Motherboard/SSD Screw (5mm) PSU/PCIE Screw (6mm) 3,5” HDD Screw (5mm) 3,5” HDD Screw (4mm) Handle Screw...
- Página 5 STEP A: Disassemble the side panel and the front panel Take out the screws before dissasembling side panel. Remove the side panels before dissasembling the front panel Special attention to the tempered glass side panel. Handle with care. STEP B: Install the power supply Make sure the screw holes for PSU and the PC case are alligned before screwing.
- Página 6 STEP C: Install the motherboard Make sure that the motherboard aims at the copper cylinder and install the stando s (No.2) before screwing in with the No.3 screws. STEP D: Install fan and radiator Front Fans - x2 140mm - x3 120mm Radiator up to 240mm Rear Fan - x1 120mm...
- Página 7 STEP E: Install HDD Use Hard Disk Bay enclosure for both SSD and HDD, unscrew the enclosure from the case and install the disk with no.5 or 6 screws...
- Página 8 STEP F: Install the SSD Use Specific Enclosure for SSD installation. Unscrew hard disk enclosure and install SSD with no.3 screw STEP G: Install Graphic card Remove the bafle marked in the picture, make sure the VGA card aims at the motherboard slot and then fix VGA card and case with No.4 screw.
- Página 9 FRONT PANEL I/O AND MOTHERBOARD CONNECTORS Reset HD AUDIO USB2.0 Power USB3.0...
-
Página 10: Accesorios Para Instalacion
ACCESORIOS PARA INSTALACION Brida para gestión de cableado Soporte para placa base Tornillo para placa base / SSD Tornillo para fuente de alimentación y PCIE Tornillo para discos duros de 3,5” Tornillo para discos duros de 3,5” Tornillo de mango... - Página 11 STEP A: Desmontar los paneles laterales y el panel frontal. Quitar los tornillos de ambos paneles laterales antes de desmontar los paneles laterales. Quitar previamente los paneles laterales antes de poder desmontar el Panel frontal. Precaución al desmontar el panel de cristal templado. Manejar con cuidado.
- Página 12 STEP C: Instalación de la placa base. Asegúrate que la placa base se alinea con los huecos marcados en la torre e instala los alzadores de cobre (No.2) antes de atornillar la placa base a la torre con los tornillos No.3 STEP D: Instalación de ventiladores y/o radiadores Frontal - x3 140mm...
- Página 13 STEP E: Instalación de discos duros HDD Usa la bahía de discos duros para HDD y SSD, desatornilla la bahía de la torre e instala los discos dentro con el tornillo no.5 o 6...
- Página 14 STEP F: Instalación de discos duros SSD Usa el soporte específico para instalación de SSD. Desatornilla el soporte e instala el SSD con el tornillo no.3 STEP G: Instalación de tarjeta gráfica y desmontar el slot de expansión PCI. Retira el embellecedor que necesites alineando con la ranura PCI de la placa base, luego instala la tarjeta gráfica y asegúrala a la torre con el tornillo No.4...
-
Página 15: Panel Frontal De E/S Y Conectores Para Placa Base
PANEL FRONTAL DE E/S Y CONECTORES PARA PLACA BASE Reset HD AUDIO USB2.0 Power USB3.0...