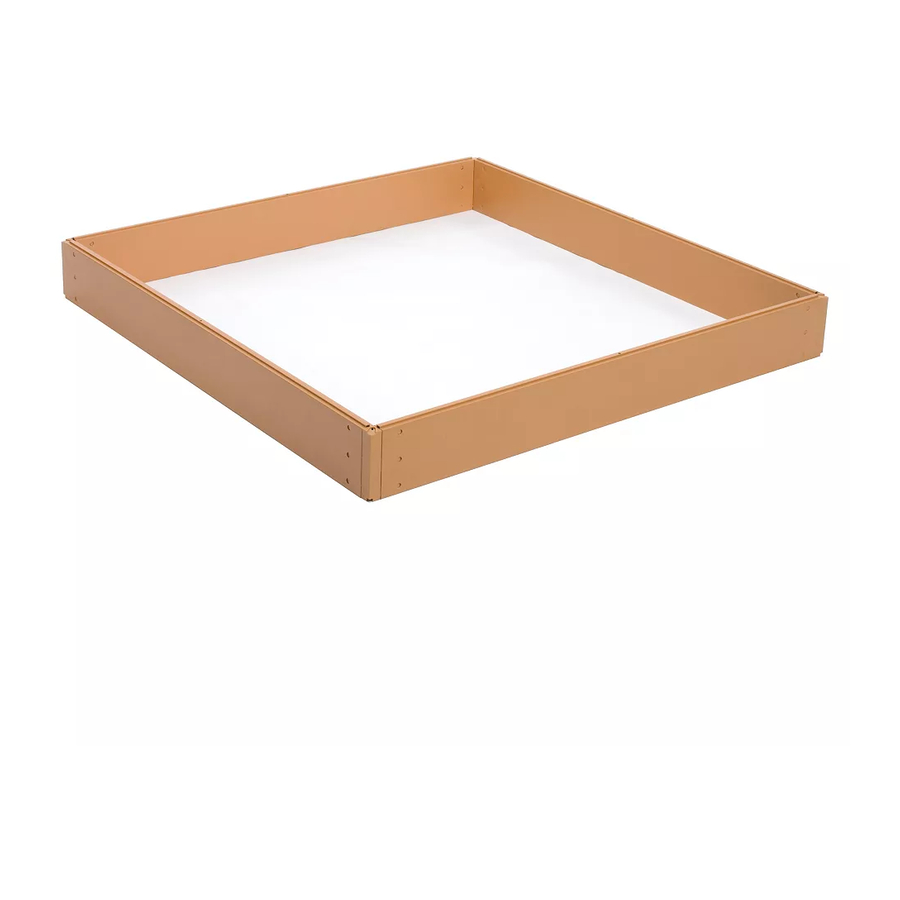
Publicidad
Enlaces rápidos
OWNER'S MANUAL
MANUEL DE L'UTILISATEUR
MANUAL DEL USUARIO
Optional Tools Required
Outils supplémentaires en option
Herramientas opcionales
• Rubber Mallet / Maillet en caoutchouc / Martillo de caucho
WARNING
• Do not stand on raised bed panels.
• Repair or replace broken parts immediately.
• Suncast is not responsible for damage caused by weather or misuse.
• Avoid excess heat from any auxiliary source.
• Not intended for use in extreme weather conditions.
AVERTISSEMENT
• Ne pas se tenir debout sur les panneaux du jardin à parterres surélevés
• Réparer ou remplacer immédiatement les pièces endommagées.
• Suncast décline toute responsabilité en cas de dommages suite à des intempéries ou
à une mauvaise utilisation.
• Éviter toute source excessive de chaleur provenant d'une source auxiliaire.
• Cet article n'est pas destiné à être utilisé lors de sévères conditions climatiques.
ADVERTENCIA
• No se pare en los paneles del lecho elevado.
• Repare o reemplace las piezas rotas inmediatamente.
• Suncast no será reponsable por daños causados por la intemperie o el uso incorrecto.
• Evite el calor excesivo proveniente de cualquier fuente auxiliar.
• No está diseñado para uso en condiciones extremas de clima
PARTS INCLUDED / PIÈCES FOURNIES / PARTES INCLUIDAS
side panel
panneau latéral
panel lateral
RB448 - 4
RB848 - 8
Part No. 0510522
Quality Control Number:
Numéro de contrôle de qualité:
Número de control de calidad:
© 2009 Suncast Corporation, Batavia, IL
corner connector
pièce de raccord d'angle
conector de esquina
RB448 - 4
RB848 - 8
Part No. 0102058B5
straight connector
pièce de raccord rectiligne
conector recto
RB448 - 2
RB848 - 4
Part No. 0102062B5
RB448 / RB848
Raised Garden Bed
Jardin à parterres surélevés
Lecho para jardín elevado
RB448
RB848
stakes
piquets
estacas
RB448 - 8
RB848 - 16
Part No. 0510535
0361100A
Publicidad

Resumen de contenidos para Suncast RB448
- Página 1 • No se pare en los paneles del lecho elevado. • Repare o reemplace las piezas rotas inmediatamente. • Suncast no será reponsable por daños causados por la intemperie o el uso incorrecto. • Evite el calor excesivo proveniente de cualquier fuente auxiliar.
- Página 2 DESIGN VARIATIONS / INSTALLATIONS DIVERSES / INSTALACIONES DIVERSAS The Suncast raised bed kits are designed to allow you to create your own shapes and designs to best suit your garden space and planting needs. Each additional kit you purchase increases the amount of design possibilities you can create. Plus, the raised beds are stackable, so you can incorporate multi-level designs into your beds.
- Página 3 PLANTING DEPTHS / PROFONDEUR DE PLANTATION / PROFUNDIDAD DE CULTIVO The depth of the soil will depend on the type of flowers or vegetables you choose to grow. Leafy vegetables and herbs do not need as much depth, but vegetables with extensive root systems such as cucumbers, potatoes, squash and tomatoes need loosened and enriched soil to a minimum depth of 16 inches.
- Página 4 A flat, level area is important, and you should also make sure that the area has easy access to water sources as well as room for you to work. Remove the sod from the area where you will place the raised bed. Suncast recommends placing your raised bed on the ground, not on a concrete pad or deck.
- Página 5 ASSEMBLY INSTRUCTIONS / INSTRUCTIONS D’ASSEMBLAGE / INSTRUCCIONES DE ARMADO male groove side panel Installation of a Corner Connector. Position one side side panel rainure mâle panneau latéral panneau latéral panel (A) with the male groove at the top. Position corner canal macho panel lateral panel lateral...
- Página 6 Site Preparation. Suncast recommends placing your garden on the ground, not on a concrete pad or deck. This will allow plant roots to reach deep into the soil. Once your raised bed is assembled, position the raised bed in its permanent location. Mark the outline of the raised bed and then set it to one side.
- Página 7 Level Your Raised Bed. Using a level, make sure your raised bed is level in all directions. This is a necessary step because if your raised bed is not level, you may create water run-off in one part of the garden and puddling in other parts. If this happens, then some of the bedding plants will not get enough water and others will get too much.
- Página 8 OPTIONAL Stacking Beds. The raised bed kits are built to allow stacking up to three frames high. Place each raised bed layer evenly over the top of the raised bed below. Line up the male groove from the bottom frame with the female groove on the top frame.
- Página 9 CAUTION: When striking stakes with a rubber mallet, make sure to not hit the side panels. Staking Raised Bed To Ground. Stake your bed at all corner connectors, all straight connectors, and all mid-panel holes. Insert one stake (D) into the stake receptacle of each connector and each mid-panel hole.
- Página 10 SOIL PREPARATION / PRÉPARATION DE LA TERRE / PREPARACIÓN DE LA TIERRA With raised bed staked in place, add any planned soil amendments, such as peat moss, compost or lime, and mix thoroughly. Rake the soil evenly across the raised bed to avoid low spots where water can accumulate. If you need more soil, buy a high quality soil mix. NOTE: Avoid stepping on the raised bed.
- Página 12 This warranty gives you specific legal rights, and you may have other rights which may vary from state to state. Suncast® Corporation, 701 North Kirk Road, Batavia, Illinois 60510 (le fabricant) garantit ce produit contre tout vice de matériau et de fabrication à l’acheteur initial et pour une utilisation de type ménager et domestique normale.