Publicidad
Enlaces rápidos
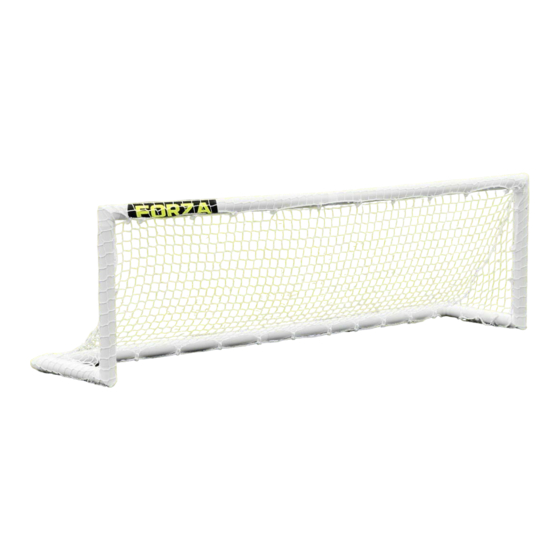
Mini FORZA Locking Goal
Assembly Instructions & Safety Procedures
9255
Single
Button Hole
1051
Two Side
Button Hole
9255
1068
[To Ensure Warranty is validated, please ensure stickers are applied to part no #1051]
Assembly Instructions
1
Layout all components as in component
table above.
4
Attach cross bar. Attach sticker at centre of
crossbar.
Important Safety Instructions
• Always inspect goal post and net for defects before use and replace damaged parts in accordance with BS 8461:2005 code of practice.
• Do not use goal with faulty parts.
• The goal must always be secured to the ground. Weights to be used on hard surfaces, ground anchors on grass.
• Never climb on the net or the goal frame. The goal must never be used without the net tted.
• Please adhere to the safety instructions at all times.
• Please ensure all locking clips are inserted into the connectors
Net World Sports UK
www.networld-sports.co.uk
sales@networld-sports.co.uk
+44 (0)1691 683807
9255
1051
9040
9255
One Top
Button Hole
9255
Assemble the base using components
2
identi ed on diagram above.
Please ensure all locking clips are inserted
into the connectors.
5
Place net over goal with the green edging
indicating crossbar and post position.
7
To nish, place one sticker on each of the two uprights (#1051)
1068
9255
9040
Additional Information
• When the goal is not being used, dismantle and store under cover.
• This goal conforms with BS8462:2005.
• Not suitable for children under 3 years old.
• It is recommended that the goal is assembled by an adult.
• Warranty excludes net.
• Please see forzagoal.com/forza-goal-instructions for more details.
No
9040
1051
1068
9255
Locking
9231
Clips
Sticker
Additions
• Nets
• Clips
• Forza Bag (optional)
Attach uprights, 1051, using corner pieces.
3
Part 1051 should have two button holes at
base and single button hole facing
backwards at top.
Starting at the top corners, t the net by
6
wrapping it round the posts and clipping it
to the inside using clips enclosed. Attach
clips equally along all lengths.
Net World Sports USA
www.networld-sports.com
sales@networld-sports.com
1-866-861-9095
Qty
2
2
2
6
12
2
Publicidad

Resumen de contenidos para Net World Sports Mini FORZA
- Página 1 Mini FORZA Locking Goal Assembly Instructions & Safety Procedures 9255 9040 1051 1051 1068 9040 9255 Locking 9231 Clips 9255 9255 1068 Sticker 9255 Single Additions Button Hole • Nets 1051 • Clips • Forza Bag (optional) 9040 One Top...
- Página 2 Fügen Sie den unteren Rahmen wie in der Abbildung Bringen Pfosten, 1051, mit Winkelstücke. Teil 1051 Alle Einzelteile wie auf der Abbildung gezeigt angegeben zusammen. müssen zwei Knop öcher an der Basis und einzigen auslegen. Bitte stellen Sie sicher, dass alle Verschlussklemmen in Knop och an der Spitze nach hinten.