Publicidad
Enlaces rápidos
Publicidad

Resumen de contenidos para Outsunny 84C-120
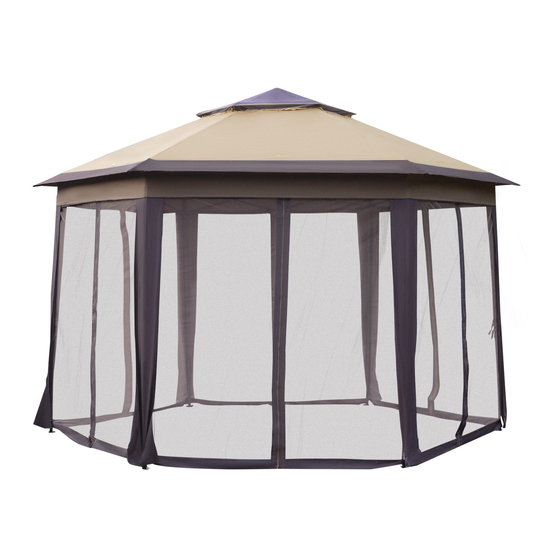
- Página 1 HEX. POP UP SUN SHELTER WITH NETTING MODEL: 84C-120...
- Página 2 WARNING: * Keep all flame and heat sources away from this sun shelter fabric. * This sun shelter is made with fabric that meets CPAI-84 specifications for flame resistance. * It is not fire proof.The fabric will burn if left in continuous contact with any flame source. * The application of any foreign substance to the sun shelter fabric may render the flame-resistant properties ineffective.
- Página 3 ASSEMBLY INSTRUCTIONS SPECIAL NOTICE: * Make sure that you lay out and identify all parts listed below in the part list. * It is recommended to open this product with 4 or more people. AVISO ESPECIAL: * Asegúrese de que se separe e identifique todos los componentes enumerados a continuación en la lista de piezas.
- Página 4 ASSEMBLY INSTRUCTIONS Step 1: Easily open the sun shelter in six directions until partially extended. Paso 1: Abra fácilmente el refugio solar en seis direcciones hasta que quede parcialmente extendido. Étape 1: Ouvrir facilement l'abri solaire dans six directions jusqu'à l'extension partielle. Step 2: 1) Put on the big sun shelter B, each leg covers with a leg fabric.
- Página 5 ASSEMBLY INSTRUCTIONS NOTE: Pls push this red button when you close the sun shelter. NOTA: Por favor, pulse este botón rojo cuando se cierra el refugio sol. REMARQUE: S'il vous plaît appuyez sur ce bouton rouge quand vous fermez l'abri du soleil. Step 3: Hold the black movable spring buckle on the leg.Slide it up until you hear it lock into place.Do the same for the remaining 5 legs.
- Página 6 ASSEMBLY INSTRUCTIONS FIGURE 1 FIGURE 2 Step 5: 1) Step on the leg plastic base.Adjust the canopy height by lifting the leg until the leg locks into place,please see FIGURE 1.Do the same for the remaining 5 legs. 2) Hook the fabric of legs to bottom hole on inner pole,please see FIGURE 2. Paso 5: 1) Paso en la pierna base de...
- Página 7 ASSEMBLY INSTRUCTIONS FIGURE 2 FIGURE 3 rope FIGURE 1 Step 7: 1) Insert one steel stake F into a hole on the leg plastic base,please see FIGURE 1, secure the canopy to the round,do the same on the other 5 bases. 2) Tie rope E to the plastic ring on the corner of the canopy fabric,please see FIGURE 2.Tie the other end to the ground stake,please see FIGURE 3.Adjust the tension on all 6 ropes for additional support.

