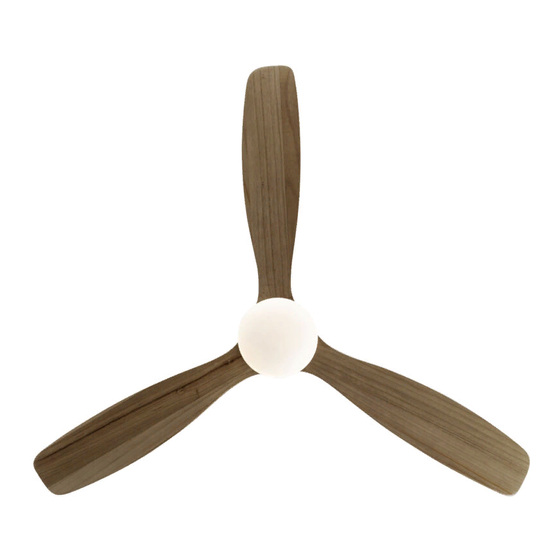
SCHULLER SIROCO Guia De Instalacion
Ocultar thumbs
Ver también para SIROCO:
- Guia de instalacion (12 páginas) ,
- Guia de instalacion (16 páginas) ,
- Guia de instalacion (16 páginas)
Publicidad
Idiomas disponibles
Idiomas disponibles
Publicidad
Tabla de contenido

Resumen de contenidos para SCHULLER SIROCO
- Página 1 SIROCO VENTILADOR DE TECHO 329514 GUÍA DE INSTALACIÓN Rev.03.21...
- Página 2 LISTADO DE COMPONENTES INCLUIDOS. Abra con cuidado el embalaje. Retire los elementos de las inserciones de espuma de poliestireno. Retire la carcasa del motor y colóquela sobre una alfombra o espuma de poliestireno para evitar dañar el acabado. Nota: Verifique con el inventario de piezas que se hayan incluido todas las piezas antes de iniciar la instalación.
-
Página 3: Preparación De La Instalación
GUIA DE INSTALACIÓN Preparación de la instalación: Para evitar lesiones personales y daños, asegúrese de que la ubicación para colgar permita 2,3 metros libre desde suelo hasta las aspas y 76cm libres en la horizontal desde cualquier pared o elemento constructivo. -
Página 4: Mo Ontaje De E Los Com
ontaje de e los com mponente es del ve entilador 1- C Conexión d de módulo y fijación a a techo de el ventilado - Co onectar el m módulo de c control al v ventilador: C Conecte los cables del cuerpo sigu uiendo la gu uía de color... - Página 5 3- Montaje de la placa iluminación. Montar el plafón metálico fijándolo bajo las aspas. -Conectar la Placa LED a los cables que salen de la cara inferior del motor, mediante la ficha de conexión rápida. Después fijar la placa LED, mediante sus imanes, en el plafón metálico. 7- Colocar el difusor de cristal.
- Página 6 Función INVERTER ( INVIERNO / VERANO) cambio de sentido de giro. TEMPORIZADOR: 1 hora / 2 horas / 4 horas / 8 horas. SCHULLER RECOMIENDA LA COLOCACIÓN DE PROTECTORES DE SOBRETENSIÓN PARA EVITAR LOS DAÑOS EN LOS COMPONENTES ELECTRÓNICOS DE LA LUMINARIA LED.Disponibles en nuestro catálogo.
- Página 7 SIROCO CEILING FAN 329514 INSTALLATION GUIDE Rev.03.21...
- Página 8 LIST OF INCLUDED COMPONENTS Carefully open the packaging. Remove the elements from the Styrofoam inserts. Remove the motor housing and place it on a carpet or on some Styrofoam to avoid damaging the finish. Note: Check the parts inventory to ensure that all parts have been included before commencing installation.
-
Página 9: Installation Preparation
INSTALLATION GUIDE Installation preparation: To avoid personal injury and damage, ensure that the hanging position allows for at least 2.3 meters between the floor and the blades and that there is at least 76cm of horizontal distance between the fan and any wall or other obstruction. - Página 10 sembling g the fan n compo nents: 1- C Connecting g the contro ol module and fixing fan to the ceiling. - Co onnect the c control mod dule to the fa an: Connec ct cables fro om the fan b body accord ding to the c colour guide e...
- Página 11 3- Fitting the ceiling light. Fit the metal light ring by fixing it in place under the blades 4-Connect the LED Board to the cables from the lower end of the motor, using the quick splice connector. Then fix the LED board in place onto the metal ring, by means of the magnets. 5- Fitting the glass shade .
- Página 12 • INVERTER function (WINTER / SUMMER) change of direction of rotation. TIMER: 1 hour / 2 hours / 4 hours / 8 hours. SCHULLER RECOMMENDS TO PLACE SURGE PROTECTORS TO AVOID DAMAGES TO THE ELECTRONIC COMPONENTS OF THE LED LUMINAIRE. Available in our catalogue If you have any technical questions, please do not hesitate to contact our technical Department.
