Publicidad
Enlaces rápidos
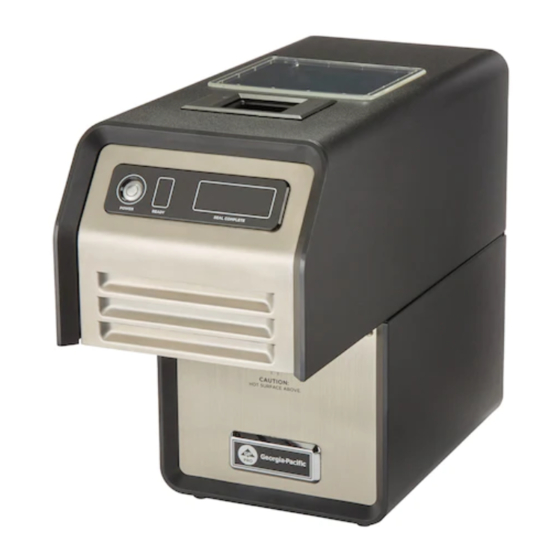
ASM S310
Accessory Installation Guide
SKU: PATRON-ASM-KIT
Supports installation of: base stand, cup guide &
front display cover
Conçu pour l'installation : du support de base, du
guide de coupelle et du capot d'a chage avant
Permite la instalación de: soporte de la base, guía
de copas y cubierta de la pantalla frontal
1-866-HELLOGP
1-866-435-5647
www.gppro.com
PRT - 0000001823 - REV A
© 2021 GP PRO. All rights reserved
Publicidad

Resumen de contenidos para Georgia-Pacific GP PRO ASM S310
- Página 1 ASM S310 Accessory Installation Guide SKU: PATRON-ASM-KIT Supports installation of: base stand, cup guide & front display cover Conçu pour l'installation : du support de base, du guide de coupelle et du capot d'a chage avant Permite la instalación de: soporte de la base, guía de copas y cubierta de la pantalla frontal 1-866-HELLOGP PRT - 0000001823 - REV A...
- Página 2 UNIT ACCESSORIES INSTALLATION KIT 2” BASE STAND l SUPPORT DE BASE 5,8 cm l SOPORTE DE LA BASE DE 5,8 cm Needed for attaching the Cup Guide, also elevates unit up by 2” (installation page 2) BACK ALIGNMENT TAB Nécessaire pour fixer le guide de coupelle, élève également l'unité...
- Página 3 BASE STAND SKU: STAND-ASM-PART INSTALLATION STEP 1 l ÉTAPE 1 l PASO 1 Place stand on counter with front tab facing forward and lower the unit onto the stand Placez le support sur le comptoir avec la languette frontale dirigée vers l'avant et abaissez l'unité...
- Página 4 CUP GUIDE SKU: FUNNEL-ASM-PART INSTALLATION STEP 1 l ÉTAPE 1 l PASO 1 Tilt cup guide forward and guide the ‘cup guide hooks’ toward the holes in the front of the base stand. Inclinez le guide de coupelle vers l'avant et guidez les «...
- Página 5 FRONT DISPLAY COVER SKU: INST-PLT-ASM-PART INSTALLATION PART 1 STEP 1 l ÉTAPE 1 l PASO 1 EXISTING FRONT Start with removing the front bezel (shown BEZEL in blue). Open the lid to access the screws holding it in place. Commencez par retirer le panneau avant (indiqué...
- Página 6 FRONT DISPLAY COVER SKU: INST-PLT-ASM-PART INSTALLATION PART 2 STEP 4 l ÉTAPE 4 l PASO 4 Guide the ‘Display Cover’ in place, snapping top clip in and aligning posts to screw holes. TOP CLIP Guider le « capot d'a chage » pour le positionner correctement, en enclenchant le clip supérieur et en alignant les montants sur les trous des vis.