
Manuales relacionados para nemo UNTITLED reading


Resumen de contenidos para nemo UNTITLED reading
- Página 1 Istruzioni per il montaggio Assembly instructions Instructions pour le montage Montageanleitung Instrucciones para el montaje Bernhard Osann UNTITLED CODE reading 072UNT000320 07/07/2022...
- Página 2 Contenuto imballo / Box contents / Packungsinhalt / Contenu de l’emballage / Contenido de la confección Installazione / Installation / Installation / Installation / Instalación inserire la lampada nel perno della base insert the lamp into the base pin...
- Página 3 Selezionare la spina corretta Choose the correct plug Collegare Plug PREMERE PREMERE sulle linee per accendere e spegnere PUSH on the lines PUSH to switch on/o TENERE PREMUTO per dimmerare KEEP PRESSED to dim Solo per la versione Cone / Only for Cone version Ricambi / Spare parts / Ersatzteile / Rechangees / Recambios...
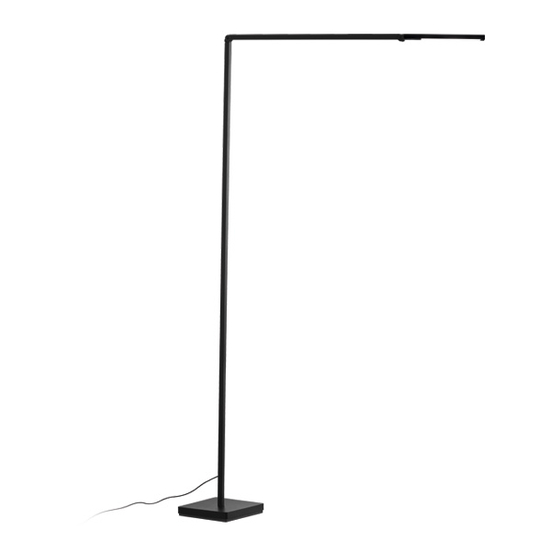
- Página 4 155° 155° 330° 360° Avvertenze / Warning Al primo utilizzo, se le giunzioni sembrano allentate, muovere le braccia almeno 10 volte per assestare gli snodi. At first use, if the junctions feels loose, move the arms 10 times to set up back the junctions Tutti gli snodi sono calibrati Vite Torx T10 All junctions are calibrated...
- Página 5 155° 155° 330° 360° Avvertenze / Warning Al primo utilizzo, se le giunzioni sembrano allentate, muovere le braccia almeno 10 volte per assestare gli snodi. At first use, if the junctions feels loose, move the arms 10 times to set up back the junctions Tutti gli snodi sono calibrati Vite Torx T10 All junctions are calibrated...
- Página 6 155° 155° 330° 360° Avvertenze / Warning Al primo utilizzo, se le giunzioni sembrano allentate, muovere le braccia almeno 10 volte per assestare gli snodi. At first use, if the junctions feels loose, move the arms 10 times to set up back the junctions Tutti gli snodi sono calibrati Vite Torx T10 All junctions are calibrated...
- Página 7 NOTE...
- Página 8 LED sources. / déclarée de ±5% . / NEMO se range di ±5% / NEMO si We recommend you to keep réserve le droit de modi er...
- Página 9 ± peratur (CCT) der eingesetz- nominal declarado en un 5%. / A NEMO reserva-se o ten LED-Quellen kann vom rango de ± 5%. / NEMO se direito de fazer quaisquer angegebenen Nennwert ± reserva el derecho de realizar alterações técnicas...
- Página 10 ITALIANO ENGLISH FRANÇAISE Questo apparecchio This lamp been Cet appareil d'illumination illuminazione è prodotto in manufactured in conform- est produit en conformité conformità alla Direttiva ity with EU Directive avec Directive 2002/96/CE. 2002/96/EC. 2002/96/CE. Le symbole simbolo cassonetto crossed-out wheelie bin du conteneur rayé...
- Página 11 DEUTSCH ESPAÑOL PORTUGUÊS Dieser Beleuchtungskörper Este aparato de iluminación Este aparelho wurde in Übereinstimmung se ha fabricado en confor- iluminação é fabricado em mit der Richtlinie EU midad con la Directiva EU conformidade 2002/96/ 2002/96/CE hergestellt. 2002/96/CE. El símbolo Directiva Das Symbol der durchge- del contenedor tachado 2002/96/CE.
- Página 12 INSTRUCTIONS POUR LE NETTOYAGE DE LA LAMPE Pour le nettoyage de la lampe, utiliser exclusivement un chi on. NEMO Srl Copyright © 2022 NEMO Srl Milano, Italia. Viale Brianza, 30 - 20823 Lentate sul Seveso (MB) ITALY The text and images are protected by copyright.