Tabla de contenido
Publicidad
Enlaces rápidos
Installation
Instructions
If you have questions, call GE Appliances at 800.GE.CARES (800.432.2737)
or visit our website at: GEAppliances.com
BEFORE YOU BEGIN
Read these instructions carefully and completely.
IMPORTANT
IMPORTANT
Note to Installer –
Note to Consumer –
CAUTION
REQUIRED FOR PROPER INSTALLATION.
FOR YOUR SAFETY:
WARNING
–
–
TWO PEOPLE ARE
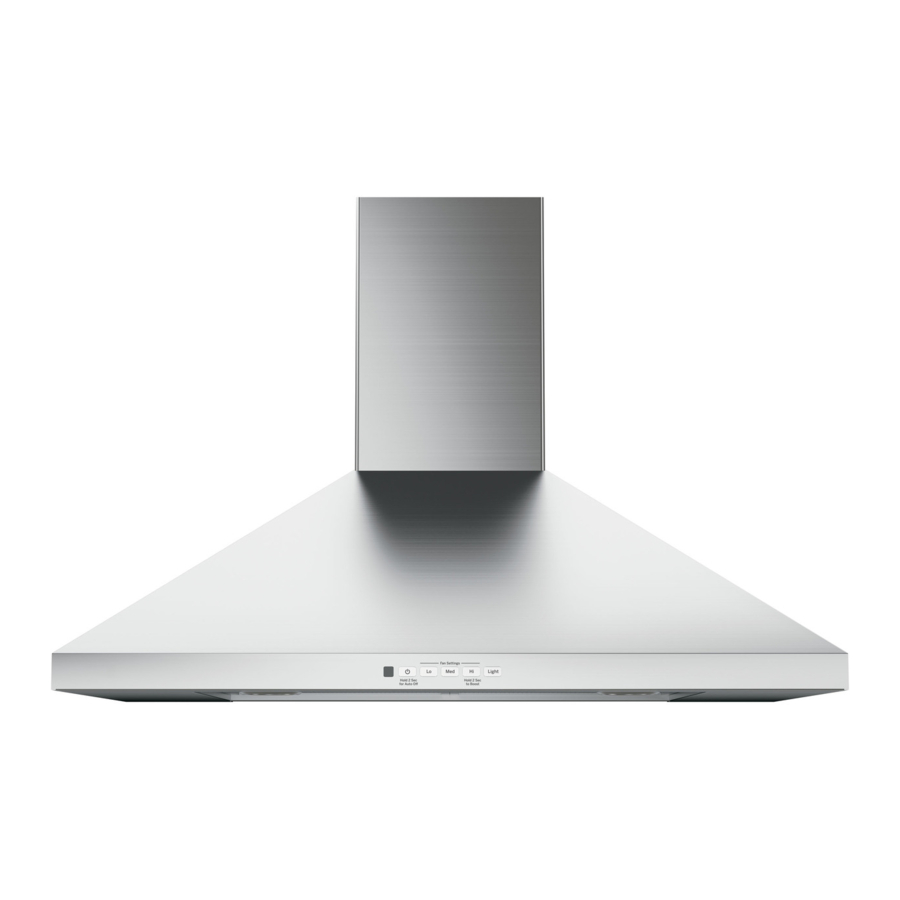
Pyramid Wall
Chimney Vent Hoods
JVW5301, JVW5361
Skill level –
Completion time –
WARNING
ELECTRIC SHOCK OR INJURY TO PERSONS,
OBSERVE THE FOLLOWING:
WARNING
USE ONLY METAL DUCT WORK.
TO REDUCE THE RISK OF FIRE,
TO REDUCE THE RISK OF FIRE,
Publicidad
Tabla de contenido

Resumen de contenidos para GEA JVW5301
- Página 1 Installation Pyramid Wall Chimney Vent Hoods Instructions JVW5301, JVW5361 If you have questions, call GE Appliances at 800.GE.CARES (800.432.2737) or visit our website at: GEAppliances.com BEFORE YOU BEGIN Read these instructions carefully and completely. Skill level – IMPORTANT – Completion time –...
-
Página 2: Installation Instructions
Installation Instructions PRODUCT DIMENSIONS INSTALLATION CLEARANCES NOTE: Recirculation Install Planning 31-10983-7... -
Página 3: Power Supply
Installation Instructions POWER SUPPLY IMPORTANT – (Please read carefully) WARNING ADVANCE PLANNING Electrical supply Duct Install Planning Grounding instructions WARNING Recirculation Install Planning Power Supply Planning Prepare the Wall 31-10983-7... -
Página 4: Tools And Materials Required
Installation Instructions TOOLS AND MATERIALS REQUIRED PLAN THE INSTALLATION (NOT SUPPLIED) CAUTION PARTS SUPPLIED FOR INSTALLATION PARTS NEEDED FOR INSTALLATION WARNING PERSONAL INJURY HAZARD NOTE: REMOVE THE PACKAGING CAUTION NOTE: 31-10983-7... - Página 5 Installation Instructions RANGE HOOD COMPONENTS RANGE HOOD RECIRCULATION COMPONENT HARDWARE COMPONENTS 31-10983-7...
-
Página 6: Installation Dimensions
Installation Instructions Ceiling INSTALLATION DIMENSIONS Height JXDC72 JX10DC53 (Actual) Included (Accessory) (Accessory) 31-10983-7... - Página 7 Installation Instructions PREPARE THE WALL Hood Body Duct Covers and Power Supply Ceiling 1/16" 10-1/2" 5-1/2" 5-1/2" 6-1/4" 7" 7-7/8" 7-7/8" 4-5/16" 1-1/4" 31-10983-7...
- Página 8 Installation Instructions PREPARE HOOD FOR INSTALLATION Non-vented (recirculation) Installations NOTE: Vented Installations Mount the Range Hood Non-vented (recirculation) Installations MOUNT THE PYRAMID RANGE HOOD NOTE: damper is not installed on the unit with recirculation installations. NOTE: 31-10983-7...
-
Página 9: Electrical Connection
Installation Instructions ELECTRICAL CONNECTION FINISH THE INSTALLATION (Continued) FINISH THE INSTALLATION For recirculation and ducted installation: 31-10983-7... - Página 10 Notes 31-10983-7...
-
Página 11: Campanas De Ventilación De Chimeneas De Pared Pirámide
Instrucciones Campanas de Ventilación de Chimeneas de Pared Pirámide de instalación JVW5301, JVW5361 Ante cualquier duda, llame a GE Appliances al 800.GE.CARES (800.432.2737) o visite nuestro sitio Web en: GEAppliances.com ANTES DE COMENZAR Lea estas instrucciones por completo y con detenimiento. -
Página 12: Preparación Para La Instalación
Preparación para la instalación DIMENSIONES DEL PRODUCTO ESPACIO DE INSTALACIÓN NOTA: Recirculación. 31-10983-7... -
Página 13: Suministro De Energía
Preparación para la instalación SUMINISTRO DE ENERGÍA IMPORTANTE – (Tenga a bien leer cuidadosamente) ADVERTENCIA Suministro eléctrico PLANIFICACIÓN PREVIA Instrucciones de conexión a tierra ADVERTENCIA 31-10983-7... -
Página 14: Herramientas Y Materiales Requeridos (No Suministrados)
Preparación para la instalación HERRAMIENTAS Y MATERIALES PLAN DE INSTALACIÓN REQUERIDOS (NO SUMINISTRADOS) PRECAUCIÓN PIEZAS PROVISTAS PARA LA INSTALACIÓN PIEZAS NECESARIAS PARA LA INSTALACIÓN ADVERTENCIA ! RIESGO DE LESIONES PERSONALES QUITE EL ENVOLTORIO NOTA: PRECAUCIÓN NOTA: 31-10983-7... -
Página 15: Componentes De La Campana Extractora
Preparación para la instalación COMPONENTES DE LA CAMPANA COMPONENTES DE RECIRCULACIÓN EXTRACTORA COMPONENTES DE LAS HERRAMIENTAS 31-10983-7... -
Página 16: Dimensiones De Instalación
Preparación para la instalación Altura del DIMENSIONES DE INSTALACIÓN Cielorraso JXDC72 JX10DC53 (Real) Incluido (Accesorio) (Accesorio) Ejemplos de Altura Mínima Requerida y Altura Máxima Recomendada de Cielorraso x = 24" x = 38" Mín. Mín Máx. Máx. 31-10983-7... - Página 17 Preparación para la instalación PREPARE LA PARED Cuerpo de la Campana y Suministro de Corriente Cubiertas de Conductos Ceiling 1/16" 10-1/2" 5-1/2" 5-1/2" 6-1/4" 7" 7-7/8" 7-7/8" 4-5/16" 1-1/4" 31-10983-7...
-
Página 18: Prepare La Campana Para Su Instalación
Preparación para la instalación PREPARE LA CAMPANA PARA SU Instalaciones sin ventilación (Recirculación) (continúa) INSTALACIÓN NOTA: Instalaciones Ventiladas MONTE LA CAMPANA DE LA COCINA Instalaciones Sin Ventilación (Recirculación) PIRÁMIDE NOTA: El regulador no está instalado en la unidad con instalaciones de recirculación. -
Página 19: Conexión Eléctrica
Preparación para la instalación CONEXIÓN ELÉCTRICA FINALICE LA INSTALACIÓN (continúa) FINALICE LA INSTALACIÓN Para instalaciones de recirculación y con conducto: 31-10983-7... - Página 20 Notas 31-10983-7...

