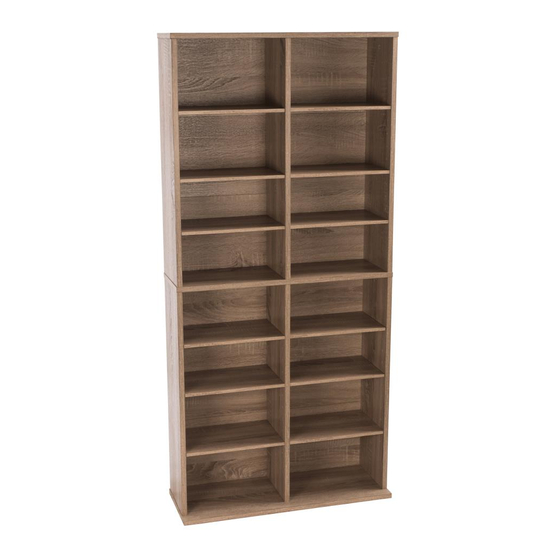
Resumen de contenidos para Atlantic Henley 38436252
- Página 1 Henley Multimedia Cabinet Item#: 38436252, 38408138 Customer Service: 800-747-2660 Ver. 02 08/13/20...
-
Página 2: Care Instructions
Assembly Tips: Become familiar with the instructions and all parts. Make sure that all parts are in the box and in good condition. Assemble the product on the open flat carton or a rug to protect the product and your floor. Some heavy products need a second person to assist in the assembly. -
Página 3: Parts List/ Lista De Piezas
Parts List/ Lista de Piezas Safety Wall Mount Components Componentes de Seguridad para Montaje en Pared Tools Needed (not included) Herramanientas requeridas (no incluidas) Drill and Drill Bit Phillips Screwdriver Pencil Taladro eléctrico Destornillador Phillips Lápiz y broca 1/4” Hammer Stud Finder Detector de vigas Martillo... - Página 4 AA x 6 A x 1 B x 1 Using a Phillips screwdriver, screw six metal cam screws (AA) into center holes of panels (A) and (B). Con un destornillador Phillips, atornille seis tornillos de leva metálicos (AA) en los orificos centrales de los paneles (A) y (B).
- Página 5 CC x 6 B x 1 To connect panel (B) to (D, F, and E), insert six screws (CC) into panel (B). Using a Phillips screwdriver, tighten screws. Do not over-tighten screws. Para conectar el panel (B) a (D, F y E), inserte seis tornillos (CC) en el panel (B).
- Página 6 CC x 6 C x 1 To connect panel (C) to (D, F, and E), insert six screws (CC) into panel (C). Using a Phillips screwdriver tighten screws. Do not over-tighten screws. Para conectar el panel (C) a (D, F y E), inserte seis tornillos (CC) en el panel (C).
-
Página 7: Wood Stud Mounting Montaje De Madera
FF x 48 G x 12 Place the cabinet in an upright position. Insert 48 metal pins (FF) into the cabinet at the desired shelf heights. Use four pins per shelf. Assembly completed. Coloque el gabinete en posición vertical. Inserte 48 clavijas metálicas (FF) en el gabinete a la altura deseada de los estantes. -
Página 8: Masonry Mounting Montaje De Mampostería
EE.UU. y Canadá, y excluye reclamaciones de condiciones, mal funcionamiento o daños no resultantes de defectos en material o fabricación. La duración de la garantía se de un año. ©2020 Atlantic Inc. Santa Fe Springs, CA. U.S.A All rights reserved / Derechos Reservados Made in China / Hecho en China www.atlantic-inc.com...


