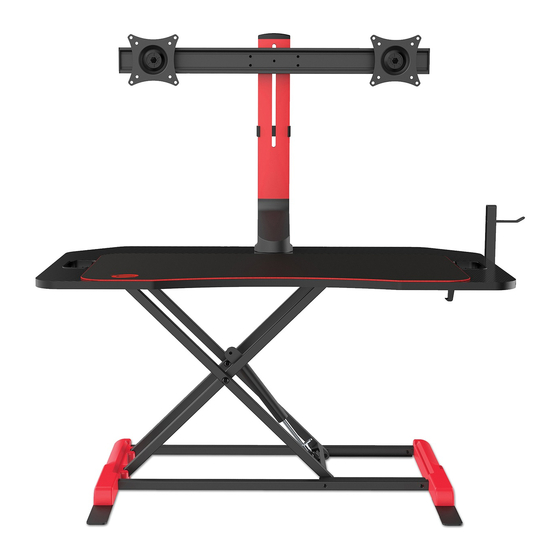
Resumen de contenidos para Atlantic Dardashti 33906166
- Página 1 Dardashti Gaming Riser Item#/Artículo#: 33906166 VESA: Monitor: 27” Max. Desktop/Escritorio: 75x75, 100x100 15.4 lbs (7kg)x2 Max. 33 lbs (15kg) Max. Customer Service: 800-747-2660 Ver. 01 12/8/20...
-
Página 2: Care Instructions
Assembly Tips: Become familiar with the instructions and all parts. Make sure that all parts are in the box and in good condition. Assemble the product on the open flat carton or a rug to protect the product and your floor. Some heavy products need a second person to assist in the assembly. -
Página 3: Parts List/ Lista De Piezas
Parts List/ Lista de Piezas Item Item Components Components Artículo Componentes Artículo Componentes Cant. Cant. - Página 4 Lay the riser (A1) upside down. Peel off the protective stickers and attach two rubber pads (C1). Insert the two rubber pads (D1). Using Allen wrench (N) attach the headphone hook (B1) with two screws (E1). Ponga el elevador (A1) al revés. Quita las pegatinas protectora y coloca dos almohadillas de goma (C1).
- Página 5 Recommended Mount Attachment Remove plastic stopper revealing the mounting hole. Slide metal plate (L) over bolt (M), and then push bolt assembly (L and M) through from the bottom of the table top mounting hole. Position the mount assembly (A and B) until it aligns with the bolt assembly. Use Allen wrench (O) turning clockwise to attach the mount assembly to the desktop.
- Página 6 For desktops 10-20mm thick. Para escritorios de 10 a 20 mm de grosor. Alternate Mount Attachment Remove the plastic part from clamp (C), flip it over and reattach it. Retire la parte plástica de la abrazadera (C), déle la vuelta y volver a colocarla. Alternate Mount Attachment Attach the mount assembly (A and B) to your desktop using Allen wrench (N).
- Página 7 Remove T-knob loosen the four captive screws on mounting bar (F). Slide bracket (F) on to the mount assembly (A and B). Tighten T-knob at desired position. Tighten four captive screws with Allen wrench (N) to attach mounting bar (F). Retire el pomo en T y afloje los cuatro tornillos cautivos en la barra de montaje (F).
- Página 8 ±10° ±10° Adjust each monitor tilt and swivel. Use a +10° Phillips screwdriver to lock each monitor ±180° -10° in place. ±180° Ajuste la inclinación y el giro de cada monitor. Use un Phillips destornillador para bloquear cada monitor en su lugar. Remove the protective strips from two cable clips (F1), and attach them under the desktop.
-
Página 9: Product Warranty
Product Warranty Thank you for your Atlantic Inc. purchase. This Limited Warranty covers any defects in material or workmanship for purchases made in the U.S.A. and Canada, and excludes claims from conditions, malfunctions or damage not resulting from defects in material or workmanship. The warranty duration is three years.


