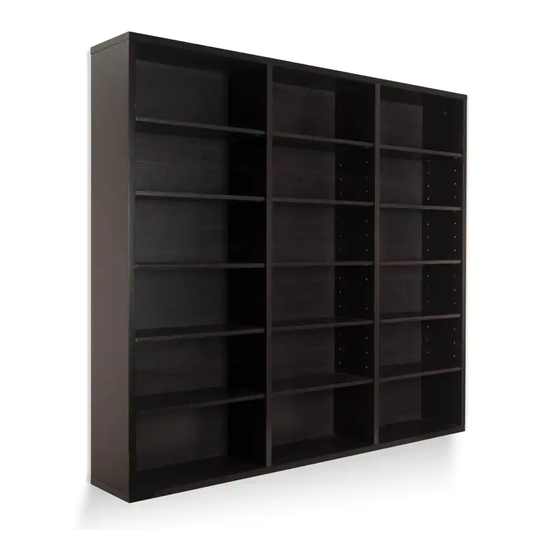
Resumen de contenidos para Atlantic Oskar 540 38436261
- Página 1 Oskar 540 Wall Mount Media Storage Cabinet Customer Service: 800-747-2660 Item # 38436261 Ver. 01 12/27/19...
- Página 2 Tools Needed (Not Included) Haramientas requeridas/ no incluidas Bubble Level Phillips screwdriver Stud Finder Pencil Power drill Hammer Nivel de Burbuja Destornillador Phillips Detector de Vigas Lápiz Taladro eléctrico Martillo Paper Template...
- Página 3 Attach 4 cam screws (AA) to panels C and D with a screw Attach 7 cam screws (AA) into panel A. Press 10 wood dowels -driver. Slide panels C and D into panel H. Insert 4 cam locks (DD) into holes adjacent to the 7 cam screws in panel A. Slide (BB) into panel H and lock each with screwdriver turning panels C, D, E and K over dowels and cam screws on panel A.
- Página 4 Insert one panel G into the side panel slots, sliding it to the Attach panel B with 8 screws (CC) using a Phillips screwdriver. bottom. Note the location of the unfinished side of the panel. Insert three more G panels, making sure there is a snug fit. Fije el panel B con 8 tornillos (CC) usando un destornillador Phillips.
- Página 5 Attach back panels (G) with 14 screws (EE) using a Phillips Set cabinet upright. Insert pins (FF) at desired height. Place screwdriver. shelves (F) on pins (FF). Fije los paneles traseros (G) con 14 tornillos (EE) usando un Coloque el gabinete en posición vertical. Inserte los pasadores tornillo Phillips destornillador.
- Página 6 Mount on Drywall Studs 16” Apart Montaje en Panel de Yeso Vigas de 16” Separación Locate three adjacent studs with a stud finder. Hold the Localice tres vigas con un detector de vigas. Sostén la paper template (L) against the wall to mark six holes. plantilla de papel (L) contra la pared para marcar six Check level with the bubble level and drill holes with a agujeros.
- Página 7 Mount on Drywall Studs 24” Apart Montaje en Panel de Yeso Vigas de 24” Separación Locate two adjacent studs with a stud finder. Hold the Localice dos vigas con un detector de vigas. Sostén la paper template (L) against the wall to mark four holes. plantilla de papel (L) contra la pared para marcar cuatro Check level with the bubble level and drill holes with a agujeros.
-
Página 8: Montaje En Mamposteria
Mount on Masonry Montaje en Mamposteria Hold the paper template (L) against the wall to mark five Sostén la plantilla de papel (L) contra la pared para marcar holes. Check level with the bubble level and drill holes cinco agujeros. Comprobar el nivel con el nivel de burbuja y with a 3/8”... - Página 9 Two people must lift the cabinet, so the cleat is above the Completed. matching wall mount. (See a.) Position the cabinet flush to the wall (See b.) and carefully slide it down until it is supported Completado. by the wall mount. (See c.) Dos personas deben levantar el gabinete de modo que la soporte de pared esté...
-
Página 10: Product Warranty
NO lo devuelva a la tienda. Por favor póngase en contacto con el servicio al cliente al (800) 747-2660 de unes a jueves, de 8am a 5pm; viernes, de 8am a 12pm (Hora del Pacifico). Por favor guarde este Manual de Instrucciones para futura referencia. ©2019 Atlantic Inc. Santa Fe Springs, CA. U.S.A Made in China Hecho en China All rights reserved www.atlantic-inc.com...


