Tabla de contenido
Publicidad
Idiomas disponibles
Idiomas disponibles
Enlaces rápidos
Publicidad
Tabla de contenido

Resumen de contenidos para Klip Xtreme UltraBoom Pro
- Página 1 UltraBoom Pro KLS-750...
-
Página 2: Product Overview
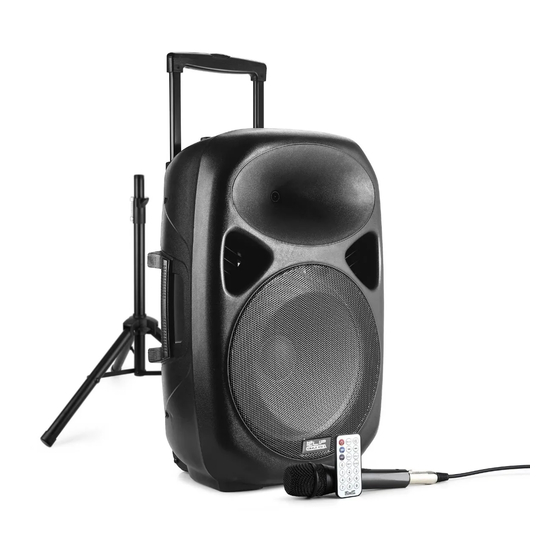
III. Product overview Front panel I. Introduction Congratulations on the purchase of your new Klip Xtreme® KLS-750 All-in-One DJ Loudspeaker System with wireless technology. We invite you to visit us at www.klipxtreme.com for support and to find out more about this audio system and other new and exciting products. -
Página 3: Remote Control
Remote control Control Description This screen displays the selected input mode: Bluetooth , USB, SD and tuner ® 1. LCD display In addition to the panel controls, an infrared remote control is included which provides additional Note: Remove the plastic protector film from LCD display before use functions to allow greater control over the media player. -
Página 4: Initial Setup
IV. Initial setup 4. Insert the locking pin into the pole hole, to secure the speaker cabinet at the set height. Note: For your safety, read this manual and follow all safety instructions before using the product. Turn the volume control on the rear panel fully counterclockwise. Set the bass and treble equalizer controls to the 12 o’clock position. -
Página 5: Technical Specifications
7. To secure the speaker on the stand, finish by tightening the knob clockwise. Technical specifications KLS-750 Device Type Party loudspeaker system Maximum power output (Reference R.M.S.) 360W Maximum power output (P.M.P.O.) 3000W Speaker Driver unit 15-inch subwoofer plus 1-inch tweeter Frequency Subwoofer: 20Hz-100Hz Tweeter: 120Hz-20kHz... -
Página 6: Introducción
Felicitaciones por la compra de su nuevo Sistema de Altoparlantes DJ todo en uno KLS-750 de Klip Xtreme®, con tecnología inalámbrica. • Reorient or relocate the receiving antenna. -
Página 7: Descripción Del Producto
III. Descripción del producto Control Descripción Esta pantalla exhibe el modo de entrada seleccionado: Bluetooth , USB, SD y el sintonizador ® 1. Pantalla LCD Nota: Retire la cubierta de plástico que protege la pantalla LCD antes de usar la unidad Panel frontal Conecte una unidad de memoria USB para reproducir archivos de música MP3 y WMA 2. -
Página 8: Control Remoto
IV. Configuración inicial Control remoto Nota: Por su seguridad, lea este manual y siga las instrucciones correspondientes antes de usar Además de los botones del panel, el sistema incluye un control remoto con sensor infrarrojo que integra este producto. funciones adicionales destinadas a ejercer mayor control sobre el sistema de audio. Gire el control del volumen, ubicado en el panel posterior, hasta su máxima regulación de la izquierda. -
Página 9: Funcionamiento Avanzado Cómo Emparejar El Parlante Con Dispositivos Móviles
4. Inserte el pasador de seguridad en el orificio del mástil para fijar el parlante a la altura establecida. 7. Para asegurar el parlante en la base, gire firmemente la perilla hacia la derecha. V. Funcionamiento avanzado Cómo emparejar el parlante con dispositivos móviles Nota: Antes de instalar este producto, debe asegurarse de que su dispositivo tenga la función incorporada. -
Página 10: Especificaciones Técnicas
• Si el ícono bLUE parpadea rápidamente: significa que la unidad ha pasado al modo de emparejamiento por Precauciones Bluetooth ® • Esta unidad NO debe ser usada para cualquier otro fin distinto al especificado. • Si el ícono bLUE parpadea lentamente: significa que el dispositivo está emparejado mediante el modo •... - Página 11 KlipXtreme is a registered trademark. All rights reserved. The Bluetooth word ® ® mark is a registered trademark owned by Bluetooth SIG, Inc. MICRO SD™ and SD™ are trademarks owned by SD-3C, LLC. Other trademarks and trade names are those of their respective owners. Any mention of such is only intended for identification purposes, and is not to be construed as a claim to any rights pertaining to, sponsorship by, or affiliation with, those brands.

