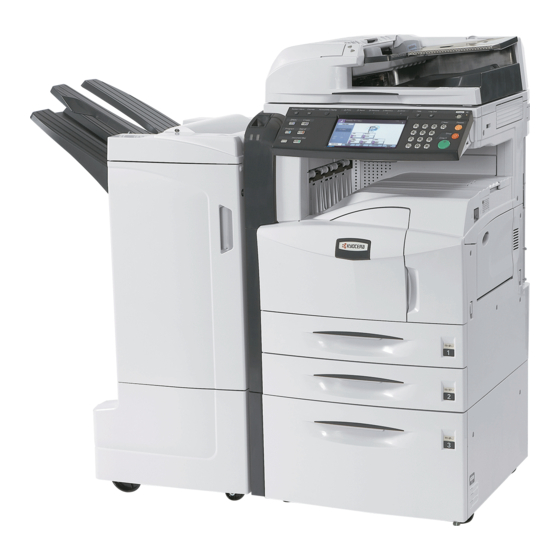
Resumen de contenidos para Kyocera PF-700
- Página 1 INSTALLATION GUIDE FOR PAPER FEEDER GUIDE D’INSTALLATION DU BUREAU PAPIER GUÍA DE INSTALACIÓN PARA EL ALIMENTADOR DE PAPEL INSTALLATIONSANLEITUNG FÜR PAPIEREINZUG GUIDA ALL’INSTALLAZIONE UNITÀ DI ALIMENTAZIONE DELLA CARTA 供纸工作台安装手册 ペーパーフィーダ設置手順書 PF-700/PF-710...
- Página 3 F Stay ..............2 Procedure English G TP screw, M4 × 10 .........2 Be sure to turn the MFP main switch off and disconnect the MFP power plug from the wall Supplied parts outlet before starting to install the paper feeder. A Paper feeder..........
- Página 4 Note 1. Remove the lower paper cassette (3) from 2. Place the MFP (6) on top of the paper feeder Remove the lift plate stopper (1) from each the MFP. (A) with the positioning pins (4) at the front paper cassette and attach it to the storage left and right of the paper feeder (A) aligned location (2).
- Página 5 3. Secure the MFP to the paper feeder (A) 4. Refit the lower paper cassette (3) removed in 5. Remove the screw (7) and then the cover (8) using the two pins (B). step 1 to the MFP. from the rear of the paper feeder. 6.
- Página 6 7. Insert the 12-P connector (10) of the paper 8. Route the harness (11) through the clamp (12) 10. Refit the cover (8) using the screw (7) on the retainer (C). feeder into the connector on the MFP. removed in step 5. Note Since the harness (11) may touch the motor, be sure to pass the harness (11) through the clamp...
- Página 7 11. Turn the four adjusters (13) until they reach For 120 and 220 – 240 V specifications only Note: Do not fit the stays (F) if the document 12. Fit the two stays (F) to the left of the paper the floor and adjust them to level the finisher is to be installed.
- Página 8 Checking the center line 3. Run maintenance item 993. Select “VTC 4. If the center of the paper (14) and that of the 1. Connect the MFP power plug to the wall PG1” and output a test pattern. test pattern output (15) do not meet the outlet and turn the MFP main switch on.
- Página 9 Adjusting the center line 4. Output the test pattern again. 1. Open the drawer (16) of the paper feeder and loosen the three screws (18) securing the adjuster 5. Repeat steps 1 to 4 until the centers of the (17). paper and the test pattern meet the reference value.
- Página 10 MEMO...
- Página 12 2005. 12 303J456710 Rev.1.0...

