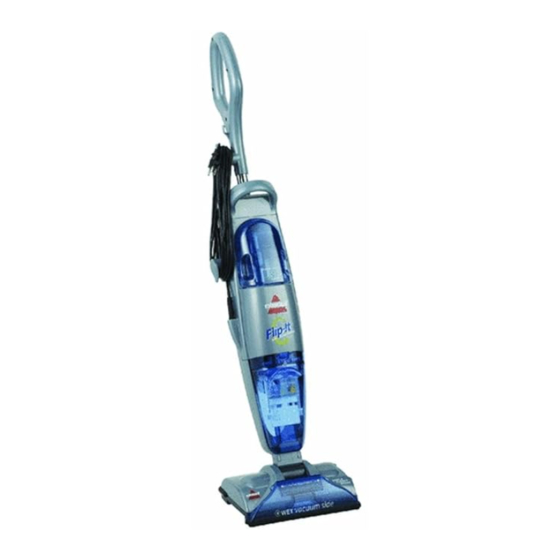
Resumen de contenidos para Bissell Flip-it 5200 Serie
-
Página 1: Tabla De Contenido
U S E R ’ S G U I D E 5200 Series Thanks Consumer Services Safety Instructions Product View Features / Assembly Operation Clean-Up / Storage Troubleshooting Replacement Parts About Your Warranty... -
Página 2: Thanks
Department, so, should you ever have a problem, you’ll receive fast, considerate assistance. My great-grandfather invented the floor sweeper in 1876. Today, BISSELL is a global leader in the design, manufacture, and service of high quality homecare products like your Flip-It. -
Página 3: Consumer Services
Grand Rapids MI 49501 ATTN: Consumer Services Or visit the BISSELL website - www.bissell.com When contacting BISSELL, have model number of unit available. Please record your Model Number: ___________________ Please record your Purchase Date: ___________________ NOTE: Please keep your original sales receipt. It provides proof of date of purchase... -
Página 4: Safety Instructions
120-volt circuit, and has a ■ Use only cleaning products formulated by grounding attachment plug that looks BISSELL for use in this appliance to prevent like the plug in the drawing above. internal component damage. See Cleaning Make certain that the appliance is Fluid Section of the manual. -
Página 5: Product View
Product View Spray Trigger Cord Clip Quick Release Cord Wrap Carry Handle Power Cord On/Off Switch Clean Tank Pleated Filter Dirty Tank Removable Gentle Clean™ Brush & Pad Removable Dry Vacuum Wet Vacuum Wet Clean™ Suction Path Suction Path Nozzle CAUTION: Do not over wet the floor. -
Página 6: Features / Assembly
The Pleated Filter, located in the lid of the Dirty Tank should be cleaned periodically. Putting It Together Assembling your new BISSELL Flip-It is a simple 2 Step Process: NOTE: Remove clean tank from unit first. Insert the Handle into the top of the unit, making sure the Spray Trigger is on the Wet Vacuum side. -
Página 7: Getting Ready
Pad Plate. Filling the Clean Tank: This will aid in the flow of Fill with BISSELL Formula to the Formula fill line water and formula to clean and fill with Water to the Water Line. Replace the sticky grime and spots. -
Página 8: Dry Vacuuming
Dry Vacuuming With the Dry Side of the unit facing forward, turn the unit on and begin cleaning. You will see dry dirt, crumbs and debris being collected in the Dirty Tank. You do not have to empty the dry debris before wet cleaning. Tip: Flipping from Dry to Wet Cleaning To extend the life of your... - Página 9 Tip: Dirty Tank Is Full While Wet Cleaning, you will see dirty water While using the Flip-It in the collected in the Dirty Tank. When the Tank is full, the Wet Cleaning mode, make white Float in the Dirty Tank will rise to the top, sure to listen for the change making a noticeable sound to let you know it is time to in the sound to alert you...
-
Página 10: Troubleshooting
Storing The Flip-It Tip: Your Flip It can be stored Ready-to-Use, by leaving water If the Pleated Filter is rinsed and formula in the unit. Be sure to remove wet Gentle with warm water to clean, Clean™ Pad before storing. it is recommended to leave it out of the unit to air dry before placing it back in... -
Página 11: Replacement Parts
Replacement Parts Item Part No. Part Name 203-6705 Filter 203-6706 Dirty Tank Lid Assembly 203-6707 Dirty Tank 203-6708 Wet Vacuum Nozzle 203-6710 Clean Tank 203-6711 Handle with Screw -Acier 203-6712 Handle with Screw -Bronze Pearl 203-6713 Clean Tank Cap with Insert Assembly 203-6714 Cord Wrap - Acier 203-6715... -
Página 12: About Your Warranty
Subject to the *EXCEPTIONS AND EXCLUSIONS identified below, upon receipt of the product BISSELL Homecare, Inc. will repair or replace (with new or remanufactured components or products), at BISSELL’s option, free of charge from the date of purchase by the original purchaser, for one year any defective or malfunctioning part.


