Publicidad
Enlaces rápidos
Model # BMHWWH0114
you have placed in LivingEssentials through the purchase of this jewelry cabinet.
Assembly Instruction
Instrucción De Montaje
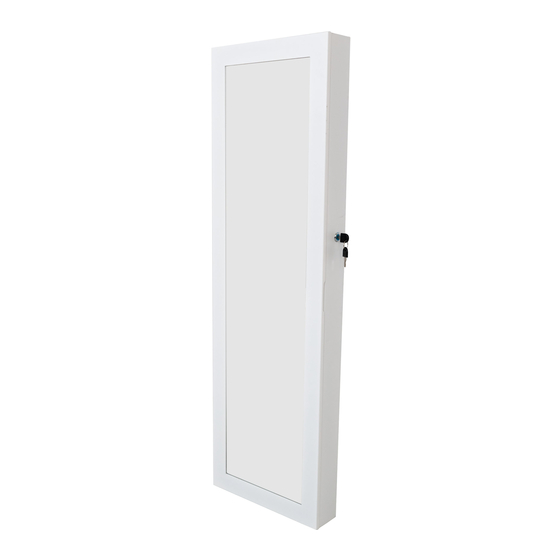
Darlene Jewelry Cabinet
Darlene Joyero con Espejo
THANK YOU
We appreciate the trust and confidence
Thank you for choosing LivingEssentials !
Publicidad

Resumen de contenidos para Living Essentials BMHWWH0114
- Página 1 Assembly Instruction Instrucción De Montaje Darlene Jewelry Cabinet Darlene Joyero con Espejo Model # BMHWWH0114 THANK YOU We appreciate the trust and confidence you have placed in LivingEssentials through the purchase of this jewelry cabinet. Thank you for choosing LivingEssentials !
- Página 2 NO EXPEDITED Service available (for example; next day air, 2 day air service, 3 day air), there will NOT be any exceptions. LIVING ESSENTIALS is not responsible for any consequential damages, which may arise out of the purchase, or use of any of our product/s.
-
Página 3: Before Beginning
Darlene Jewelry Cabinet Darlene Joyero con Espejo Model # BMHWWH0114 INSTALLATION INSTRUCTIONS INSTRUCCIONES DE INSTALACIÓN BEFORE BEGINNING ANTES DE EMPEZAR • Lea todas las instrucciones • Please read all instructions carefully. cuidadosamente. • Familiarize yourself with all parts • Familiarícese con todas las piezas (see "PARTS") and check quantities. - Página 4 SAFETY PRECAUTIONS | PRECAUCIONES DE SEGURIDAD WARNING ADVERTENCIA • This unit contains small parts which could be • Este producto contiene piezas pequeñas que a choking hazard for small children. Children pueden causar peligro de asfixia a niños should be under adult supervision at all times pequeños.
- Página 5 PARTS | PIEZAS...
- Página 6 THE 1ST INSTALLATION | LA PRIMERA INSTALACIÓN STEP 1 Insert the screw(D) through the metal plate hole(F) into the back of jewelry cabinet. Inserte el tornillo (D) a través del orificio de la placa metálica (F) en la parte posterior PASO 1 del gabinete de la joyería.
- Página 7 THE 1ST INSTALLATION | LA PRIMERA INSTALACIÓN Insert the plastic plug(B) and screw(C) into the wall using the tools-drill / hammer STEP 2 / screw driver, make the whole one fix on the wall. Inserte el tapón de plástico (B) y el tornillo (C) en la pared con las herramientas-taladro PASO 2 / martillo / destornillador, hace que todo se arregle en la pared.
- Página 8 THE 1ST INSTALLATION | LA PRIMERA INSTALACIÓN Open the jewelry cabinet, there are LED lights on the top inside, they are battery-operated, 3 batteries is required (not included). The lights are controlled STEP 3 by the magnetic sensor, when the door opens the lights turn Abren gabinete de la joyería, hay luces LED en la parte superior interior, funcionan con PASO 3 baterías, se requieren 3 baterías (no incluidas).
- Página 9 THE 2ND INSTALLATION | LA SEGUNDA INSTALACIÓN STEP 1 Insert the screw(D) through the metal plate hole(E) into the back of jewelry cabinet. Inserte el tornillo (D) a través del orificio de la placa metálica (E) en la parte posterior PASO 1 del gabinete de la joyería.
- Página 10 THE 2ND INSTALLATION | LA SEGUNDA INSTALACIÓN STEP 2 Hang the jewelry cabinet on the door or on the cabinet door. PASO 2 Cuelgue el gabinete de joyería en la puerta o en la puerta del gabinete. Door/Puerta...
- Página 11 THE 2ND INSTALLATION | LA SEGUNDA INSTALACIÓN Open the jewelry cabinet, there are LED lights on the top inside, they are battery-operated, 3 batteries is required (not included). The lights are controlled by the magnetic sensor, when the door opens the lights turn STEP 3 Abren gabinete de la joyería, hay luces LED en la parte superior interior, funcionan PASO 3...
