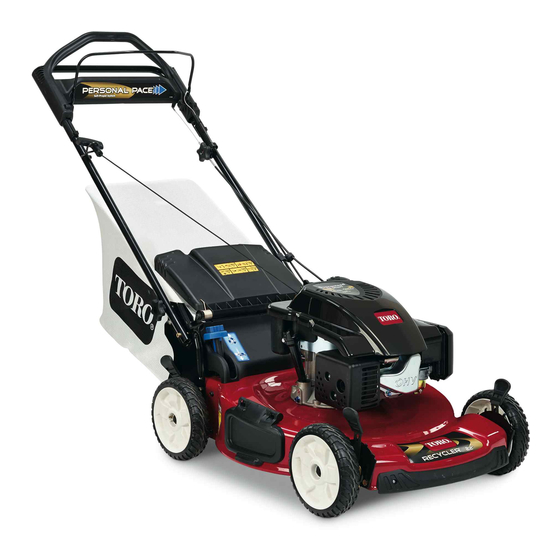
Toro Recycler 20009 Manual Del Operador – Anexo
Ocultar thumbs
Ver también para Recycler 20009:
- Manual del operador (17 páginas) ,
- Manual del operador (16 páginas)
Publicidad
Idiomas disponibles
Idiomas disponibles
Enlaces rápidos
22 Recycler
Lawn Mower
Model No. 20009, 20012, 20013, 20014, 20016, 20017, and 20018
When replacing your blade, use these instructions
instead of those printed in the Operator's Manual .
Keep this Addendum with the Operator's Manual for
future reference.
Replacing the Blade
Refer to Preparing for Maintenance in your Operator's
Manual and perform the procedure listed there before
replacing the blade.
Important: You will need a torque wrench to install
the blade properly. If you do not have a torque
wrench or are uncomfortable performing this
procedure, contact an Authorized Service Dealer.
Examine the blade whenever you run out of gasoline.
If the blade is damaged or cracked, replace it
immediately. If the blade edge is dull or nicked, have it
sharpened or replace it.
Warning
The blade is sharp; contacting the blade can
result in serious personal injury.
Wear cloth or leather gloves when servicing the
blade.
Warning
To prevent the blade from coming off the lawn
mower and causing serious injury to you or to
bystanders, do the following:
Ensure that the cup of the curved washer is
upward against the blade as shown in the
figure (if applicable).
Use a torque wrench to tighten the blade bolt
to 60 ft-lb (82 N m).
1. Disconnect the spark plug wire from the spark
plug and hook it onto the retaining post before
performing any maintenance procedure.
2. Tip the mower onto the right side.
2002 by The Toro Company
8111 Lyndale Avenue South
Bloomington, MN 55420-1196
Operator's Manual Addendum
3. Use a block of wood to hold the blade steady.
4. Remove the blade, saving all mounting hardware.
5. Install the new blade and all mounting hardware.
Ensure that the cup of the curved washer is
upward against the blade (if applicable).
Important: Position the curved ends of the blade to
point toward the mower.
6. Use a torque wrench to tighten the blade bolt to
60 ft-lb (82 N m).
Important: A bolt torqued to 60 ft-lb (82 N m) is
very tight. While holding the blade with a block of
wood, put your weight behind the ratchet or
wrench and tighten the bolt securely. This bolt
will be very difficult to over-tighten.
1
Form No. 3328-538
or
m-6216
All Rights Reserved
Printed in the USA
Publicidad

Resumen de contenidos para Toro Recycler 20009
- Página 1 1. Disconnect the spark plug wire from the spark plug and hook it onto the retaining post before performing any maintenance procedure. 2. Tip the mower onto the right side. 2002 by The Toro Company All Rights Reserved 8111 Lyndale Avenue South Printed in the USA...
- Página 2 Form No. 3328-538 22 Recycler Cortacésped Modelo Nº 20009, 20012, 20013, 20014, 20016, 20017, 20018 Manual del operador – Anexo Al cambiar la cuchilla, utilice estas instrucciones en 3. Utilice un bloque de madera para inmovilizar la lugar de las que aparecen en el Manual del operador. cuchilla.
