Tabla de contenido
Publicidad
Enlaces rápidos
AquaSource® is a registered trademark
of LF, LLC. All Rights Reserved.
ATTACH YOUR RECEIPT HERE
Serial Number ____________________________ Purchase Date _________________________
Questions, problems, missing parts? Before returning to your retailer, call our
customer service department at 1-866-417-7564, 8 a.m. - 8 p.m., EST, Monday - Friday.
AB17411
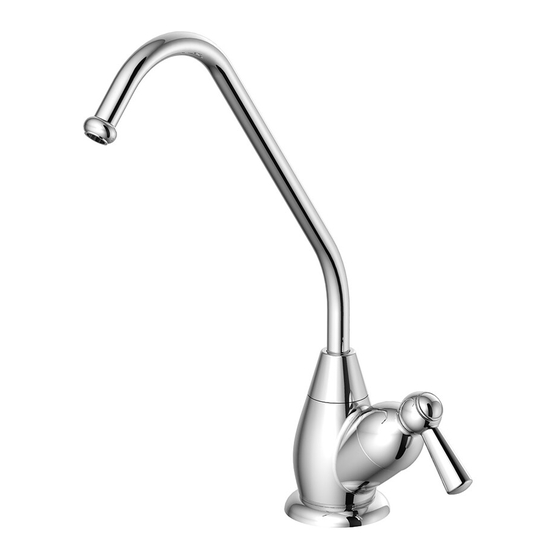
KITCHEN WATER
1
ITEM #0098288
#0098305
#0446446
DISPENSER
MODEL #FS3A0000
Français / Español p. 9
Publicidad
Tabla de contenido
Solución de problemas

Manuales relacionados para AquaSource FS3A0000


Resumen de contenidos para AquaSource FS3A0000
- Página 1 ITEM #0098288 #0098305 #0446446 KITCHEN WATER DISPENSER AquaSource® is a registered trademark of LF, LLC. All Rights Reserved. MODEL #FS3A0000 Français / Español p. 9 ATTACH YOUR RECEIPT HERE Serial Number ____________________________ Purchase Date _________________________ Questions, problems, missing parts? Before returning to your retailer, call our customer service department at 1-866-417-7564, 8 a.m.
-
Página 2: Package Contents
PACKAGE CONTENTS PART DESCRIPTION QUANTITY Dispenser Slotted Washer Spacer Base Quick Connect Adapter Non-air gap plug HARDWARE CONTENTS (shown actual size) Lock Nut... - Página 3 WARNING • Observe all local plumbing and building codes. • Cover the drain in your sink to avoid losing parts. • When connecting the plastic tubes, please note there should be no torsion or deformation. PREPARATION Before beginning assembly of product, make sure all parts are present. Compare parts with package contents list and hardware contents list.
- Página 4 ASSEMBLY INSTRUCTIONS If the filtering system is a reverse osmosis system and a brine water line needs to run through the integral air gap of the dispenser, connect the 1/4 in. brine water line from the R.O. unit to the smaller barb on the bottom of the dispenser.
- Página 5 ASSEMBLY INSTRUCTIONS 4. Install the dispenser (A) and the base (D) through top of the sink (not included). 5. Install slotted washer (B), spacer (C), lock nut (AA) and nut (BB) to the shank on the dispenser (A). 6. Attach the quick connect adaptor (E) to the end of the shank of the dispenser (A).
- Página 6 ASSEMBLY INSTRUCTIONS 7. Insert fresh water line (3/8 in.) from the RO system into the quick connect adapter (E). 3/8 in. (9 mm) 8. Turn on the water supply. Run the filtered water for 15 minutes to check for leaks and clean any contaminants from the system before drinking.
-
Página 7: Care And Maintenance
CARE AND MAINTENANCE • Clean periodically with a soft cloth. Avoid abrasive cleaners, steel wool and harsh chemicals, as these will dull the finish and void your warranty. TROUBLESHOOTING PROBLEM POSSIBLE CAUSE CORRECTIVE ACTION Leak from under handle. Cartridge needs to be replaced. Remove handle and unscrew cartridge. -
Página 8: Replacement Parts List
REPLACEMENT PARTS LIST For replacement parts, call our customer service department at 1-866-417-7564, 8 a.m. - 8 p.m., EST, Monday - Friday. PART DESCRIPTION PART # Handle Cap A66G380 Metal Handle A069063 Ceramic Cartridge (Cold) A507124W Spout Seal Kit A66G382N Spout Assembly A666973N Plug... - Página 9 #0446446 ROBINET DE CUISINE AquaSource® est une marque de commerce AVEC DISTRIBUTEUR déposée de LF, LLC. Tous droits réservés. D'EAU POTABLE AquaSource® es una marca registrada de LF, LLC. Todos los derechos reservados. MODÈLE #FS3A0000 ARTÍCULO #0098288 #0098305 #0446446 GRIFO CON AGUA...
- Página 10 CONTENU DE L’EMBALLAGE / CONTENIDO DEL PAQUETE PIÈCE DESCRIPTION / DESCRIPCIÓN QUANTITÉ PIEZA CANTIDAD Distributeur / Dispensador Rondelle à fente / Arandela ranurada Espaceur / Espaciador Base / Base Adaptateur à raccord rapide / Adaptador de conexión rápida Bouchon pour système sans coupure anti-retour / Tapón sin espacio de aire CONTENU DE L'EMBALLAGE (grandeur réelle) / ADITAMENTOS (no se muestran en tamaño real) Écrou de blocage / Contratuerca...
- Página 11 AVERTISSEMENT / ADVERTENCIA • Respectez le code du bâtiment et le code de plomberie en vigueur dans votre province. • Couvrez le drain du lavabo pour éviter de perdre des pièces. • Lorsque vous raccordez les tuyaux en plastique, assurez-vous qu’ils ne présentent aucune torsion ni aucune déformation.
- Página 12 INSTRUCTIONS POUR L’ASSEMBLAGE / INSTRUCCIONES DE ENSAMBLAJE 1. Coupez l’alimentation en eau. Retirez le robinet existant, le cas échéant. Corte el suministro de agua. Si es necesario, retire el grifo existente. 2. Déterminez l’emplacement où le distributeur sera installé. Un trou d’au moins 3,17 cm est nécessaire pour installer le distributeur.
- Página 13 INSTRUCTIONS POUR L’ASSEMBLAGE / INSTRUCCIONES DE ENSAMBLAJE 3.1 Si le système de filtrage est un système à osmose inverse et que vous devez faire passer une conduite d’eau usée dans la coupure antiretour du distributeur, raccordez la conduite d’eau usée de 1/4 po du système à...
- Página 14 INSTRUCTIONS POUR L’ASSEMBLAGE / INSTRUCCIONES DE ENSAMBLAJE 3.2. Si le système de filtrage est un système simple doté d’une seule sortie d’eau, ignorez l’étape 3.1. Le bouchon pour système sans coupure antiretour (F) facultatif peut être utilisé pour boucher le trou de l’antiretour situé...
- Página 15 INSTRUCTIONS POUR L’ASSEMBLAGE / INSTRUCCIONES DE ENSAMBLAJE 5. Fixez la rondelle à fente (B), l’espaceur (C), l’écrou de blocage (AA) et l’écrou (BB) à la tige du distributeur (A). Instale la arandela ranurada (B), el espa- ciador (C), la contratuerca (AA) y la tuerca (BB) en el vástago del dispensador (A).
-
Página 16: Dépannage / Guía De Solución De Problemas
INSTRUCTIONS POUR L’ASSEMBLAGE / INSTRUCCIONES DE ENSAMBLAJE 8. Ouvrez l’alimentation en eau. Faites couler l’eau filtrée pendant 15 minutes pour vérifier s’il y a des fuites et pour évacuer tous les contaminants du système avant de la boire. Abra el suministro de agua. Deje correr el agua filtrada durante 15 minutos para verificar si hay fugas y para limpiar el sistema de con- taminantes antes de beber el agua. -
Página 17: Entretien / Cuidado Y Mantenimiento
ENTRETIEN / CUIDADO Y MANTENIMIENTO • Nettoyez l’article périodiquement à l’aide d’un linge doux. N’utilisez pas de nettoyant abrasif, de laine d’acier ni de produit chimique puissant; ceux-ci risquent de ternir le fini et leur utilisation annulera votre garantie. • Limpie periódicamente con un paño suave. Evite utilizar limpiadores abrasivos, lana de acero y químicos agresivos, ya que pueden dañar el acabado y anular la garantía. - Página 18 LISTE DES PIÈCES DE RECHANGE / LISTA DE PIEZAS DE REPUESTO Pour obtenir des pièces de rechange, veuillez communiquer avec notre service à la clientèle au 1 866 417-7564, entre 8 h et 20 h (HNE), du lundi au vendredi. Para obtener piezas de repuesto, llame a nuestro Departamento de Servicio al Cliente al 1-866-417-7564, de lunes a viernes de...