Tabla de contenido
Publicidad
Idiomas disponibles
Idiomas disponibles
Enlaces rápidos
Publicidad
Tabla de contenido

Manuales relacionados para Midea FW40-F3


Resumen de contenidos para Midea FW40-F3
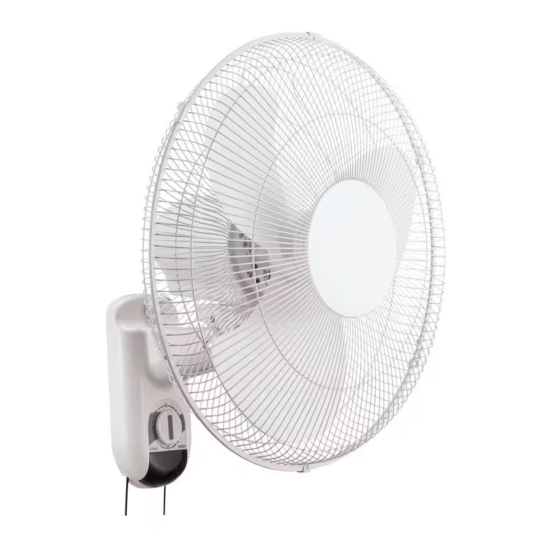
- Página 1 Use & Care Guide Manual de Uso y Cuidado English/Español 16’’ Wall Fan 3 Speeds, Oscillation Switch , Safety Metal Grille 16’’ Ventilador De Pared 3 Velocidades, Oscilación Interruptor, Seguridad Metálica Rejilla Model/Modelo: FW40-F3 Customer Assistance /Asistencia al Cliente 1-866-646-4332...
-
Página 2: Rules For Safe Operation
READ AND SAVE THESE INSTRUCTIONS CAUTION Read and follow all instructions before operating fan. Do not use fan if any part are damaged or missing. WARNING 1. This appliance is not intended for use by young children or infirm persons without supervision. -
Página 3: Part Names
PART NAMES Blade Set GUARD & FAN BLADE ASSEMBLY 1. Unscrew and remove the spinner clockwise (or obtain from parts bag), and the plastic nut counterclockwise. You may have to hold the shaft in place with one hand to unscrew the spinner with the other. Position the rearguard against the motor face so that the two pins on the motor face fit through the matching holes in the rearguard. -
Página 4: Speed Adjustment
Installing the stand Mount the stand on the bracket by inserting the bracket catch into the slot on the stand. Fix the stand onto the bracket with a retaining nut. NOTE: If the retaining nut does not pass through the holes, push the stand downwards until it is fully mounted on the bracket. -
Página 5: Reglas De Operacion Segura
LEA Y GUARDE ESTAS INSTRUCCIONES ADVERTENCIA Lea cuidadosamente y guarde estas instrucciones. PRECAUCION 1. Para reducir el riesgo de fuego o descarga eléctrica, no use este ventilador con ningún equipo de control de estado solidó. 2. Si el cable de poder esta dañado se recomienda pedir la ayuda de un especialista. -
Página 6: Nombre De Las Piezas
NOMBRE DE LAS PIEZAS Blade Set INSTRUCCIONES DE MONTAJE PASO 1. Desatornille el spinner en el sentido horario y la tuerca en el sentido anti-horario para quitar ambos Ponga la guardia trasera en la posición adecuada con el tirador hacia arriba Atornille sobre la tuerca plástica fuerte para sujetar la guardia trasera.(Fig. -
Página 7: Ajuste De Velocidad
Instalación del soporte de montaje Fije el soporte de montaje suministrado firmemente a la pared con los dos tornillos. NOTA: El soporte debe colocarse al menos 35 cm desde el techo y al menos 30 cm desde la pared colindante. Instalación de la base Monte la base sobre el soporte con insertar el gancho del soporte en la ranura sobre la base. - Página 8 Nota: 1. Al sustituir el fusible, por favor no haga funcionar de repente o excederse, o de lo contrario el producto será un accidente o causa daños. 2. Cuando usted se siente que sea difícil para ser operado, por favor, asegúrese de que usted tiene de la manera correcta.