Tabla de contenido
Publicidad
Idiomas disponibles
Idiomas disponibles
Enlaces rápidos
Publicidad
Tabla de contenido

Resumen de contenidos para Steren USB-105
-
Página 2: Package Content
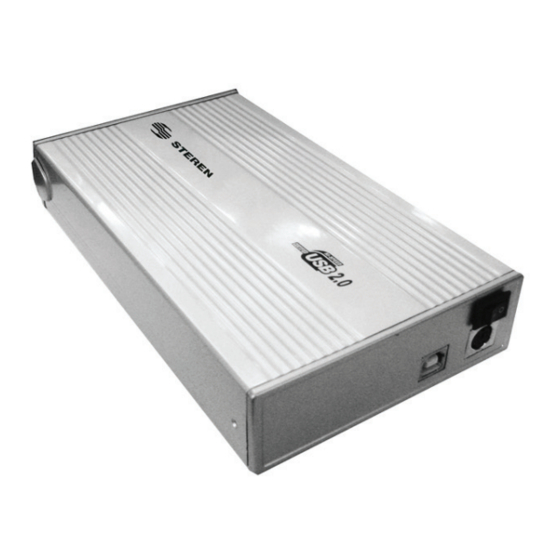
Before using your new USB enclosure, please read this Before using your new USB enclosure, please read this instruction manual to prevent any damage. Put it away in a instruction manual to prevent any damage. Put it away in a safe place for future references. -
Página 3: Hardware Installation
HARDWARE INSTALLATION 1.- Remove the frontal panel of the USB hard disk enclosure. 2.- Connect the IDE cable to HDD, make sure that the eyelash located on the middle of the IDE cable coincides with the HDD groove, otherwise you cannot plug the cable. 3.- Connect the power cord to HDD. - Página 4 4.- Place the HD on the base and fasten it. 5.- Place the HDD into the hard disk enclosure, please pay attention to put the base in the special slot, otherwise, may not enter correctly. 6.- Tighten up the frontal panel, screwing by the sides. ENGLISH-4...
-
Página 5: Software Installation
The USB to IDE 3.5” HDD enclosure only works in Master The USB to IDE 3.5” HDD enclosure only works in Master mode. Make the changes in the jumpers before close the mode. Make the changes in the jumpers before close the box and connect the enclosure to the computer. - Página 6 4.- Once the process ends, the next message appears on the screen: your new hardware is correctly installed. This message means that you can start to use the new hardware. 5.- The external HDD appears as USB Mass Storage Device and you can identify it by a letter (usually by letter F or letter G, but it could appears another one).
- Página 8 Antes de utilizar su nueva Unidad Externa para Disco Duro Antes de utilizar su nueva Unidad Externa para Disco Duro 3,5” IDE USB 2.0 lea este instructivo para evitar cualquier 3,5” IDE USB 2.0 lea este instructivo para evitar cualquier mal funcionamiento.
-
Página 9: Instalación De Hardware
INSTALACIÓN DE HARDWARE 1.- Retire la cubierta frontal del equipo. 2.- Conecte el cable IDE a su disco duro, asegurándose de que la pestaña ubicada al centro del cable coincida con la ranura del disco duro, de otra forma no podrá conectar el cable. 3.- Conecte el cable de energía a su disco duro. - Página 10 4.- Asegure el disco duro en la base, como muestra la fi gura. 5.- Coloque el disco duro en el interior de la caja, poniendo atención de colocar la base en la ranura especial para ella, de otra forma, podría no entrar o entrar forzada la base. 6.- Asegure el panel frontal por los costados, utilizando los tornillos pequeños incluidos.
-
Página 11: Instalación De Drivers
El disco USB externo solo puede funcionar en modo El disco USB externo solo puede funcionar en modo Maestro (Master). Maestro (Master). Realice los cambios en los jumpers antes de cerrar la caja Realice los cambios en los jumpers antes de cerrar la caja de metal y conectarlo a la computadora. -
Página 12: Especificaciones
4.- Una vez que termine este proceso, aparecerá el mensaje de que el equipo estará listo para usarse. 5.- Su disco duro aparecerá como un Dispositivo de Almacenamiento Masivo USB y será identifi cado con una letra (F ó G normalmente, pero podría aparecer otra). 6.- Para realizar la transferencia de archivos entre diversas unidades, simplemente copie y pegue los archivos utilizando el Explorador de Windows. - Página 13 Part number: USB-105 Brand: Steren WARRANTY This Steren product is warranted under normal usage against defects in workmanship and materials to the original purchaser for one year from the date of purchase. CONDITIONS 1.- This warranty card with all the required information, invoice or purchase ticket, product box or package, and product, must be presented when warranty service is required.
-
Página 14: Póliza De Garantía
1.- Para hacer efectiva la garantía, presente ésta póliza y el producto, en donde fue adquirido o en Electrónica Steren S.A. de C.V. 2.- Electrónica Steren S.A de C.V. se compromete a reparar el producto en caso de estar defectuoso sin ningún cargo al consumidor. Los gastos de transportación serán cubiertos por el proveedor.


