Tabla de contenido
Publicidad
Idiomas disponibles
Idiomas disponibles
Enlaces rápidos
Publicidad
Capítulos
Tabla de contenido
Solución de problemas

Resumen de contenidos para Homewerks 7107-03HW
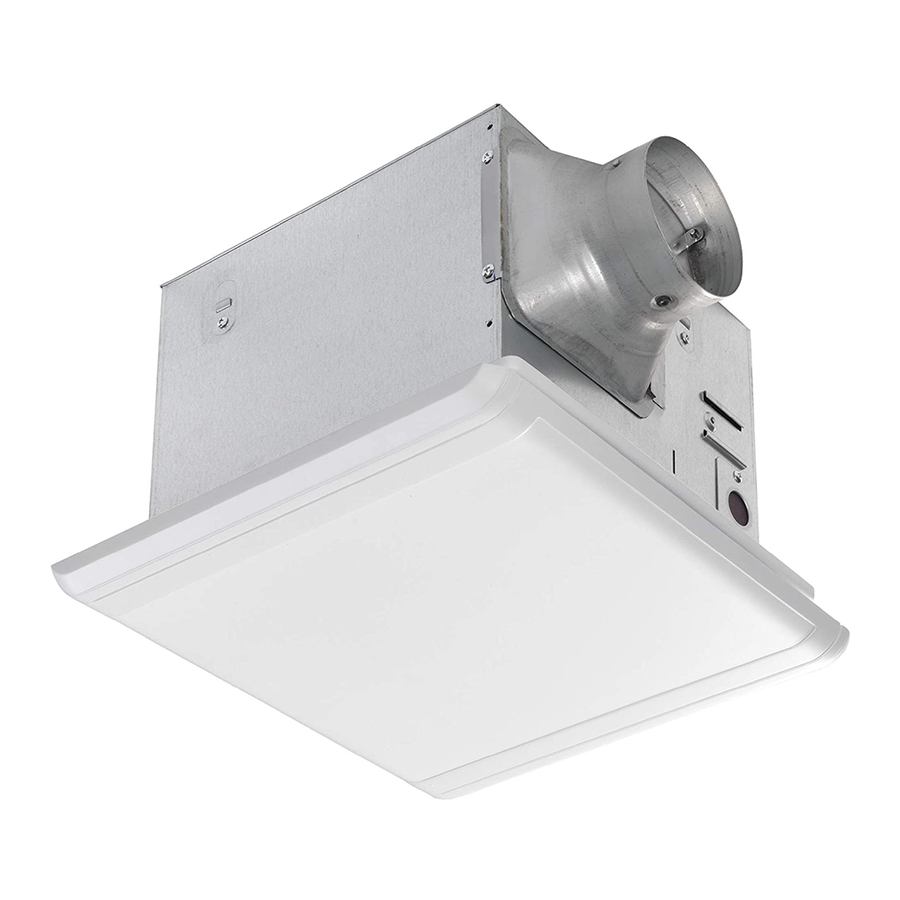
- Página 1 VENTILATION BATH FAN MODEL 7107-03HW Español p. 11 Questions, problems, missing parts? Before returning to the store, call our customer service department at 1-877-319-3757, 7:30 a.m. - 4:30 p.m., CST, Monday - Friday. READ AND SAVE THESE INSTRUCTIONS Homewerks.com 02-2021...
-
Página 2: Tabla De Contenido
Inquiries regarding warranty claims can be directed to 1-877-319-3757, 7:30 a.m. - 4:30 p.m., CST, Monday - Friday. PRODUCT SPECIFICATIONS Airflow: 110 CFM Sound output: 1.0 sone 120V, 60Hz Motor power consumption: 30W Duct diameter: 4 in. Weight: 14.14 lbs. Homewerks.com... -
Página 3: Package Contents
PART DESCRIPTION PART DESCRIPTION Fan Housing Suspension Bracket Grille Suspension Bracket Suspension Bracket HARDWARE INCLUDED (not actual size) Wood Screw Machine Screw Machine Scew M4 x 30 M4 x 12 M4 x 10 Qty. 8 Qty. 2 Qty. 1 Homewerks.com... -
Página 4: Safety Information
You may need the help of a second person to install this fan; one person on the attic side and one on the room side. Installation may vary depending on how the previous bath fan was installed. Supplies necessary for the installation of your bath fan are not all included; however, most are available at your local home improvement or hardware store. Homewerks.com... -
Página 5: Typical Installation
Fans installed with existing ducts Short piece of to duct may not achieve their rated airflow. flexible duct helps alignment and absorbs sound Fan housing Seal any gap Wall cap around fan (with housing 2-3 foot straight built-in run before damper) elbow Homewerks.com... -
Página 6: Installation Instructions
INSTALLATION INSTRUCTIONS BEFORE INSTALLATION WARNING: RISK OF ELECTRIC SHOCK! Ensure the electricity to the wires you are working on is shut off. Either remove the fuse or turn off the circuit breaker before removing the existing bath fan or installing the new one. - Página 7 9. Insert suspension bracket (C) into the tabs on the duct side of the fan housing (A). Insert suspension bracket (D) into the tabs on the opposite side of the fan housing (A) and then slide suspension bracket (E) into suspension bracket (D). Homewerks.com...
- Página 8 CAUTION: If the house electrical wires do not match the Cover colors from the fan wiring diagram on page 5, you must determine what each house wire represents before connecting. You may need to consult an electrical contractor to determine safely. Wiring Cover Homewerks.com...
-
Página 9: Care And Cleaning
Either remove the fuse or turn off the circuit breaker before cleaning. 1. Squeeze the mounting springs and pull the grille (B) down from the fan housing (A). Wipe grille (B) with a damp cloth. Mounting springs Homewerks.com... -
Página 10: Troubleshooting
NOTE: Using a tissue is not the correct method for humidity from the room. determining if the fan is operating properly. If the fan clears steam from the room within approximately 15 minutes of completing your shower, then the fan is operating properly. Homewerks.com... -
Página 11: Conserve Este Manual Para Uso Futuro
VENTILADOR DE BAÑO MODELO 7107-03HW ¿Tiene preguntas, problemas, o faltan piezas? Antes de regresar a la tienda, llame al Servicio al Cliente, 1-877-319-3757, de lunes a viernes, de 7:30 a.m. a 4:30 p.m., hora estándar central. CONSERVE ESTE MANUAL PARA USO FUTURO... -
Página 12: Garantía Limitada De 3 Años
1-877-319-3757, de lunes a viernes de 7:30 a.m. a 4:30 p.m., hora estándar central. ESPECIFICACIONES DEL PRODUCTO Flujo de aire: 110 CFM Volumen sonoro: 1,0 sone 120 V, 60Hz Consumo eléctrico del motor: 30 W Diámetro del conducto: 4 pulg. Peso: 6,4 kg Homewerks.com... -
Página 13: Contenido Del Paquete
Rejilla Soporte de suspensión Soporte de suspensión MATERIALES INCLUIDOS (no se ilustran en tamaño real) Tornillo para madera Tornillo para metales Tornillo para metales M4 x 30mm M4 x 12mm M4 x 10mm Cant. 8 Cant. 2 Cant. 1 Homewerks.com... -
Página 14: Información Sobre Seguridad
La instalacion puede variar dependiendo de cómo se instaló el ventilador anterior. Los suministros necesarios para la instalación de su ventilador de baño no están todos incluidos; sin embargo, la mayoría están disponibles en su tienda de artículos del hogar o ferretería local. Homewerks.com... -
Página 15: Dimensiones
Carcasa del ventilador absorber el sonido Selle cualquier Tapa de espacio alrededor pared (con Tendido recto de la carcasa amortiguador de 2 a 3 pies del ventilador incorporado) antes del codo Homewerks.com... - Página 16 (A), dejando los tornillos a un lado para usarlos más tarde. Luego retire el conector del conducto de la carcasa del ventilador (A). Inserte la carcasa del ventilador (A) en la abertura cortada en el panel de yeso. Conector de conducto Homewerks.com...
-
Página 17: Instrucciones De Installación
(A). Inserte el soporte de suspensión (D) en las pestañas en el lado opuesto de la carcasa del ventilador (A) y luego deslice el soporte de suspensión (E) en el soporte de suspensión (D). Homewerks.com... - Página 18 16, debe determinar lo que representa cada cable de la casa antes de conectarlos. Es posible que deba consultar con un contratista eléctrico para hacer la determinación con seguridad. Cubierta de la caja eléctrica Homewerks.com...
-
Página 19: Cuidado Y Limpieza
Asegúrese de que la energía esté apagada. Quite el fusible o apague el disyuntor antes de limpiarlo. 1. Apriete los resortes de montaje y tire la rejilla (B) hacia abajo la carcasa del ventilador (A). Limpie la rejilla (B) con un paño húmedo. Resortes de montaje Homewerks.com... -
Página 20: Solución De Problemas
Si el ventilador despeja vapor de la habitación en aproximadamente 15 minutos después de terminar con su ducha, entonces el ventilador está funcionando adecuadamente. Homewerks.com...


