Publicidad
Idiomas disponibles
Idiomas disponibles
Enlaces rápidos
Test Equipment Depot - 800.517.8431 - 99 Washington Street Melrose, MA 02176 - TestEquipmentDepot.com
FIG. 1
�
�
I
I
®
I
!
4
■
w
1. Test Remote #1 (Red)
2. F-Connector
3 . Battery Cap
4. 2x AAA Batteries (included)
5. TEST Button
6. PASS LEDs
7. OPEN Fault LED
8. SHORT Fault LED
9. Pocket Clip (Back)
NOTE· There are no
user-serviceable parts
inside tester.
VDV512-100 Instructions
GENERAL SPECIFICATIONS
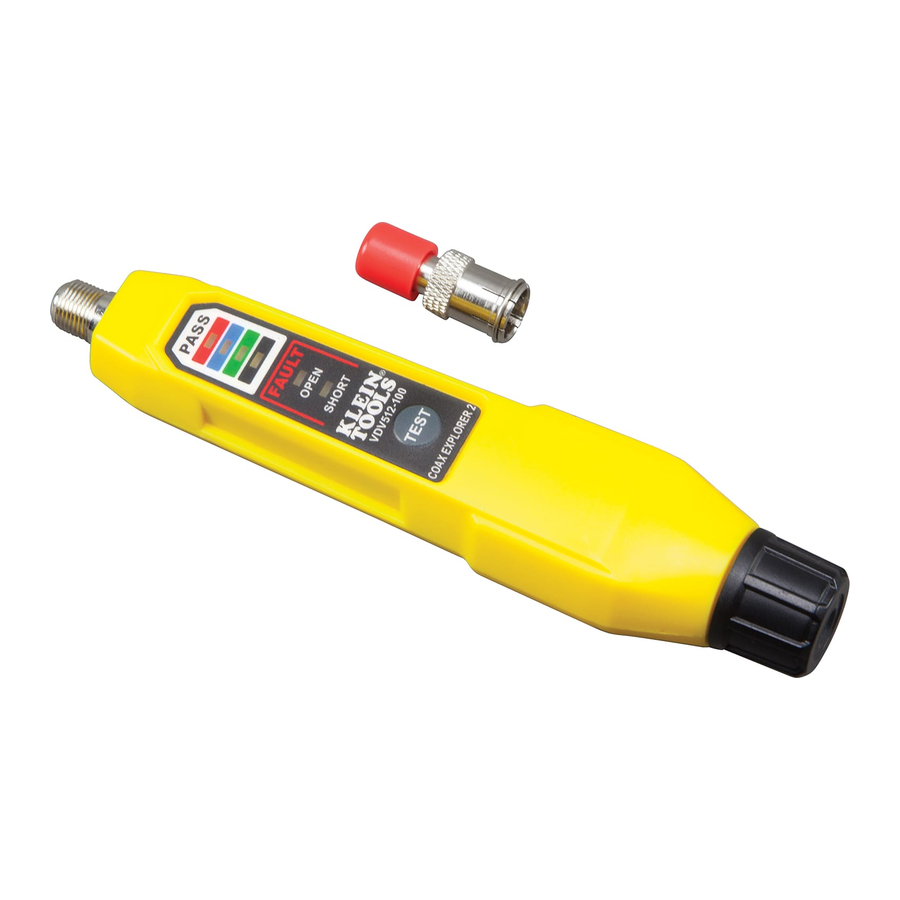
The Klein Tools Coax Explorer® 2 verifies p roper continuity of F-connector
and maps their location. Color-coded push-on remotes allow for up to four cables to be
tested and
m3P.ped,
displaying cable status via LED indicators
that also identify the cable/remote location. Remote #1 (red) is included, additional
remotes are available separately.
• Environment: Indoor
• Operating Altitude: 10000 ft. (3000 m) maximum
°
• Operating Temperature: 32
to 122
°
°
°
• Storage Temp: -4
to 140
F (-20
to 60
• Relative Humidity: 10% to 90% non-condensing
• Dimensions (including remote holder): 5.7' x 2.3' x 1.1' (145 x 32 x 29 mm)
• Weight (including batteries): 4.8 oz. (136 g)
Specifications subject to change.
TESTING/MAPPING CABLES
NOTE: Not for use on powered circuits or outlets.
CD
Connect test remote
to one end of the cable or outlet to be tested. If
1.
necessary, use an F-adapter (not included) to connect the test remote to the cable.
2. Connect the opposite end of the cable or outlet to be tested to the F-connector@
on the Coax Explorer® 2.
3. Press and hold the TEST button@. If the cable is wired correctly, the top (red)
PASS LED@ will light. If there is a problem with the cable, one of the FAULT LEDs
(J)
(OPEN
or SHORT@) will
light.
TESTING AN UNINSTALLED CABLE
Using an F-adapter (not included), connect a test remote (D to one end of the
1.
cable to be tested.
2. Connect the opposite end of the cable to be tested to the F-connector@ on the
Coax Explorer® 2.
3. Press and hold the TEST button@. If the cable is wired correctly, the
corresponding PASS LED@will light. If there is a problem with the
the FAULT LEDs (OPEN(]) or SHORT@) will light.
BATTERY REPLACEMENT (FIG. 1)
When the TEST button is pressed and no LEDs light, the batteries must be replaced.
1. Unscrew the battery cap@.
2. Remove and recycfe the two spent AAA batteries@.
Install two new AAA batteries, wrth the posrtive (+) side facing into the tester as shown.
3.
4. Screw battery cap tightly back into place.
STORAGE
Remove the batteries when the tester is not in use for a prolonged period of time. Do not
expose to high temperatures or humidrty. After a period of storage m extreme conditions
exceeding the limrts mentioned in the GENERAL SPECIFICATIONS section, allow the tester
to return to
normal
operating condrtions before using.
WARRANTY
www.kleintools.com/warranty
DISPOSAL/RECYCLE
'-Q"
A
Do not place equi p ment and its accessories in the trash. Items must be
properly disposed of in accordance with local regulations. Please see
www.epa.gov or www.erecycle.org for
-
coaxial
(.PASS,
OPEN, or SHORT)
°
°
°
F (0
to 50
C)
°
C)
cable,
one of
additional
information.
cables
Publicidad

Resumen de contenidos para Klein Tools VDV512-100
- Página 1 Test Equipment Depot - 800.517.8431 - 99 Washington Street Melrose, MA 02176 - TestEquipmentDepot.com VDV512-100 Instructions FIG. 1 GENERAL SPECIFICATIONS The Klein Tools Coax Explorer® 2 verifies p roper continuity of F-connector coaxial cables and maps their location. Color-coded push-on remotes allow for up to four cables to be tested and m3P.ped,...
- Página 2 ESPECIFICACIONES GENERALES FIG. 1 El probador Coax Explorer® 2 de Klein Tools verifica la continuidad apropiada de los cables coaxiales con conectores F y mapea su ubicaci6n. Los transmisores remotos a presi6n codificados por color permiten probar y mapear hasta cuatro cables, y...
- Página 3 Le Coax Explorer® 2 de Klein Tools verifie la continuite des cables coaxiaux a connecteur en F et mappe leur emplacement. Les capteurs a distance chromocodes a enfiler permettent de tester et de mapper jusqu' a 4 cables en indiquant l'etat PASS»...


