Publicidad
Idiomas disponibles
Idiomas disponibles
note: Keep your receipt and these instructions for proof of purchase.
warninG: Shut off the power at the circuit breaker or fuse panel before removing
the old fixture, ballast, or fluorescent tubes.
If you are unfamiliar with electrical installations, we recommend you contact a
qualified electrician to do the installation.
INSTALLATION
This light fixture is suitable for wall mounting or eave mounting only. It is not suitable
for ground mounting installation. The light fixture should be mounted a minimum of
6.5 ft. (2.0 m) above the ground. If two walls intersect, than the distance between the
intersecting line and the light fixture should be more than 2 ft. (0.6 m).
Shut off power at the electrical panel before beginning the installation.
1
Remove existing fixture and set aside to recycle in accordance with local
2
requirements.
Use the 2 short mounting screws to attach the mounting
3
bracket to the electrical box.
Make sure the text "GND" faces out.
White (N)
F
D
Black (L)
Green
Make the electrical connections:
5
• Black wire to black wire.
• White wire to white wire.
• Ground wire to ground.
• Connect the ground wires to the grounding screw on the
mounting bracket.
Use wire connectors to cover the wire connections and wrap
with electrical tape.
Light Head
Adjust the light heads to the desired position.
8
note: Do not mount the photocell sensor in the down position.
Model # 51403141
Use and Care GUide
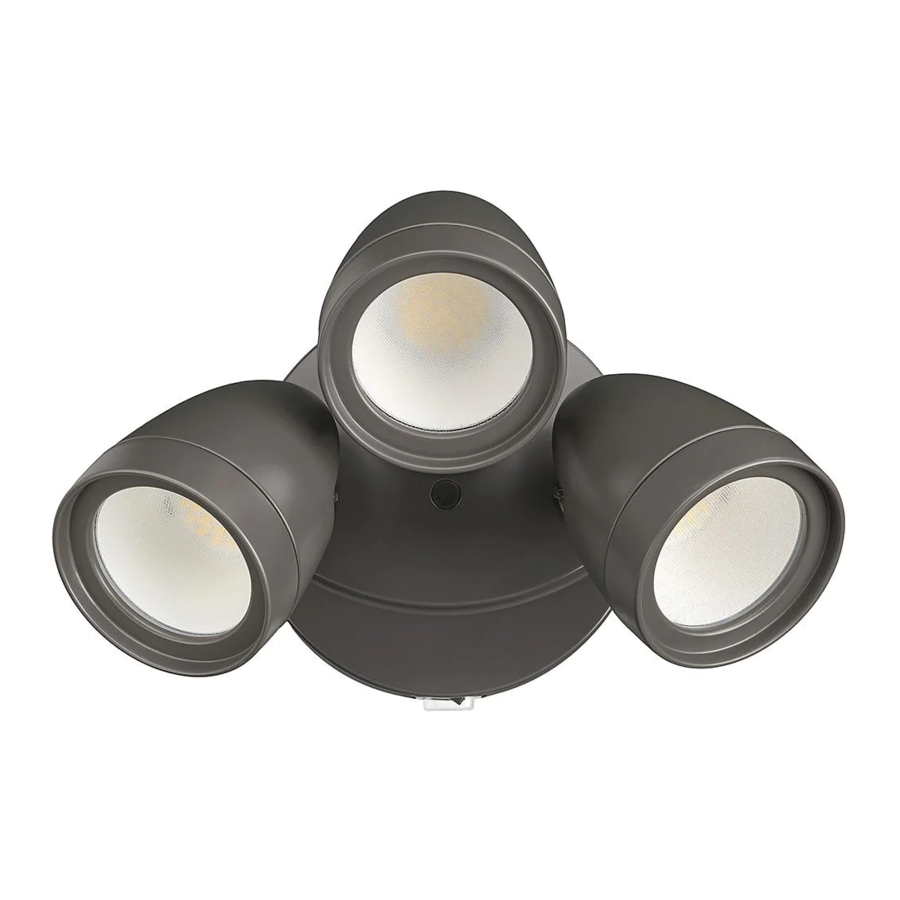
Led seCUrity LiGht with LUMen Boost™
G
C
4
Use the long mounting screw to attach the fixture to
6
the mounting bracket.
Make sure no wires are visible.
Insert the rubber plug into the hole on the fixture.
Part # sC-3hd-3600LM-8-40K-sV-BZ,
51403142
sC-3hd-3600LM-8-40K-sV-w
51404141
sC-1hd-1200LM-8-40K-sV-BZ,
51404142
sC-1hd-1200LM-8-40K-sV-w
PAckAge cONTeNTS
Part Description
A
Fixture*
B
Mounting Screw (long)
C
Mounting Screw (short)
D
Grounding Screw
E
Rubber Plug
F
Wire Connector
G
Mounting Bracket
H
Foam Gasket
I
Rubber Cover
* 1-Head Security Light model numbers: 51404141, 51404142
* 3-Head Security Light model numbers: 51403141, 51403142
G
H
A
Place the foam gasket on the electrical box.
Pull the wires from the electrical box through the opening in the foam gasket.
E
B
Certification # 51403141
Quantity
1
A
1
2
1
B
1
3
E
1
1
H
1
Apply silicone sealant (not included) to
7
the edges of the fixture.
I
Photocell
If switch controlled use is preferred, turn off the photocell
9
by placing the rubber cover over the photocell.
51403142
51404141
51404142
A
C
D
G
F
I
H
G
Silicone Sealant
Publicidad
Tabla de contenido

Resumen de contenidos para ETI BOOST SC-3HD-3600LM-8-40K-SV-BZ
- Página 1 Model # 51403141 Part # sC-3hd-3600LM-8-40K-sV-BZ, Certification # 51403141 51403142 sC-3hd-3600LM-8-40K-sV-w 51403142 51404141 sC-1hd-1200LM-8-40K-sV-BZ, 51404141 51404142 sC-1hd-1200LM-8-40K-sV-w 51404142 Use and Care GUide Led seCUrity LiGht with LUMen Boost™ PAckAge cONTeNTS note: Keep your receipt and these instructions for proof of purchase. warninG: Shut off the power at the circuit breaker or fuse panel before removing Part Description Quantity...
- Página 2 • Changes or modifications not expressly approved by the party responsible for compliance could void the user’s authority to operate the equipment. See website for Warranty, Troubleshooting or Care and Cleaning details at www.ETiSSL.com. Questions, problems, missing parts? Call ETiSSL Customer Service 8 a.m. - 5 p.m., CST, Monday - Friday 1-855-eTI-SSLI (1-855-384-7754) www.eTiSSL.com...
-
Página 3: Contenu De L'emballage
n° de modèle 51403141 n° de pièce sC-3hd-3600LM-8-40K-sV-BZ, n° de certification 51403141 51403142 sC-3hd-3600LM-8-40K-sV-w 51403142 51404141 sC-1hd-1200LM-8-40K-sV-BZ, 51404141 51404142 sC-1hd-1200LM-8-40K-sV-w 51404142 GUide d’UtiLisation et d’entretien LaMPe de séCUrité aVeC LUMen Boost cONTeNu De L’eMbALLAge reMarQUe : Gardez votre facture ainsi que ces instructions comme preuves d’achat. -
Página 4: Distribution De La Lumière
Les renseignements sur la garantie, le dépannage, l’entretien et le nettoyage se trouvent sur le site Web : www.ETiSSL.com. Questions, difficultés, pièces manquantes? Téléphonez au service à la clientèle de ETiSSL 8 h - 17 h, HNC, du lundi au vendredi. 1-855-eTI-SSLI (1 855-384-7754) www.eTiSSL.com... -
Página 5: Instalación
Modelo # 51403141 Parte # sC-3hd-3600LM-8-40K-sV-BZ, Certificación # 51403141 51403142 sC-3hd-3600LM-8-40K-sV-w 51403142 51404141 sC-1hd-1200LM-8-40K-sV-BZ, 51404141 51404142 sC-1hd-1200LM-8-40K-sV-w 51404142 ManUaL de Uso y CUidado LáMPara de seGUridad Con LUMen Boost™ cONTeNIDO DeL PAQueTe nota: Guarde el recibo de compra y estas instrucciones como prueba de compra. -
Página 6: Distribución De La Luz
Las informaciones sobre la garantía, la solución de problemas, el mantenimiento y la limpieza se puede encontrar en el sitio web: www.ETiSSL.com. ¿Preguntas, problemas, piezas faltantes? Llame al Centro de Atención al Cliente de ETi en el horario de 8 a.m. - 5 p.m., HSC, de lunes a viernes.

