Tabla de contenido
Publicidad
Enlaces rápidos
Publicidad
Tabla de contenido

Resumen de contenidos para Teltonika RUTX10
-
Página 2: Legal Notice
LEGAL NOTICE Copyright © 2019 TELTONIKA Ltd. all rights reserved. Reproduction, transfer, distribution or storage of part or all of the contents in this document in any form without the prior written permission of TELTONIKA Ltd is prohibited. The manufac- turer reserves the right to modify the product and manual for the purpose of technical improvement without prior notice. -
Página 3: Front View
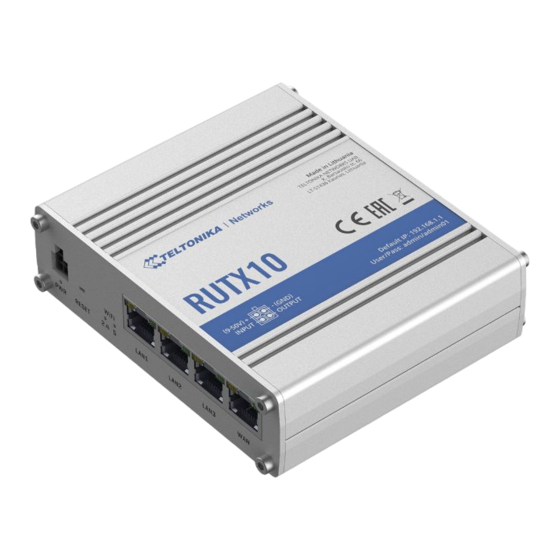
FRONT VIEW WAN Ethernet port WAN LEDs WiFi band LAN LEDs LEDs BACK VIEW USB port Grounding screw WiFi antenna WiFi antenna Bluetooth antenna connector connector connector... - Página 4 POWER SOCKET PINOUT LOGIN TO DEVICE 1. To enter the router's Web interface (WebUI), type http://192.168.1.1 into the URL field of your Internet browser. 2. Use login information shown in image A when prompted for authentication. 3. After you log in, you will be prompted to change your password for security reasons. The new password must contain at least 8 characters, including at least one uppercase letter, one lowercase letter, and one digit.
- Página 5 In order to comply with the terms of the GPL, Teltonika, where applicable, offers a mail in service of a machine readable source code of the software subject to the GPL, on an optical media (CD-ROM) upon request by mail or email. Further information is provided with the relevant products or the software.
- Página 6 RADIO INFORMATION Radio specifications RF technologies WiFi, Bluetooth Max RF power 30 dBm@WiFi, 20 dBm@WiFi, 9.75dBm@Bluetooth Bundled antennas specifications* 2400~2483.5 MHz/5.15~5.905 GHz, 50 Ω, VSWR<2, gain** 5dBi, omnidirectional, RP-SMA WiFi antenna male connector Bluetooth antenna 2400~2483.5 MHz, 50 Ω, VSWR<2, gain** 2dBi, omnidirectional, RP-SMA male connector *Order code dependent.
-
Página 7: Setup Wizard
SETUP WIZARD After logging in to the router’s WebUI, you will be prompted to change the default password and the Setup Wizard will start: By clicking the Skip button, you will skip all the Setup Wizard steps. You can find the Setup Wizard in System/- Setup Wizard. - Página 8 3. If you have inserted a SIM card into the router. Set the settings as provided by your Mobile Operator. Otherwise, click the Next button. 4. You will need an account at https://rms.teltonika.lt to complete this step. Click the Skip button if you do not wish to configure RMS at this time.
-
Página 9: Declaration Of Conformity
DECLARATION OF CONFORMITY RUTX10 router must be used in compliance with any and all applicable national and international laws and with any special restrictions regulating the utilization of the communication module in prescribed applications and environments. Hereby, TELTONIKA declares that this RUTX10 is in compliance with the essential requirements and other relevant provisions of [EN] English Directive RED. - Página 10 [SE] Instruktionsmanual: Anslut nätadap tern för att slå på enheten. Öppna 192.168.1.1 i en webbläsare för att konfigurera produkten. Mer information på https://wiki.teltonika.lt [SI] Navodila: Priključite napajalnik za vklop naprave. Odprite 192.168.1.1 v spletnem brskalniku nastaviti izdelek. Več informacij v https://wiki.teltonika.lt [SK] NávoZd na použitie: Pripojte napájací adaptér k zapnutiu prístroja. Otvorte 192.168.1.1 vo webovom prehliadači pre konfiguráciu produktu. Viac informácií...


