
Manuales relacionados para KLIM K140


Resumen de contenidos para KLIM K140
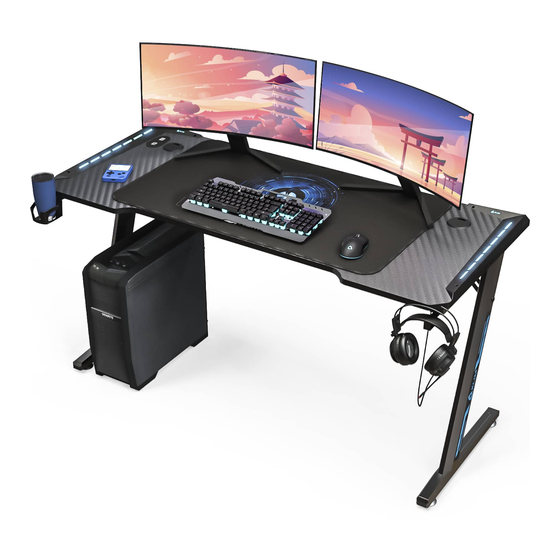
- Página 1 KLIM K140 GAMING DESK USER MANUAL Manuel d’utilisation Benutzerhandbuch Manuale utente Manual del usuario...
-
Página 3: Safety Warnings
SAFETY WARNINGS AVERTISSEMENT DE SÉCURITÉ / SICHERHEITSHINWEISE AVVERTENZE DI SICUREZZA / ADVERTENCIAS DE SEGURIDAD IMPORTANT SAFETY WARNINGS SICHERHEITSHINWEISE Before the first use, ensure that all parts are assembled properly and all screws are firmly tightened. Vergewissere Dich vor der ersten Benutzung, dass alle Teile ordnungsgemäß montiert und alle Check the table stability regularly and tighten any screws that may have become a bit loose after long Schrauben fest angezogen sind. - Página 4 CONTENTS CONTENTS / INHALT COMPONENTI / COMPONENTES GAMING DESK BUREAU GAMER / GAMING TISCH / SCRIVANIA DA GAMING / MESA GAMING VIS ET OUTILS / SCHRAUBEN UND WERKZEUG ACCESSORIES SCREWS BOX & TOOLS ACCESSOIRES / ZUBEHÖR / ACCESSORI / ACCESORIOS VITI E STRUMENTI / TORNILLERÍA Y HERRAMIENTAS 7.5 mm M4 x 40 mm...
-
Página 5: Assembly Guide
ASSEMBLY GUIDE GUIDE D’ASSEMBLAGE / MONTAGEANLEITUNG GUIDA AL MONTAGGIO / GUÍA DE MONTAJE IMPORTANT: assemble the desk on a hard, flat surface. It is placed upside down for an easier assembly: we recommend placing a protective mat or cloth sheet to avoid staining or damaging the table or other surfaces. IMPORTANT : Assemblez le bureau sur une surface dure et plane. - Página 6 ASSEMBLY GUIDE GUIDE D’ASSEMBLAGE / MONTAGEANLEITUNG GUIDA AL MONTAGGIO / GUÍA DE MONTAJE Place the two legs upside down and attach the two H-shaped connecting frames to the Attach the diagonal connectors to the table legs and the frames using one 6 x 16 mm screw table legs using the four 6 x 50 mm screws.
- Página 7 ASSEMBLY GUIDE GUIDE D’ASSEMBLAGE / MONTAGEANLEITUNG GUIDA AL MONTAGGIO / GUÍA DE MONTAJE Align the two halves of the tabletop and place the segment connectors above the H-shaped frames. Align every hole on the tabletop and the rods, then use six 6x16 mm screws and washers to attach the connectors to the H-shaped frames, and six M4 x 16 mm screws to Place the two tabletop halves upside down on a flat surface and attach the legs to the secure all the pieces to the tabletop.
- Página 8 ASSEMBLY GUIDE GUIDE D’ASSEMBLAGE / MONTAGEANLEITUNG GUIDA AL MONTAGGIO / GUÍA DE MONTAJE Attach the two connecting plates to the tabletop using M4 x 16 mm screws. Attach the wire holder to the back of the tabletop using M4 x 16 mm screws. Attach the table frames to the two back corners of the table using three M4 x 16 mm screws Firmly screw the four feet to the table legs by hand, then carefully put the gaming desk up on each side.
- Página 9 ASSEMBLY GUIDE GUIDE D’ASSEMBLAGE / MONTAGEANLEITUNG GUIDA AL MONTAGGIO / GUÍA DE MONTAJE Put the two cable hole covers in their place. Insert the lighting control panel in the socket at the top-left corner of the table, then use the three-point cable to connect the control panel Hide the cable going from one lighting frame to the other with the long wire holder.
- Página 10 / CONFIGURACIÓN DE LAS LUCES English Thank you for acquiring our KLIM K140 Gaming Desk! We hope that you enjoy your new setup for years to come. May you finish all your work in time, and win every match you play! If you need any help during assembly or use, or if you simply want to share your feedback, do not hesitate to reach out to us directly at support@klimtechnologies.com.