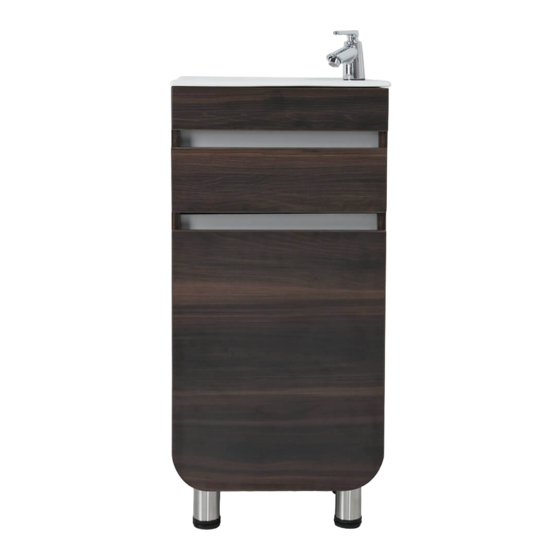
Resumen de contenidos para CORONA ALUVIA 603276091
- Página 1 INSTRUCCIONES DE ENSAMBLE /ASSEMBLY INSTRUCTIONS MUEBLE ALUVIA 40 X 35 ALUVIA 40 X 35 VANITY Alto: 85 cm Ancho: 39.5 cm Fondo: 34.5 cm LOTE No:...
- Página 2 BAÑOS Y COCINAS “Lea muy bien el instructivo antes de armar el producto, ármelo en un lugar limpio y preferiblemente en una superficie plana” SE RECOMIENDA aplicar silicona en el empalme entre el lavamanos y el mueble para evitar filtraciones de agua / To avoid water leaks it is recommended to apply silicone between the cabinet...
- Página 3 GARANTÍA: Este mueble para baño CORONA® tienen una garantía de 1 año en partes de madera y en herrajes, a partir de la fecha de compra. La garantía cubre defectos de fabricación y mala calidad de materiales que impidan el armado y uso del mueble.
- Página 4 HERRAJES PARA ARMADO ASSEMBLY HARDWARE Tapa adhesiva Tapa adhesiva Soporte entrepaño/ Tarugo/ Perno minifix/ Minifix/ color 1/ color 2/ Shelf support Fluted dowel pin Spreading bolt Minifix connector Cover Caps Cover Caps Tornillo de Bisagra Parche Riel Extensión Pieza plástica Ensamble 2"/ Slide On/ Total 25 cm/...
- Página 5 5 Kg. 11 LB PIEZAS DE ARMADO ASSEMBLY PARTS TENER PRECAUCIÓN AL ABRIR LA BOLSA DE HERRAJES PARA NO EXTRAVIAR NINGUNO. COMPRUEBE QUE EL CONTENIDO DE LAS PIEZAS SEA EL CORRECTO. EN CASO QUE FALTE ALGUNA PIEZA O ESTE DEFECTUOSA LE AGRADECEMOS LLAMAR DE INMEDIATO A LA LÍNEA DE ATENCIÓN EN COLOMBIA: 01 8000 51 20 30 -BOGOTÁ: 404-88 84 - PARA OTROS PAÍSES: + 57 (1) 404 88 84 - SERVICIO AL CLIENTE + 57 (1) 404 88 84 IMPORTANTE...
- Página 6 - Taladro/ Drill - Broca de muro de 5/16"/ 5/16" Drill bit. - Destornillador de estrella/ Star Screwdriver - Destornillador de pala/ Flat Screwdriver *(Herramientas NO incluidas)/ (Tools not included)
- Página 7 Leer las recomendaciones de ensamble antes de comenzar con el armado del mueble / Read the assembly instructions before starting the assemble of the cabinet. Se recomienda armar el mueble sobre la caja o sobre una superficie lisa para no rayarlo; y con la ayuda de otra persona / It´s recommended to assemble the cabinet above the box or on a flat surface to not scratch it and with the help from another person...
- Página 8 PARA PONER RIEL EN LATERAL DEL MUEBLE/ TO PUT THE DRAWER SLIDE ON THE SIDE OF THE FURNITURE: Revisar que el tope plástico del riel quede en la PARTE TRASERA/ The plastic stop should be placed on the rear. Riel Extensión Total / Full extention Drawer Slides Bisagra parche/...
- Página 10 Girar 180° / Rotate 180°...
- Página 11 Girar 180° / Rotate 180°...
- Página 12 Girar 180° / Rotate 180°...
- Página 13 Girar 180° / Rotate 180° Platina en L/ Angle Brackets...
- Página 14 PARA PONER RIEL EN LATERAL DEL CAJÓN/ When placing the slide VOLTEAR on the side of the drawer: TURN OVER Revisar que el tope metálico del riel quede en la PARTE DELANTERA/ The metallic stop should be placed on the front. PARA PONER RIEL EN LATERAL DEL CAJÓN/ VOLTEAR...
- Página 16 Girar 180° / Rotate 180° Girar 180° / Rotate 180°...
- Página 17 Girar 180° / Rotate 180°...
- Página 18 * Herramientas PARA INSTALAR A PARED NO incluidas/ WALL INSTALLATION Tools not included Utilizar una broca de 5/16" para hacer las perforaciones 1 0 1 . 5 en el muro/ 1 9 2 Use a 5/16" drill bit 1 0 1 . 5 to drill the wall.


