Tabla de contenido
Publicidad
Idiomas disponibles
Idiomas disponibles
Enlaces rápidos
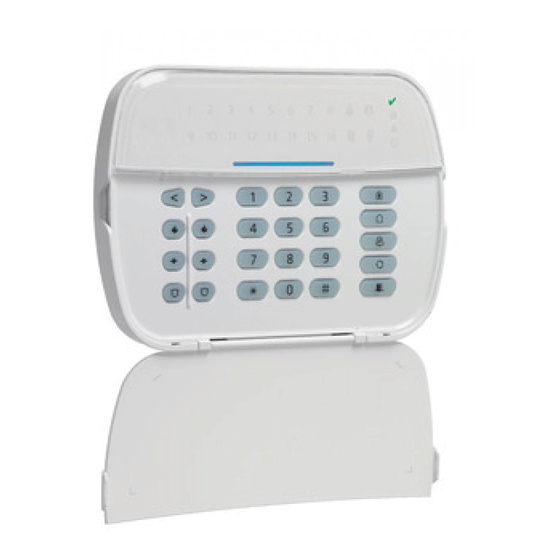
HS2LED/HS2ICN(P)(RF)x/HS2LCD(RF)(P)x v1.0
Installation Instructions, Instructions d'Installation, Instrucciones de instalación,
WARNING:
Refer to the PowerSeries Neo Reference manual for information on limitations regarding product use and function, and information on the limitations as to the liability of the manufacturer.
NOTE:
These instructions must be used in conjunction with the system installation manual of the control panel with which this equipment is intended to be used. This installation sheet applies to the fol-
lowing models: HS2LED, HS2ICN, HS2ICNP, HS2ICNRFx, HS2ICNRFPx, HS2LCD, HS2LCDP, HS2LCDRFx and HS2LCDRFPx; x = 9 where the system operates in 912-919MHz, 8 where the
system operates in 868MHz band, and 4 where the system operates in 433MHz band. The Model HS2LED, HS2LCD(P), HS2ICN(P), HS2LCDRF(P)8, HS2ICNRF(P)8 keypads have been certified by
Telefication according to EN50131-1:2006 + A1:2009, EN50131-3:2009 for Grade 2, Class II.
Instruções de Instalação
English, Français, Español, Português
Publicidad
Tabla de contenido

Manuales relacionados para DSC PowerSeries Neo HS2LED


Resumen de contenidos para DSC PowerSeries Neo HS2LED
-
Página 21: Especificaciones
Desembalaje Tabla 1: Dispositivos compatibles El paquete del teclado incluye lo siguiente: Montaje Repetidor PG inalámbrico PGx920 Instrucciones de instalación HS2LED/ICN(RF)/ Contacto de puerta/ventana PG inalámbrico PGx975 HS2ICN(RF)P/LCD(RF)P LCD(RF) Contacto de puerta/ventana PG inalámbrico PGx945 • 1 teclado • 1 teclado Estas instrucciones se utilizarán junto con el Manual de c/AUX instalación del sistema del panel de control con el cual se... -
Página 22: Programe El Teclado
4. Si el borne ‘P/Z’ está programado como una salida, puede Ingrese [000][000]. Ingrese el número de dos dígitos que conectarse un pequeño relé (como el DSC modelo RM-1 o corresponde al idioma deseado: RM-2) o un zumbador u otro dispositivo accionado por CC mounting holes entre el voltaje de alimentación positivo y la terminal ‘P/Z’... - Página 23 NOTA: Cuando se ha asociado el número máximo de dispositivos, suena un tono de error y se 5. Ingrese el número del grupo del carácter correspondiente hasta que se visualice el carácter visualiza un mensaje de advertencia. deseado (véase la tabla siguiente). Por ejemplo, pulse la tecla “2” tres veces para ingresar la letra “F”.
-
Página 24: Programación Del Teclado
4. Use las teclas [<][>] para desplazarse al ajuste deseado. [011] Programación de entrada/salida de teclado Programación del teclado Zona o número De fábrica 000 1. Pulse [*][8][Código del instalador]. |_____|_____|_____| 2. Seleccione una de las siguientes opciones de programación. [012] Tiempo de activación del pulso de salida PGM local [860] Número de ranura de teclado |_____|_____|... -
Página 25: Soporte De Tarjetas De Proximidad (Prox.)
Tabla 3: Símbolos de la pantalla del teclado [041] Asignación de zona de temperatura interior Programa – Si el sistema está en modo de Predefinido: 000 |_____|_____|_____| (Las entradas válidas son 000-128) programación de instalador o de usuario, o si el [042] Asignación de zona de temperatura exterior teclado está... -
Página 26: [801] Interferencia Rf Detectada
Tabla 5: Opciones de detección de interferencia de RF Tabla 4: Opciones de dispositivos inalámbricos EN 30/60-Europa 30 segundos de interferencia acumulada en el período de 60 segundos Tipo de dispositivo Opciones de Programación Como EN (30/60) pero reportado solamente si la duración de (01) Tipo de zona Clase 6 30/60-Británica interferencia excede 5 minutos... -
Página 27: Descripción
Tabla 7: Opciones inalámbricas Para reemplazar un dispositivo inalámbrico: 1. Ingrese a la Programación del instalador sección [804] y seleccione una de las subsecciones Encendido: las protecciones contra manipulación del módulo están siguientes: Manipulación en registradas y reportadas. módulo Apagado: las protecciones contra manipulación del módulo no están Tabla 9: Subsecciones de Reemplazar dispositivo registradas ni reportadas. -
Página 28: Solución De Problemas
• 24 horas: Resultados promedio de la prueba de la potencia de la señal durante un período de 24 NOTA: horas. • Ahora: Resultados del estatus de la señal de la prueba actual. Durante la prueba, los LED Listo y Armado destellan para indicar que se están recibiendo los datos. - Página 29 PALABRAS n° Palabra n° Palabra n° Palabra n° Palabra n° Palabra n° Palabra n° Palabra n° Palabra n° Palabra Abajo Bajar Código Error Incendio Oficina Retraso Violación 225 Abierto Bajo Comedor Instalar Zona Acceso Balcón Comprar Escaleras 115 Interior Oprimir Sala Actividad Baño...
- Página 30 POSICIÓN DE ESTE ACUERDO DE LICENCIA SE LIMITARÁ A LA sobrecarga de tensión, descarga mecánica, daños por agua o los daños que el permiso escrito de un oficial de DSC. Usted no puede eliminar avisos de MAYOR CANTIDAD YA PAGADA POR USTED PARA LICENCIAR EL sean consecuencia del uso abusivo, alteración o aplicación indebida del...