Publicidad
Idiomas disponibles
Idiomas disponibles
Enlaces rápidos
MONTAGEANLEITUNG
MOUNTING INSTRUCTIONS
INSTRUCTIONS DE MONTAGE
INSTRUCCIONES DE MONTAJE
GUIDA AL MONTAGGIO
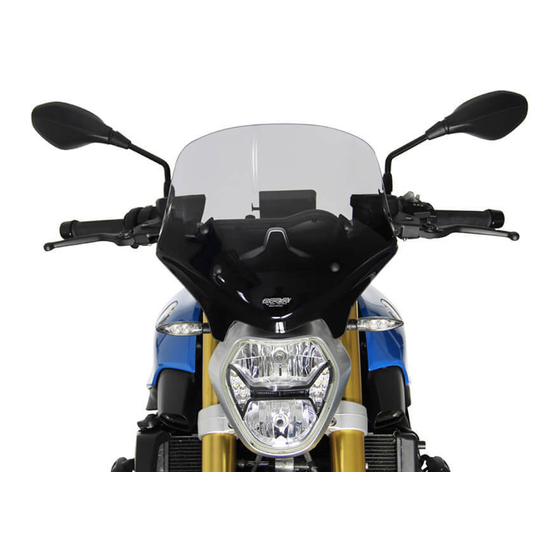
BMW R1200R -2014
( W i n d s h i e l d S p o r t )
© by MRA-Klement GmbH – 09/2015 4025066142699
MRA-Klement GmbH Siemensstr. 6 D-79331 Teningen Tel.: +49 7663 93890 Email: info@mra.de
1
Publicidad

Resumen de contenidos para MRA 10653
- Página 1 GUIDA AL MONTAGGIO BMW R1200R -2014 ( W i n d s h i e l d S p o r t ) © by MRA-Klement GmbH – 09/2015 4025066142699 MRA-Klement GmbH Siemensstr. 6 D-79331 Teningen Tel.: +49 7663 93890 Email: info@mra.de...
- Página 2 Nach Montage und danach in regelmäßigen Abständen alle Schrauben auf festen Sitz prüfen und ggf. nachziehen. Die Scheibe mit Schwamm, Wasser und neutraler Seife reinigen. Lösungsmittel, Alkohol und Benzin beschädigen die Scheibe. MRA-Klement GmbH Siemensstr. 6 D-79331 Teningen Tel.: +49 7663 93890 Email: info@mra.de...
- Página 3 1. Unscrew the securing screws and remove the original screen (P1). 2. Place the supplied rubber rings onto the mounting points (P2). 3. Secure the MRA windscreen using the screws supplied and with the collars fitted (P3). ATTENTION: Make sure you place the collars the correct way round over the screws so that the screw caps can snap onto them.
- Página 4 2. Insérez les anneaux en caoutchouc fournis sur les points d'appui (P2). 3. Fixez le pare-brise MRA au moyen des vis livrées et des rosettes (P3). ATTENTION! Fixez la rosette blanche correctement autour de la vis, de sorte que le manchon protecteur de la vis puisse s’encliqueter.
- Página 5 1. Rimuovere le viti di fissaggio e togliere il cupolino originale (P1). 2. Inserire gli anelli in gomma forniti in dotazione sui punti di sostegno (P2). 3. Fissare il cupolino MRA con le viti e le rosette in dotazione (P3). ATTENZIONE! Inserire la rosetta bianca correttamente tutt’attorno alla vite, in modo tale che il cappuccio della vite possa incastrarsi.
- Página 6 1. Desenrosque los tornillos de fijación y retire el parabrisas original (P1). 2. Coloque los anillos de goma suministrados en los puntos de detención (P2). 3. Fije el parabrisas de MRA con los tornillos suministrados y las rosetas (P3). ATENCIÓN Introducir la roseta blanca correctamente alrededor del tornillo de modo que la tapa de tornillo pueda encajar.


