Tabla de contenido
Publicidad
Idiomas disponibles
Idiomas disponibles
Enlaces rápidos
Publicidad
Tabla de contenido

Manuales relacionados para Oster BVSTKT8980 Serie


Resumen de contenidos para Oster BVSTKT8980 Serie
- Página 1 MODELO BVSTKT8980 MODEL Manual de Instrucciones HERVIDOR ELÉCTRICO DE VIDRIO CON CONTROL DE TEMPERATURA DIGITAL LEA TODAS LAS INSTRUCCIONES ANTES DE USAR ESTE APARATO Instruction Manual DIGITAL ELECTRIC GLASS KETTLE WITH TEMPERATURE CONTROL READ ALL INSTRUCTIONS BEFORE USING THIS APPLIANCE...
-
Página 2: Precauciones Importantes
NO utilice un electrodoméstico que tenga un cable o un enchufe dañado, ni después de que el artefacto haya presentado fallas, o haya sufrido cualquier otro daño. Lleve el artefacto al Centro de Servicio Autorizado Oster más cercano para su inspección, reparación o ajuste. -
Página 3: Instrucciones Especiales Para El Cable
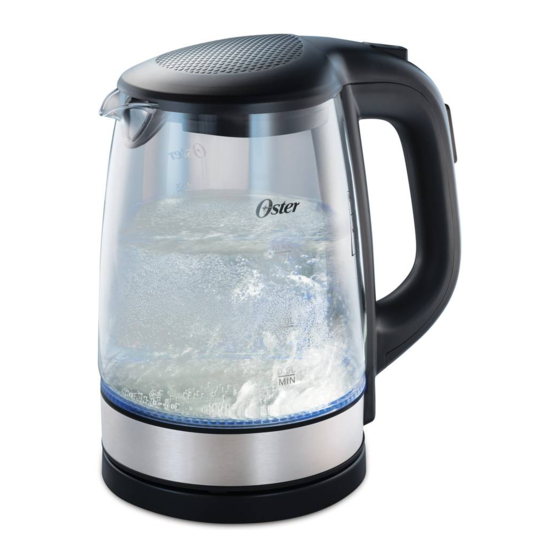
INSTRUCCIONES ESPECIALES PARA EL CABLE 1. Se proporciona un cable de alimentación corto para disminuir los riesgos originados por enredos o tropiezos con cables largos. 2. Si se necesita un cable más largo, puede utilizarse una extensión adecuada. La potencia nominal indicada de la extensión debe ser igual o mayor a el hervidor eléctrico (vea la potencia nominal marcada en la etiqueta del producto). - Página 4 DESC RI P CI ÓN DE L P R O D U C TO 1. Tapa 5. Asa 2. Botón para soltar la tapa 6. Jarra de vidrio iluminada 3. Boquilla 7. Base de alimentación 4. Panel de control digital 8.
-
Página 5: Antes De Usar Por Primera Vez
ANTES DE USAR POR PRIMERA VEZ 1. Lave el interior de el hervidor y la tapa con detergente suave y agua. Enjuague bien todas las piezas. No sumerja el hervidor eléctrico ni la base de alimentación en agua ni en ningún otro líquido. Estas piezas no son aptas para uso en lavaplatos automáticos. 2. - Página 6 4. Una vez seleccionado, presione el botón “ ” y la unidad comenzará a hervir y usted notará que la jarra de vidrio con iluminación en color rojo se ilumina. NOTA: Alternativamente, usted simplemente puede presionar el botón “ ” después de colocar la pava eléctrica sobre la base como té...
- Página 7 3. Seleccione la función de té blanco/verde pulsando el botón “ ” hasta que se encienda la luz LED con el símbolo de té blanco/verde “W/G”. (ver figura 3) figura 3 4. Una vez seleccionado, presione el botón “ ” y la unidad comenzará a hervir y usted notará...
-
Página 8: Si El Hervidor Hierve Hasta Secarse
1. Enchufe el cable en el tomacorriente adecuado. 2. La unidad pitará dos veces. 3. Presione el botón “ ” hasta que la luz LED del té deseado se encienda. 4. Mantenga presionado el botón “ ” durante 2 segundos. 5. -
Página 9: Instrucciones Para El Filtro
INSTRUCCIONES PARA EL FILTRO Se ha incorporado un filtro de malla al hervidor para disminuir la cantidad de residuos minerales que puedan entrar en sus bebidas o alimentos. Para evitar la acumulación de residuos minerales, vacíe el hervidor y deseche el agua sobrante después de hervir. La frecuencia con la que se debe limpiar el filtro variará... -
Página 10: Important Safeguards
Allow it to cool before putting on or taking off parts, and before cleaning the appliance. DO NOT operate any appliance with a damaged cord or plug or after the appliance malfunctions, or has been damaged in any manner. Take the appliance to the nearest Authorized Oster Service Center for examination, repair or adjustment. ®... -
Página 11: Special Cord Set Instructions
SPECIAL CORD SET INSTRUCTIONS 1. A short power supply cord is provided to reduce the hazard resulting from becoming entangled in or tripping over a longer cord. 2. If a longer cord is necessary, an approved extension cord may be used. The electrical rating of the extension cord must be equal to or greater than the electrical rating of the electric kettle (see rating label marked on product). -
Página 12: Description Of The Appliance
DESCRIPTION OF THE APPLIANCE 1. Lid 5. Handle 2. Lid Unlock Button 6. Illuminating Glass Housing 3. Spout & Fine Screen Filter 7. Power Base 4. Digital Control Panel 8. Cord Wrap Area On/Off Button (under the power base) Tea Selection Button LED Indicator Lights English - 3... -
Página 13: Before The First Use
BEFORE THE FIRST USE 1. Wash the inside of the kettle and lid with mild detergent and water. Rinse each thoroughly. Do not immerse the kettle or power base in water or any other liquid. These items are not dishwasher safe. 2. - Página 14 4. Once selected, press the “ ” and the unit will begin to heat up and you will notice the illuminating glass housing illuminates red. NOTE: Alternatively, you can simply push button “ ” after placing kettle onto base as Black Tea/Boil is default selection. 5.
- Página 15 3. Select the White/Green Tea function by pushing button “ ” until the LED light under the symbol for White/Green Tea “W/G” lights up, (see figure 3). figura 3 4. Once selected, press the “ ” and the unit will begin to heat up and you will notice the water window change to the color green.
- Página 16 KEEP WARM FUNCTION The keep warm function can be activated as follows: 1. Plug the electric cord into the appropriate electrical outlet. 2. The unit will then beep twice. 3. Press button “ ” until the LED light over the desired tea lights up. 4.
-
Página 17: Filter Instructions
IF THE KETTLE BOILS DRY If the kettle is operated in accordance with instructions for use, it is unlikely that the kettle will boil dry. However, in the event that the kettle does boil dry, it is protected by a boil dry, fail-safe device which will switch the kettle off automatically upon sensing a boil dry situation. -
Página 18: Care And Cleaning
CARE AND CLEANING 1. Mineral deposits in tap water may cause scale deposits to form inside the electric kettle after frequent use. To remove this scale build-up, fill the kettle with a solution of 3 cups of white vinegar and 3 cups water. Let sit overnight. 2. - Página 19 © 2017 Sunbeam Products, Inc. All rights reserved. Distributed by Sunbeam Latin America, LLC, 5200 Blue Lagoon Drive, Suite 860, Miami, FL 33126. One year limited warranty – please see insert for details. www.oster.com Impreso en China Printed in China OSTERLATINO P.N.