Tabla de contenido
Publicidad
Enlaces rápidos
© 2017 Thermaltake Technology Co., Ltd. All Rights Reserved. A-2016.12
All other registered trademarks belong to their respective companies.
Tested To Comply
With FCC Standards
FOR HOME OR OFFICE USE
www.thermaltake.com
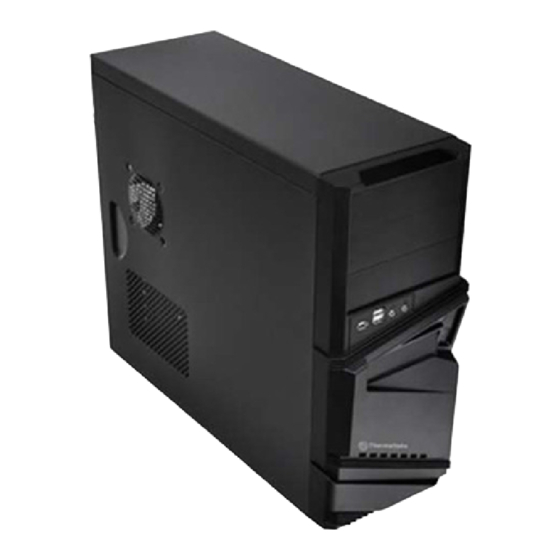
Mid Tower
V
Plus
3
VN8000 Series
User's Manual
Benutzerhandbuch
Mode d'emploi
Manual del usuario
Manuale dell'utente
Manual do Utilizador
Εγχειρίδιο Χρήσης
安裝說明書
用戶手冊
ユーザーズマニュアル
Руководство пользователя
kullanıcı elkitabı
(EEE Yönetmeliğine Uygundur)
คู ่ ม ื อ การใช้
Publicidad
Tabla de contenido

Resumen de contenidos para Thermaltake VN8000 Serie
- Página 1 Manuale dell’utente Manual do Utilizador Εγχειρίδιο Χρήσης 安裝說明書 用戶手冊 ユーザーズマニュアル © 2017 Thermaltake Technology Co., Ltd. All Rights Reserved. A-2016.12 www.thermaltake.com All other registered trademarks belong to their respective companies. Руководство пользователя kullanıcı elkitabı Tested To Comply With FCC Standards (EEE Yönetmeliğine Uygundur)
-
Página 2: Tabla De Contenido
Case LED Connection 13-18 6#32 hesagon PCI, motherboard,Power supply USB Connection 13-18 Audio Connection 13-18 M3 screw external 3.5" drive bay 6#32 screw 3.5"HDD Ø screw Chapter 4. Other alarm buzzer Thermaltake Power Supply Series (Optional) motherboard rubber spacer support... -
Página 3: Warning And Notice
Atenção!! Warning and Notice - Limite de altura para o dissipador do CPU: O limite de altura para o dissipador do CPU é 153 mm (6 polegadas). - Limite de comprimento para VGA (placa gráfica): O limite de comprimento para VGA (placa gráfica) é 305 mm (12 polegadas). CPU Cooler Height Limitation VGA ( Add- on card) Length Limitation - Se estiver a instalar uma ventoinha na parte frontal superior da caixa, não instale o dispositivo da... -
Página 4: Side Panel Disassembly
Motherboard Installation Side Panel Disassembly English / 1.Lay down the chassis. 繁體中文 / 2.Install the motherboard in proper location and 1. 將機殼平放。 secure it with screws. 2. 將主機板放置在合適的位置並用零件包中之螺 English / 繁體中文 絲固定。 Deutsch / Remove the screws on the back of the chassis, 1.Legen Sie das Gehäuse auf die Seite. -
Página 5: Device Installation
5.25" Device Installation Ελληνικά/ Türkçe / 1. Τραβήξτε έξω τον εμπρόσθιο πίνακα. 1. Ön paneli çekerek çıkarın. 2. Αφαιρέστε το κάλυμμα της θέσης μονάδας 5,25”. 2. 5.25” sürücü bölmesi kapağını çıkarın. 3. Αφαιρέστε το μεταλλικό κάλυμμα της θέσης 3. 5.25” sürücü bölmesi metal kapağını çıkarın. μονάδας... -
Página 6: External 3.5" Device Installation
External 3.5” Device Installation Ελληνικά/ Türkçe / 1. Τραβήξτε έξω τον εμπρόσθιο πίνακα. 1. Ön paneli çekerek çıkarın. 2. Αφαιρέστε το κάλυμμα της θέσης μονάδας 3,5”. 2. 3.5” sürücü bölmesi kapağını çıkarın. 3. Αφαιρέστε το μεταλλικό κάλυμμα της θέσης 3. 3.5” sürücü bölmesi metal kapağını çıkarın. μονάδας... -
Página 7: Hdd Installation
3.5" HDD Installation PCI Slot Usage Ελληνικά/ 1. Αφαιρέστε τη βίδα από το στήριγμα της θυρίδας PCI και αφαιρέστε το στήριγμα της θυρίδας PCI. English / 2. Εισάγετε την κάρτα PCI μέσα στη σχισμή PCI, και στε 1. Remove screw from PCI slot bracket and take off the ρεώστε... - Página 8 Leads Installation...
-
Página 11: Thermaltake Power Supply Series (Optional)
Why Choose Thermaltake Power Supply? Quality From Within Every power supply units from Thermaltake should pass a very strict quality control before sent to customers, including BIT(Burn-in-test) for over 8 continuous hour in a 45℃ room to test if a unit can run normally under usual scene, and Hipot test to ensure the power supply unit can survive and protect both users and their systems when the voltage volume surges.


