Tabla de contenido
Publicidad
Enlaces rápidos
Publicidad
Tabla de contenido

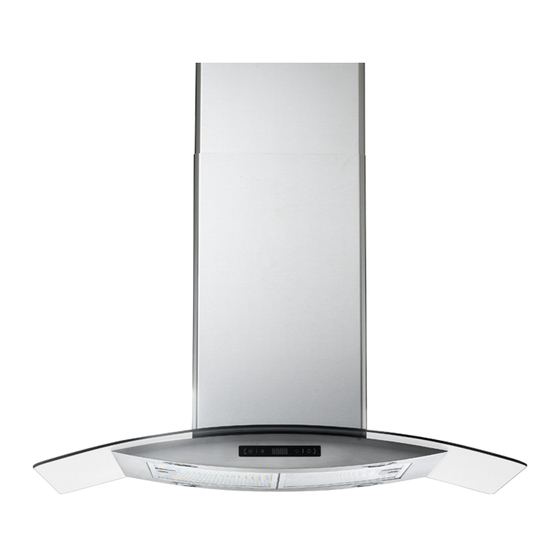
Resumen de contenidos para Premium PCH796DR
-
Página 2: Tabla De Contenido
READ AND SAVE THESE INSTRUCTIONS MANUAL CONTENTS TECHNICAL CHARACTERISTICS.........1 BODY SIZE ..................1 -2 a) El motor no funciona, reemplace con un nuevo motor. MAIN PARTS NAME ...............2 b) El interruptor de control no funciona,reemplace El motor no con un nuevo interruptor. arranca c) La capacitancia no funciona, reemplace una I N S TA L L AT I O N R E Q U I R E M E N T. -
Página 3: Technical Characteristics
Glove componentes suavemente durante la limpieza. TECHNICAL CHARACTERISTICS Model no.: □PCH796DR □PCH794DR □PCH760R □PCH762DR □PCH767DR □PCH797DR □PCH990R □PCH960R □PCH896IR Nunca lave el interruptor de Total power: □190W □154W □158W... -
Página 4: Main Parts Name
No conecte la salida de aire a chimeneas ni ductos de combustion de gas PCH796DR No permita que arde fuego (llamas) bajo la campana PCH797DR 688/GS14 En caso de danos al cable de corriente, solicite a un tecnico que lo repare. -
Página 5: Installation Requirement
INSTALLATION REQUIREMENT Nota Importante 1. Do not install the cooker hood where there are many doors or windows in other to avoid to Es aconsejable llamar a una persona de servicio calificada y autorizada para effecting the exhaust efficiency of the hood caused by air convection. (Fig. 1) limpiar periódicamente el ensamble interno;... - Página 6 INSTALLATION FOR MODEL PCH760R,PCH762DR,PCH794DR,PCH796DR, PCH767DR,PCH797DR Step 1: Please put the cooker hood on the wall and mark the position where you want to install. We recommend the height from the hob to 10mm the lower edge of the hood should be from 650mm to 700mm.
- Página 7 Step 5: Inner duct Insert the inner duct into the outer duct . Please kindly note that the inner duct must fix to the outer duct ’s Outer duct orientation slot. Pic 1 Pic 2 Pic 3 Orientation Slot Step 6: Inner duct Put the outer duct to the unit body, Outer duct...
- Página 8 &PCH990R&PCH960R Installation For Model PCH 990R,PCH 960R Step 1: Please put the cooker hood on the wall and mark the position where you want to install. 10mm We recommend the height from the hob to the lower edge of the hood should be from 350mm to 400mm.
- Página 9 Step 5: Paso 9 Instale el filtro piramidal, insertando los 1.Extend the inner chimney to the height seguros en los huecos y empuje suavemente which you want . And mark the two holes of Expanding Tube 5x60 en la dirección A para adecuarlo. the inner chimney’s hook on the wall.
- Página 10 Paso 4 Step 4: Upper duct cover Inserte la cubierta del ducto superior en la Cubierta del ducto interno Insert the upper duct cover into the low cubierta del ducto inferior. duct cover. Low duct cover Cubierta del ducto externo Step 5: Paso 5 Upper duct cover...
-
Página 11: Operating Instruction
Step 9: Paso 5: Tubo de expansi n ó 1)Extienda la cubierta interna a la altura Install pyramidical filter. Match the fix pin deseada. Marque dos orificios del gancho del Tornillo de madera to the fix hole and button the filter gently as ducto interno en la pared. - Página 12 PCH796DR&PCH990R&PCH960R INSTALACION PARA MODELOS PCH990R&PCH960R Paso 1: Por favor ponga la campana en la pared y marque 10mm A: Touch A , the fan runs at the low speed. Press it again, the fan turns off. la posición en la que la desea instalar.
- Página 13 Paso 5: Ducto interno Ponga el ducto interno en el ducto externo. Tenga en cuenta que el ducto interno debe fijarse de acuerdo a la ranura de orientación. Ducto externo Pic 1 Pic 2 Pic 3 Ranura de PCH760R orientación Paso6: Cubierta del ducto interno Ponga el ducto externo en la carcasa de la...
-
Página 14: Maintenance
MAINTENANCE INSTALACION PARA MODELOS PCH760R,PCH762DR,PCH794DR,PCH796DR, PCH767DR,PCH797DR CAUTION: NEVER PUT YOUR HAND INTO THE AREA HOUSING WHILE THE FAN IS OPERATING. Paso 1: FOR THE OPTIMAL LEVEL OF OPERATION, CLEAN THE RANGE HOOD Por favor ponga la campana en la pared y marque la posición en la que la desea instalar. -
Página 15: Important Notice
PCH760R,PCH762DR,PCH794DR,PCH796DR,PCH767DR,PCH797DR,PCH896IR the fire also. es de 650mm a 700 mm (Fig. 2). La distancia Note:- before carrying out the maintence cleaning or replacing the lamp, recomendada entre el tope y el borde más bajo de la campana para modelos... -
Página 16: Important Safety Instructions
IMPORTANT SAFETY INSTRUCTIONS: Do not connect the air outlet to chimney flues or combustion gas ducts. PCH796DR Do not leave naked PCH797DR 688/GS14 flames under this hood In case of any damage to power cable, replace the broken cable with a new one by qualified person. - Página 17 Dress the protective glove before you start to clean the hood. Remove the components gently during Glove PCH767DR carrying out the clearance. PCH797DR PCH990R PCH896IR 158W Never wash the control switch with water or other kind of liquid to avoid the liquid might cause electrical problem to the hood.
-
Página 18: Trouble Shootings
TROUBLE SHOOTINGS CAUTION: Disconnect the power supply before servicing. STATUS CAUSE AND METHOD OF REPAIRING TOOL The power "+" type 1 - 2 If the power supply is damaged,please call supply is Screwdriver technicians to repair. damaged Sharp Pincers a) The motor was broken, replace a new motor "+"...