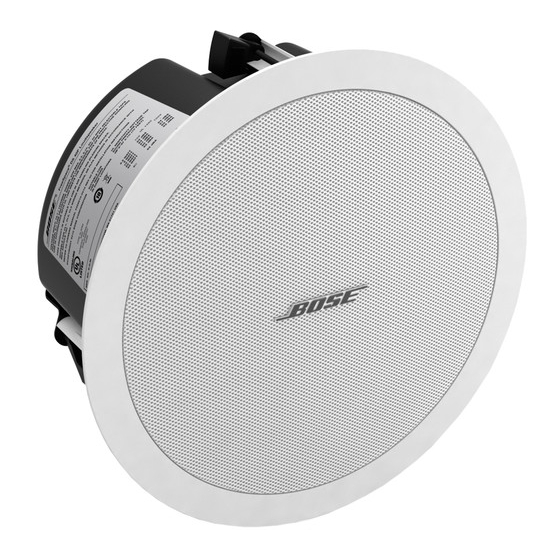
Bose FreeSpace DS 40F Guia De Instalacion
Ocultar thumbs
Ver también para FreeSpace DS 40F:
- Guia de instalacion (19 páginas) ,
- Manual de instrucciones (2 páginas) ,
- Guia de instalacion (21 páginas)
Publicidad
Enlaces rápidos
Bose
* For use by professional installers only.
* Kun til brug for erfarne installatører.
* Montage ausschließlich durch ausgebildetes Installationspersonal.
* Para uso exclusivo de instaladores capacitados.
* Réservé aux installateurs ayant suivi une formation.
* Solo per l'uso da parte di installatori professionisti.
* Uitsluitend voor gebruik door ervaren installateurs.
* Ska endast användas av utbildade installatörer.
®
®
FreeSpace
DS 40F Loudspeaker - 8 Ohm
Installation Guide*
Installationsvejledning*
Installationsanleitung*
Guía de instalación*
Guide d'installation*
Guida all'installazione*
Installatiehandleiding*
Installationsanvisning*
Publicidad

Resumen de contenidos para Bose FreeSpace DS 40F
- Página 1 ® ® Bose FreeSpace DS 40F Loudspeaker - 8 Ohm Installation Guide* Installationsvejledning* Installationsanleitung* Guía de instalación* Guide d’installation* Guida all’installazione* Installatiehandleiding* Installationsanvisning* * For use by professional installers only. * Kun til brug for erfarne installatører. * Montage ausschließlich durch ausgebildetes Installationspersonal.
- Página 2 ® FreeSpace DS 40F Loudspeaker - 8 Ohm Paint shield 6.38" 162.2 mm 5.73" 145.6 mm 9.94" 11.81" 252.4 mm 300.0 mm 10.26" 2.76" 260.7 mm 70.1 mm Hole cutout diameter 10.5" (267 mm) Maximum ceiling thickness 2.76" (70.1 mm) Loudspeaker weight 6.25 lb.
- Página 3 Installation Requirements Installation Installation • Choose a mounting position, method, and hardware consistent • Pour le montage, choisissez une position, une méthode et des with local building codes and regulations. composants conformes aux codes et réglementations en vigueur. • It is the responsibility of the installer to ensure the safety of the •...
- Página 4 2. Plaque de montage en faux-plafond Bose ® 3. A. Bose ® Tile Bridge 3. A. Plaque de renfort pour plafond à dalles Bose ® B. Bose ® Adjustable Tile Bridge B. Plaque de renfort ajustable pour plafond à dalles Bose ®...
- Página 5 Wiring the Loudspeaker With use of direct input terminals Wire gauge requirements from loudspeaker line wiring to loudspeaker terminals: Use 18 AWG (0.8 mm ) to 14 AWG (2.0 mm size wire only. Ved anvendelse af direkte indgangsterminaler Krav til ledningens tykkelse fra højttalers tilslutning til indgangsterminaler: Brug kun 18 AWG (0,8 mm ) til 14 AWG (2,0 )-kabler.
- Página 6 Wiring the Loudspeaker Connecting to an amp or receiver Connexion à un ampli ou un ampli-tuner Connect one end of the wire to the output terminals of the amplifier Connecter une extrémité du câble aux bornes de sortie de or receiver. Red is usually the positive (+) terminal. l’amplificateur ou de l’ampli-tuner.
- Página 7 Wiring the Loudspeaker Connecting to loudspeaker terminals Connexion aux bornes de l’enceinte 1. For one DS 40F loudspeaker - 8 Ohm: Connect the wires from the 1. Pour une enceinte DS 40F - 8 Ohms : connecter les fils de l’ampli- amp/receiver to the matching positive (+) and negative (–) termi- tuner aux bornes correspondantes plus (+) et moins (–) de l’enceinte.
- Página 8 Installing the Loudspeaker 10.5" 267 mm Installing the loudspeaker in a ceiling Einbauen der Lautsprecher in eine Decke 1. Remove cutting template from box. 1. Nehmen Sie die Schneidvorlage aus dem Kasten. 2. Trace hole onto ceiling or tile — 10.5" (267 mm) diameter. 2.
- Página 9 Installing the Loudspeaker Installation de l’enceinte en plafond De luidspreker monteren in een plafond 1. Retirer le gabarit de découpe de l’emballage. 2. Tracer au plafond ou sur le carrelage un trou de 270 mm de 1. Neem de montagesjabloon uit de doos. diamètre.
- Página 10 Installing the Loudspeaker NOT INCLUDED: safety cable Using a safety cable Utilisation du câble de sécurité en • Some regional construction codes require the use of a secondary supplément method of securing loudspeakers to support structures to provide additional safety. •...
- Página 11 Grille Options Attaching the grille Removing the grille Using both hands, press the grille into place. Use a flathead screwdriver to gently remove the grille from the loud- speaker body. Be careful not to apply too much force, as that may cause the grille to bend.
-
Página 12: Safety And Regulatory Compliance
Safety and Regulatory Compliance The DS 40F loudspeaker - 8 Ohm has passed extensive testing and complies with the following specifications and uses: LISTED to ANSI/UL 1480-2005 • Fire Protective Signaling Use – UL Category UUMW, File Number S 3241. Control Number 42S9. - Página 16 ©2010 Bose Corporation, The Mountain Framingham, MA 01701-9168 USA AM328135 Rev.02 pro.Bose.com...


