Tabla de contenido
Publicidad
Idiomas disponibles
Idiomas disponibles
Enlaces rápidos
Publicidad
Tabla de contenido

Resumen de contenidos para Risco LightSYS RP432KP
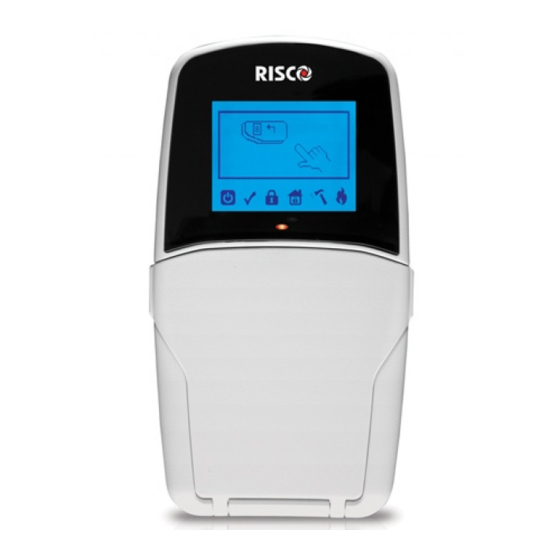
- Página 1 LCD Keypad & LCD Proximity Keypad (Models: RP432KP, RP432KPP)
- Página 2 Installing the LightSYS Keypad Main Panel Back Side...
- Página 3 Introduction Installer User Indicators Power Ready Arm (Set) Stay / Bypass (Part Set/ Omit) Tamper Fire LED (Red) Arm / Alarm...
- Página 4 Keys Control Keys Note: Note: icon is equivalent to the icon on ProSYS keypads. Emergency Keys...
- Página 5 Function Keys Numeric Keys Keypad Settings Note: The following settings must be defined individually for each keypad connected to the system. To define keypad settings, follow this procedure: Brightness Contrast Keypad's buzzer volume Language (ProSYS mode only) Note: • The LightSyS Language option can always be accessed by simultaneously pressing •...
-
Página 6: Technical Specifications
Using the Proximity Tag Automatic Upgrade Resulting from Panel Manual Upgrade LightSYS Installer Manual, Appendix I: Remote Software Upgrade Technical Specifications Ordering Information Model Description... - Página 7 Introduzione Indicatori Alimentazione Funzioni Utente Pronto all’Inserimento Inserimento...
- Página 8 Nota: Inserimento Parziale / Esclusione Zona Manomissione Incendio LED (Rosso) Inserimento Tasti Tasti di Comando Nota:...
- Página 9 Nota: Funzioni Utente Tasti per l’Emergenze Tasti Funzione Tasti Numerici...
- Página 10 Impostazioni Tastiera Nota: Impostare la lingua della tastiera conformemente a quella in uso sulla centrale. Per programmare le impostazioni della tastiera seguire la procedura seguente: Luminosità Contrasto Volume Lingua (Solo quando utilizzata con ProSYS) Note: • L’opzione Lingua, nel sistema LightSYS è sempre accessibile premendo simultaneamente.
-
Página 11: Specifiche Tecniche
Avvicinare il Tag di Prossimità nella posizione tratteggiata riportata sotto: Aggiornamento Automatico della Tastiera dopo l’Aggiornamento Firmware della Centrale Manuale di Installazione e Programmazione della LightSYS, Appendice I: Aggiornamento Firmware da Remoto Specifiche Tecniche — ± — ± Codice Prodotto Modello Descrizione... -
Página 12: Introducción
Introducción Instalación Usuario Indicadores Alimentación Listo Armado Parcial / Anulación Sabotaje... - Página 13 Fuego LED (Rojo) Armado / Alarma Teclas Teclas de Control Nota: Nota:...
- Página 14 Teclas de Emergencia Teclas de Función Teclas Numéricas...
-
Página 15: Configuración Del Teclado
Configuración del Teclado Nota: Las siguientes configuraciones deben definirse individualmente para cada teclado conectado al sistema. Para definir la configuración del teclado siga estos pasos: Nota: • En LightSYS siempre se puede acceder a la opción de Idioma presionando simultáneamente las teclas •... -
Página 16: Especificaciones Técnicas
Actualización automática de componentes como resultado de actualizar el firmware de la central Especificaciones Técnicas Información para pedidos Modelo Descripción... - Página 17 Wstęp Wskaźniki Zasilanie Gotowość Uzbrojenie Uzbrojenie częściowe lub stan blokady Sabotaż Pożar Dioda LED (czerwona) Uzbrojenie / Alarm...
- Página 18 Klawisze Uwaga: Uwaga: Klawisze alarmowe...
- Página 19 Klawisze funkcyjne Klawisze numeryczne Ustawienia klawiatury Uwaga: Ustawienia muszą być wykonane oddzielnie dla każdej klawiatury podłączonej do systemu. Do zdefiniowania ustawień klawiatury służy poniższa procedura: Jasność Kontrast Poziom głośności brzęczyka klawiatury Język (tylko w trybie ProSYS) Uwaga: • Opcje językowe LightSYS są zawsze dostępne po równoczesnym naciśnięciu klawiszy •...
- Página 20 Brelok zbliżeniowy: zasada odczytu Automatic Upgrade W wyniku uaktualnienia instrukcji centrali Parametry techniczne Informacja do zamówień Model Opis...
- Página 21 Introduction installateur utilisateur Indicateurs Alimentation Prêt Armer Partiel / Contourner (armé en partiel/ omettre) Autoprotection...
- Página 22 Incendie LED (Rouge) Armer /Alarme Touches Touches de commande Note: Note: La touche sur les claviers ProSYS.
- Página 23 Touches d'urgence Touches de fonction Touches numériques Réglages du clavier Remarque : Les paramètres suivants doivent être définis individuellement pour chaque clavier connecté au système. Pour définir les paramètres du clavier, suivez la procédure ci-après : Luminosité Contraste...
- Página 24 Volume du buzzer du clavier Langue (mode ProSYS uniquement) Remarque : • L'option Langue de la LightSyS est toujours accessible en appuyant simultanément sur • Pour les versions ProSYS antérieures à 5, définissez la langue du clavier en fonction de la langue du panneau. Panneau RP432/RP128 (ProSYS) Remarque : Sélectionnez RP432 lorsque le clavier est connecté...
- Página 25 Mise à niveau automatique résultant de mise à jour manuelle du panneau Spécifications techniques Informations pour passer commande Modèle Description...
- Página 26 Οδηγίες Ενδείξεις Alimentación Listo Armado Parcial / Anulación...
-
Página 27: Πλήκτρα Ελέγχου
Sabotaje Fuego LED (Κόκκινο) Οπλισμός / Συναγερμός Συμπεριφέρεται με τον ίδιο τρόπο όπως η ένδειξη Πλήκτρα Πλήκτρα ελέγχου ΟΚ Σημείωση:... - Página 28 Σημείωση: Επείγοντα Πλήκτρα Πλήκτρα Λειτουργιών Αριθμητικά Πλήκτρα...
- Página 29 Ρυθμίσεις Πληκτρολογίου Σημείωση: Οι ακόλουθες ρυθμίσεις πρέπει να καθορίζονται ξεχωριστά για κάθε πληκτρολόγιο συνδεδεμένο με το σύστημα. Για να ορίσετε τις ρυθμίσεις πληκτρολογίου, ακολουθήστε την παρακάτω διαδικασία: και: Σημείωση: • Αυτό το χαρακτηριστικό έχει σημασία μόνον όταν το πληκτρολόγιο είναι συνδεδεμένο...
-
Página 30: Πληροφορίες Παραγγελιών
Αυτόματη αναβάθμιση από την Χειροκίνητη Αναβάθμιση του Πίνακα Τεχνικές Προδιαγραφές Πληροφορίες Παραγγελιών Μοντέλο Περιγραφή RP432 KP RP432 KPP RP200KT... - Página 31 RISCO Group Limited Warranty RISCO Group and its subsidiaries and affiliates ("Seller") warrants its products to be free from defects in materials and workmanship under normal use for 24 months from the date of production. Because Seller does not install or connect the product and because the product may be used in conjunction with products not manufactured by the Seller, Seller cannot guarantee the performance of the security system which uses this product.
-
Página 32: Contacting Risco Group
Contacting RISCO Group United Kingdom France Italy Spain Belgium (Benelux) China (Shanghai) Israel...

