Tabla de contenido
Publicidad
Idiomas disponibles
Idiomas disponibles
Enlaces rápidos
Please Read and Save this Use and Care Book
Por favor lea este instructivo antes de usar el producto
†
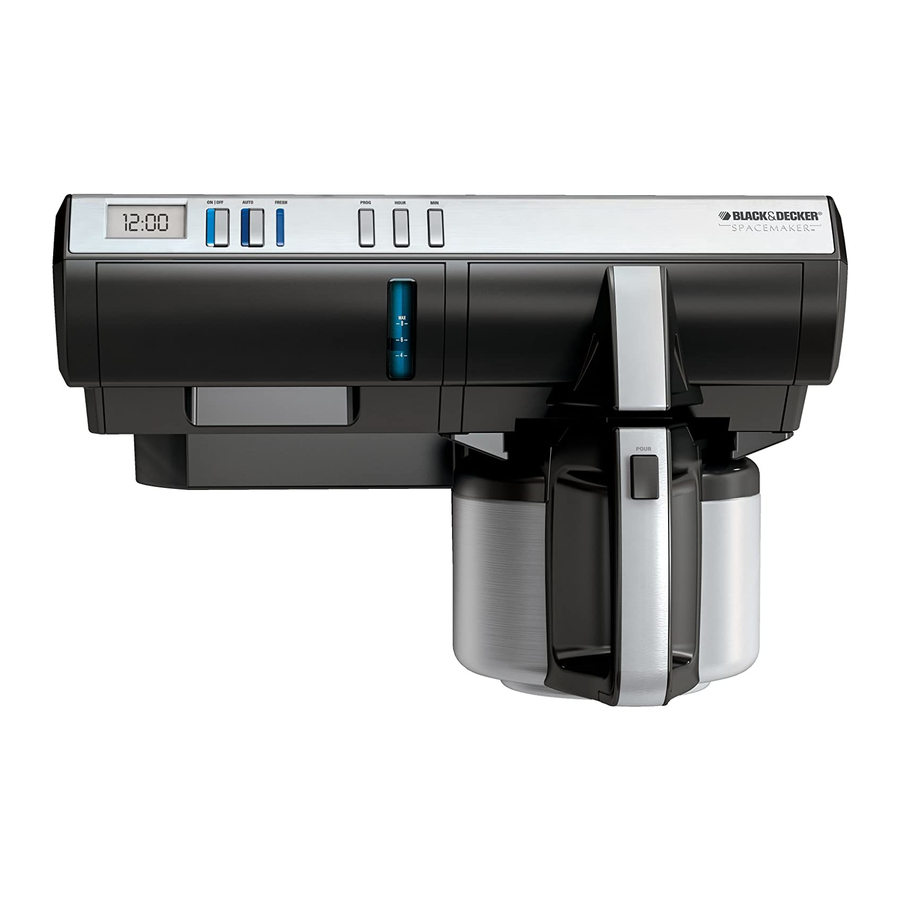
CAfETERA TÉRMICA
pARA INsTALAR DEBAJo DEL GABINETE
Register your product online at www.
prodprotect.com/applica, for
a chance to WIN $100,000!
for us residents only
Registre su producto por Internet en
www.prodprotect.com/applica y tendrá la
oportunidad de GANAR $100,000!
solamente para residentes de EE.uu
USA/Canada
www.prodprotect.com/applica
Accessories/Parts
(USA/Canada)
Accesorios/Partes
(EE.UU/Canadá)
1-800-738-0245
8-Cup THERMAL
u ND ER-THE -C A BI N E T
CoffEEMAkER
DE 8 TAzAs
1-800-231-9786
™
Model
Modelo
❑ sDC850
❑ sDC850Q
Publicidad
Tabla de contenido

Manuales relacionados para BLACK&DECKER SPACEMAKER SDC850


Resumen de contenidos para BLACK&DECKER SPACEMAKER SDC850
- Página 1 Please Read and Save this Use and Care Book Por favor lea este instructivo antes de usar el producto † ™ 8-Cup THERMAL u ND ER-THE -C A BI N E T CoffEEMAkER CAfETERA TÉRMICA DE 8 TAzAs pARA INsTALAR DEBAJo DEL GABINETE Register your product online at www.
-
Página 2: Import Nt S Fegu Rds
IMPORT NT S FEGU RDS ❑ To reduce the risk of electric shock, do not mount over a sink. ❑ To reduce the risk of fire, do not store anything directly on top of the When using electrical appliances, basic safety precautions should always appliance surface when the appliance is in operation. - Página 3 GROUNDED PLUG Product may vary slightly from what is illustrated. s a safety feature, this product is equipped with a grounded plug, which will only fit into a three-prong outlet. Do not attempt to defeat this safety feature. Improper connection of the grounding conductor may result in the risk of electric shock. Consult a qualified electrician if you are in doubt as to whether the outlet is properly grounded.
-
Página 4: Getting St Rted
GETTING ST RTED • Remove all packing material, labels and any stickers. • Remove and save literature. • Unpack mounting parts and set them aside in a safe place where they will not roll away or get lost. Important: Do not attempt to operate appliance until it is properly installed. CHOOSE LOC TION When choosing your location, consider the following:... - Página 5 4. Fold the template along the edge of your cabinet so the thick line is straight Caution: This appliance features a Save- -Plug™ outlet receptacle to connect with bottom front edge; pull template tight and tape down to hold in place. smaller †SpaceMaker™...
- Página 6 11. Once the panel is secure, reattach coffeemaker to panel by lifting appliance 4. fter measuring the overhang molding thickness as shown in Illustration up, aligning it with the track on the panel and then sliding it back into place. H, look at the dashed lines on the mounting template;...
- Página 7 12. Now, use your ruler or the paper ruler provided to measure the overhang 15. Once spacers are set, hold panel up and tighten nuts onto each of the screws molding height, placing your ruler vertically against the underside of the to secure.
-
Página 8: How To Use
How to Use • To place brew-through lid on carafe, press the side buttons and press the lid into place securely on the thermal carafe with the spout facing away from the handle (Q). This appliance is for household use only. BEFORE FIRST USE •... -
Página 9: Brewing Coffee
Note: You must set the clock in order to use the Delayed Brewing feature. 6. Insert brew basket into brew basket holder, snapping into place securely. 3. To change the time, press HOUR button until the correct time appears (S). 7. -
Página 10: Del Yed Brewing
Care and Cleaning DEL YED BREWING 1. Follow steps 1 through 9 under BREWING COFFEE. This product contains no user serviceable parts. Refer service to qualified service 2. Make sure clock has been set to correct time of day. personnel. 3. -
Página 11: Troubleshooting
6. Use the carafe to fill water reservoir with fresh water to 6-cup line, replace empty TROUBLESHOOTING carafe on the “Keep Hot” carafe plate and then turn on coffeemaker for a complete brew cycle to flush out remaining cleaning solution. You may wish to repeat this PROBLEM POSSIBLE C USE SOLUTION... -
Página 12: Instrucciones Import Ntes De Segurid D
INSTRUCCIONES IMPORT NTES ❑ Para reducir el riesgo de incendio, no instale el aparato sobre ni cerca de ninguna superficie de un aparato de calentar ni de cocinar. DE SEGURID D ❑ Para reducir el riesgo de un choque eléctrico, no instale este aparato sobre un fregadero. -
Página 13: Enchufe De Tierr
ENCHUFE DE TIERR El producto puede variar ligeramente del que aparece ilustrado. Como medida de seguridad, este producto cuenta con un enchufe de tierra que tiene tres contactos. No trate de alterar esta medida de seguridad. La conexión inapropiada del conductor de tierra puede resultar en un riesgo de choque eléctrico. -
Página 14: P Sos Prelimin Res
P SOS PRELIMIN RES • Retire todo el material de empaque, etiquetas y calcomanías. • Retire y conserve toda literatura. • Desempaque las partes de montaje, y apártelos en un lugar seguro para no perderlos. Importante: No trate de operar el aparato sin antes haberlo instalado debidamente. -
Página 15: Determine El Tipo De G Binete
Precaución: Este aparato cuenta con un receptáculo tomacorriente Save- -Plug™ 4. Doble la plantilla alrededor del borde del gabinete de forma que la línea gruesa para conectar aparatos †SpaceMaker™ más pequeños, como un miniprocesador quede alineada con el borde inferior delantero, estire la plantilla y pegue las 4 de alimentos/un molino o un abrelatas. -
Página 16: Mont Je Sobres Liente
Nota: Para determinar que tornillos debe usar, tenga en cuenta que cada tornillo Nota: Si no tiene una regla, corte la regla de papel provista en el borde de la debe sobresalirse del gabinete lo suficiente para que pueda asegurarse con una plantilla de montaje. - Página 17 9. Una vez que haya perforado los agujeros, despegue la cinta adhesiva y la Nota: Para la instalación de los separadores, es probable que se requiera plantilla de montaje. asistencia, a fin de sostener los separadores en su lugar mientras uno afianza el aparato al mismo tiempo.
-
Página 18: Progr M Ción Del Reloj
Como usar • Para colocar la tapa de la jarra, presione los botones laterales y presione la tapa hasta que quede bien colocada, con la boquilla en posición opuesta al mango (Q). Este producto es para uso doméstico solamente. NTES DEL PRIMER USO •... -
Página 19: Prep R Ción Del C Fé
3. Para cambiar la hora: Presione el botón HOUR (hora) hasta que aparezca la hora 5. gregue la cantidad deseada de café molido (por lo general 1 cucharada o medida correcta (S). de café llena por taza). 6. Coloque el cesto de colar dentro de su soporte. segúrese de que quede bien encajado. - Página 20 • Para una ocasión especial, bata crema de leche con 1 ó 2 cucharadas de licor de DISPOSITIVO DE INTERRUPCIÓN DE COL DO SNE K- -CUP® avellanas, chocolate o almendras. Coloque un poco de esta mezcla sobre cada taza La función de interrupción de colado Sneak- -Cup® permite servirse una taza de café de café.
-
Página 21: Cuidado Y Limpieza
Cuidado y limpieza dvertencia: No exceda el nivel de llenado. 2. Introduzca un filtro de papel en el cesto de colar e instale el cesto en su lugar. Este aparato no contiene piezas reparables por el consumidor. Todo servicio que Coloque la jarra vacía sobre la placa de calentamiento. -
Página 22: Detección De Fallas
NOTES/NOT S Detección de fallas PROBLEM C US POSIBLE SOLUCIÓN La cafetera La cafetera no está enchufada. Verifique que la cafetera no enciende. esté conectada a un enchufe que funciona y asegúrese de presionar el botón de encendido/apagado (ON/OFF). La cafetera está El tanque de agua puede Verifique que el agua en goteando. -
Página 23: Need Help
NOTES/NOT S NEED HELP? For service, repair or any questions regarding your appliance, call the appropriate 800 number on the cover of this book. DO NOT return the product to the place of purchase. lso, please DO NOT mail product back to the manufacturer, nor bring it to a service center. - Página 24 ¿NECESIT YUD ? is a trademark of The Black & Decker Corporation, Towson, Maryland, US Para servicio, reparaciones o preguntas relacionadas al producto, por favor llame Marca registrada de The Black & Decker Corporation, Towson, Maryland, E.U. gratis al número “800” que aparece en la cubierta de este manual. No devuelva el producto al establecimiento de compra.
- Página 25 † ™ Save space and regain your counters in any kitchen with our full-line of space-saving appliances. † SpaceMaker appliances can help tackle all your ™ kitchen tasks while keeping your counters free of clutter! Visit www.bdspacemaker.com to learn more about † SpaceMaker appliances and see our latest promotional offers. ™ Your countertops will thank you! Toaster Oven Can Opener Coffeemaker Mini Food Processor / Grinder Horno tostador Abrelatas Cafetera Mini procesador de alimentos / Molino Ahorre espacio y recupere sus mostradores en cualquier cocina con nuestra línea completa de electrodomésticos que ahorran espacio. ¡ † SpaceMaker puede ayudarlo con todas las ™ tareas de la cocina sin ocupar mucho espacio! Visite www.bdspacemaker.com para obtener más información sobre los electrodomésticos † SpaceMaker ™ y enterarse de nuestras promociones más recientes. ¡Sus mostradores se lo agradecerán!