Publicidad
Idiomas disponibles
Idiomas disponibles
Enlaces rápidos
PA
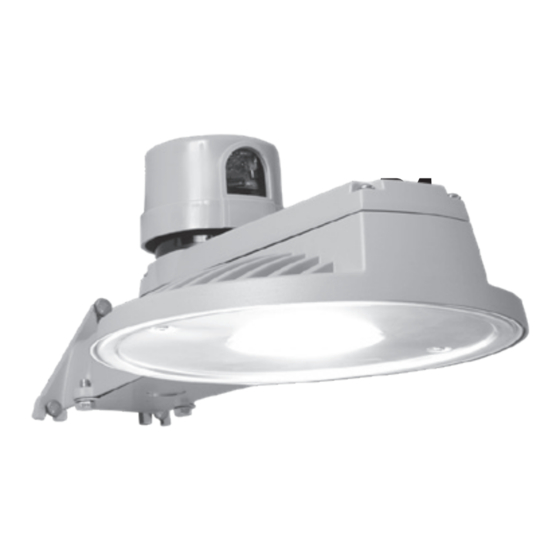
Gray/ Gris/Gris
AL7550LPCGY
Bronze / Bronze/Bronce
AL7550LPCBZ
ENGLISH
ITEMS REQUIRED
(Purchase separately)
• Phillips screwdriver
• Adjustable wrench or ratchet wrench with 10mm socket
• Drill with 3/16 in. drill bit
• 1/2 in. diameter conduit (if applicable, length depends on application)
• 1/2 in. watertight conduit connectors (if applicable)
• Wire connectors
IMPORTANT SAFETY INSTRUCTIONS
When using product, basic precautions should always be followed, including the following:
• Heed all warnings, including below warnings AND those included on product.
• Save these instructions and warnings.
• For outdoor use only.
• cULus LISTED for wet location use.
• Read and follow these instructions.
• Disconnect at fuse or circuit breaker before installing or servicing.
• Edges may cut. Handle with care.
CAUTION
• Connect fixture to a 120V-277V, 60 Hz power source. Any other connection voids
the warranty.
• Fixture should be installed by persons with experience in household wiring or by a
qualified electrician. The electrical system, and the method of electrically connecting
the fixture to it, must be in accordance with the National Electrical Code and local
building codes.
• Upside down installation can result in overheating or accumulation of water in fixture.
Install right side up.
• This equipment has been tested and found to comply with the limits for
a Class B digital device, pursuant to Part 15 of the FCC Rules. These limits are
designed to provide reasonable protection against harmful interference in a residential
installation. This equipment generates, uses and can radiate radio frequency energy
and if not installed and used in accordance with the instructions, may cause harmful
interference to radio communications. However, there is no guarantee that interfer-
ence will not occur in a particular installation. If this equipment does cause harmful
interference to radio or television reception, which can be determined by turning the
equipment off and on, the user is encouraged to try to correct the interference by one
or more of the following measures:
- Reorient or relocate the receiving antenna.
- Increase the separation between the equipment and receiver.
- Connect the equipment into an outlet on a circuit different from that to which the
receiver is connected.
Questions?/ Des questions? / ¿Preguntas ? 1-800-334-6871 ConsumerProducts@cooperlighting.com
PACKAGING CONTENTS/ CONTENU DE L'EMBALLAGE / CONTENIDO DEL PAQUETE
A. Light fixture
Appareil d'éclairage
Accesorio
B. Light sensor
Capteur du luminaire
Sensor de luz
Instruction Manual / Manuel d'instructions/ Instrucciones
B. Access cover
Cache d'accès
Cubierta de acceso
E. (3) Wire connectors
(3) Capuchons de connexion
(3) Conectores de cables
- Consult the dealer or an experienced radio/TV technician for help.
WARNING: FCC Regulations state that any unauthorized changes or
modifications to this equipment not expressly approved by the manufacturer
could void the user's authorization to operate this equipment.
SAVE THESE INSTRUCTIONS.
MOUNTING AND WIRING YOUR FIXTURE
NOTE: This fixture is intended to be conduit connected to a properly installed and properly
grounded metal weatherproof junction box (not included). All conduit connectors, conduit, and
junction boxes (sold separately) should be cULus Listed suitable for wet locations.
1. Turn off the power at the main fuse/breaker box.
2. Using the pattern on the box, mark and drill holes for mounting.
NOTE: Mount this fixture in an upright and level position.
3. Install the two bottom mounting screws (C) first, leaving enough room between the
mounting screws and the mounting surface to accommodate mounting the fixture.
4. Screw the top mounting screw (C) into the predrilled hole and back the screw out. This
will leave the hole threaded and make installation of the fixture easier.
5. Remove cover plate by loosening the two screws inside the cover plate. Do not remove
the screw.
6. Remove access cover (B) from fixture (A). Install
the first conduit connector and conduit (sold
separately) into the access cover (B) (Fig. 1).
7. Feed supply wires into conduit. Attach ground wire
that is attached to fixture housing (A) to the junction
box earth ground wire.
8. Connect the black fixture wire to the black supply
wire (hot) with UL-approved wire connector (E).
Connect the white fixture wire to the white supply
wire (neutral) with UL-approved wire connector (E).
NOTE: Be careful to connect the wires correctly.
Make sure no bare strands of wire extend from the
wire nut or other approved wire connectors (E).
9. Attach access cover (B) to the light fixture (A)
using the two access cover mounting screws
provided (F) (Fig. 1).
NOTE: Make sure all wiring is placed into the arm prior to tightening the access
cover screws.
10. Place the fixture (A) on the two lower mounting screws (C) and install the upper mounting
screw (C). Tighten all mounting screws to secure the fixture (A).
11. Reinstall the cover plate, making sure to tighten the two screws to secure the lens to the
fixture (A)
1
C. (3) Mounting screws
D. Pole mounting clamp
(3) Vis de montage
Patte pour montage
sur bras
(3) Tornillos de montaje
Abrazadera para
montaje de poste
F. (2) Access cover mounting screws
(2) Vis de montage du cache d'accès
(2) Tornillos de la cubierta de acceso
1
A
Conduit
Conduit
connector
Junction
B
box
Publicidad

Manuales relacionados para Cooper Lighting HALO AL7550LPCGY


Resumen de contenidos para Cooper Lighting HALO AL7550LPCGY
- Página 1 Instruction Manual / Manuel d’instructions/ Instrucciones Questions?/ Des questions? / ¿Preguntas ? 1-800-334-6871 ConsumerProducts@cooperlighting.com PACKAGING CONTENTS/ CONTENU DE L’EMBALLAGE / CONTENIDO DEL PAQUETE A. Light fixture B. Access cover C. (3) Mounting screws D. Pole mounting clamp Appareil d’éclairage Cache d’accès (3) Vis de montage Patte pour montage sur bras...
- Página 2 15 des règlements Cooper Lighting Solutions ("CLS") warrants to customers that, for a period of five years from de la FCC. Ces limites sont conçues pour assurer une protection raisonnable the date of purchase, CLS products will be free from defects in materials and workmanship.
- Página 3 PARTICULIER. Raccordez le fil blanc de l’appareil d’éclairage Cooper Lighting Solutions ("CLS") garantit à ses clients, pendant une période de cinq ans à au fil blanc de l’alimentation (neutre) à l’aide compter de la date d’achat, que ses produits CLS sont exempts de tout défaut de matériaux et d’un capuchon de connexion homologué...
- Página 4 DE COMERCIABILIDAD E IDONEIDAD PARA UN FIN PARTICULAR. sus conexiones y las cajas de conexiones (cómprelos por separado) deben ser Cooper Lighting Solutions ("CLS") garantiza a sus clientes que los productos de CLS no clasificadas cULus para ubicaciones húmedas. presentarán defectos en los materiales y en la fabricación durante un período de cinco años 1.