Tabla de contenido
Publicidad
Enlaces rápidos
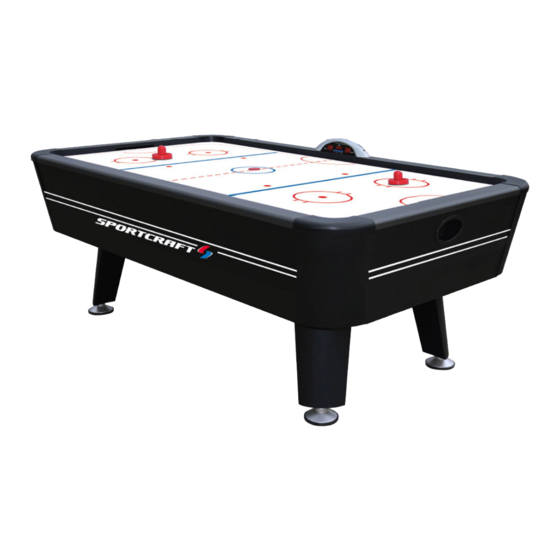
SLAP SHOT
MODEL/MODELO: 92726-SR
84IN AIR POWERED HOCKEY TABLE
Sears Item # 006-66452
INSTRUCCIONES DE ARMADO
Please contact us before returning the product to the store.
email: info@hi-mark.com, toll free 844-675-7364
Por favor póngase en contacto con nosotros antes de devolver el
producto a la tienda.
email: info@hi-mark.com, numero telefonico 844-675-7364
Publicidad
Tabla de contenido

Resumen de contenidos para Sportcraft 92726-SR
- Página 1 SLAP SHOT MODEL/MODELO: 92726-SR 84IN AIR POWERED HOCKEY TABLE Sears Item # 006-66452 INSTRUCCIONES DE ARMADO Please contact us before returning the product to the store. email: info@hi-mark.com, toll free 844-675-7364 Por favor póngase en contacto con nosotros antes de devolver el producto a la tienda.
-
Página 3: Objetos Filosos
¡Felicitaciones por elegir los juegos Sportcraft! Este juego fue fabricado usando materiales de alta calidad para fines recreativos. PRECAUCIÓN: Lea este manual con atención y familiarícese con todas las piezas y contenido antes de comenzar el ensamblaje. ADVERTENCIA: PELIGRO DE ASFIXIA Este juego contiene piezas pequeñas... -
Página 4: Garantía Limita De 90 Dias
English Español LIMITED 90 DAYS WARRANTY GARANTÍA LIMITA DE 90 DIAS This product is covered by a limited warranty that is effective for Este producto está cubierto por una garantía efectiva de 90 días a 90 days from the date of purchase. If, during the limited partir de la fecha de su compra. -
Página 5: Tools Required
English Español Herramientas Necesarias TOOLS REQUIRED Phillips Screwdriver - Not Included Destornillador Phillips - No incluido Power Tools - Set Low Torque Standard (Flat Head Screwdriver) - Not Included Destornillador de Cabeza Plana - No incluido Allen Wrench - Included Llave Allen - Incluido CAUTION ! High Torque... -
Página 6: Important Safety Instructions
English Español IMPORTANT SAFETY INSTRUCTIONS IMPORTANTES INSTRUCCIONES Read all instructions DE SEGURIDAD Lea todas las instrucciones 1. Read all instructions-All the safety and operating instructions should be read carefully before this 1. Lea todas las instrucciones – Todas las instrucciones de hockey game is played. -
Página 7: Part List
Part List 4 pcs / pieza 4 pcs / pieza 12 pcs / pieza 2 pcs / piezas 1 pc / pieza tablero de Lower Side Delantal lateral Pata Connect Board Leg Cap Tapa de pata Cabinet Cabinet Apron inferior conexión 2 pcs / piezas 12 pcs / piezas... - Página 8 FIG 1 FIG 1 1. Fije los tablero decorativo pata (# 14) al pata (#3) 1. Attach the Leg Decorative Boards (#14) to the utilizando seis tornillos (#13) por tablero decorativo Legs (#3) by using six Screws (#13) Per Leg pata.
- Página 9 FIG 3 FIG 3 4. Fije los Delantal lateral inferior(#2) y los Delantal Extremo 4. Attach the Low Side Aprons (#2) and Low End Aprons inferior (# 6) a los delantales usando dos Pernos (# 12), (#6) to the Aprons by using two Bolts (#12), two Washers dos Arandelas (# 11) y una tablero(# 5) por punto.
-
Página 10: Wiring Schematic
6. Attach the Electronic Scorer (#16) to the top rail of table by using two Screws (#8). See below image. 6. Attach the Electronic Scorer (#16) to the top rail of table by using two Screws (#8). See below image. 7 .
