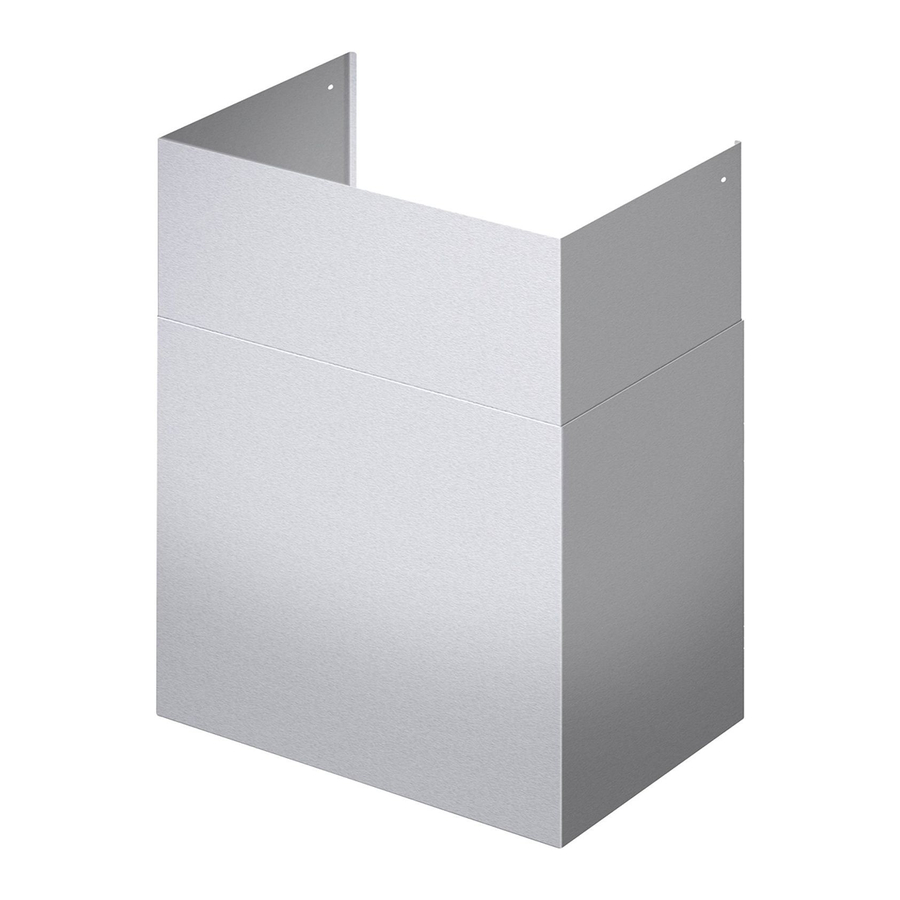
Resumen de contenidos para Thermador CHMHP366W
- Página 1 Installation INSTRUCTIONS For Pro Hood Duct Cover Extensions and Telescoping Extensions THERMADOR.COM...
- Página 2 INSTRUCTIONS For Pro Hood Duct Cover Extensions and Telescoping Extensions Models | Table of Contents (English)..............3 Modèles | Table de Matières (Français) .............. 7 Modelos: Índice de Materias (Español)............11 CHMHP366W CHMHP36TW CHMHP36XTW CHMHP486W CHMHP48TW CHMHP48XTW DC306W DC366W DC426W...
- Página 3 NOTICE: This indicates that damage to the appliance or property may occur as a result of non-compliance with this advisory. Note: This alerts you to important information and/or tips. ® This THERMADOR appliance is made by BSH Home Appliances Corporation 1901 Main Street, Suite 600 Irvine, CA 92614...
-
Página 4: Installation Instructions
8' (2.4 m) and 9' (2.7 m) ceilings. Telescoping extensions accommodate 10' (3 m) ceilings. Pro Hood Duct Cover Extensions Model 6'' Extension HPCN36WS CHMHP366W HPCN48WS CHMHP486W PH30HWS DC306W PH36HWS, PH36GWS DC366W PH42GWS... -
Página 5: Important
Telescoping Extension 3. At the wall stud locations, measure 3½'' (89 mm) down from the ceiling to the top of the bracket. Installation 4. Mount the bracket at the wall stud locations using (2) 1½'' (38 mm) screws (provided). Ensure that the bracket is level. - Página 6 6. Carefully pull the top part of the extension upwards. 7. From inside of hood, screw the supplied 5/8'' (16 mm) Screw the left and right sides of the extension to the sheet metal screws through the holes on each side and along the front into bottom of the extension.
- Página 7 à l'appareil ou à la propriété. Note : Ceci vous avertit que d'importantes informations et/ou conseils sont fournis. Cet appareil électroménager de THERMADOR est fait par BSH Home Appliances LtD 6696 Financial Drive, Unit 3...
-
Página 8: Avant De Commencer
à travers les trous latéraux et avant, Pièces pour cheminée de hotte professionnelle comme illustré sur la Figure. (La quantité de vis fournies dépend des dimensions de la hotte.) Modèle 6'' Rallonge HPCN36WS CHMHP366W HPCN48WS CHMHP486W PH30HWS DC306W PH36HWS, PH36GWS DC366W... -
Página 9: Installation De La Rallonge Coulissante
Installation de la rallonge 3. Le long des montants, mesurez 3½'' (89 mm) entre le plafond et le dessus du support. coulissante 4. Fixez le support aux montants du mur avec deux vis de 1-1/2 po (38 mm) fournies. Assurez-vous que le support est de niveau. - Página 10 6. Tirez doucement la partie supérieure de la rallonge 7. À partir de l’intérieur, vissez à travers les trous latéraux vers le haut. Vissez les côtés gauche et droit de la et avant les vis à tôle de 5/8 po (16 mm) fournies dans rallonge dans le support avec les vis en acier le bas de la rallonge.
- Página 11 Nota: Esto lo alerta sobre información y/o consejos importantes. ® Este electrodoméstico de THERMADOR está hecho por BSH Home Appliances Corporation 1901 Main Street, Suite 600 Irvine, CA 92614 ¿Preguntas?
-
Página 12: Antes De Comenzar
Extensiones de chimenea telescópica de campana y de la parte delantera del alargador, desde el interior profesional de la campana. (La cantidad de tornillos depende del tamaño de la campana.) Modelo 6'' Alargador HPCN36WS CHMHP366W HPCN48WS CHMHP486W PH30HWS DC306W PH36HWS, PH36GWS DC366W PH42GWS... -
Página 13: Instalación De Alargadores De Conducto Telescópicos
Instalación de alargadores de 3. En el lugar donde se encuentran los travesaños, mida 3½'' (89 mm) entre el techo y la parte superior del conducto telescópicos soporte. 4. Instale el soporte donde están colocados los travesaños con los dos tornillos de 1-1/2 pulg. (38 IMPORTANTE: Fije la campana a la pared después de mm) proporcionados. - Página 14 6. Empuje cuidadosamente la parte superior del 7. A partir del interior de la campana, atornille los alargador hacia arriba. Atornille los lados izquierdo y tornillos para chapa de 5/8 pulg. (16 mm) derecho del alargador al soporte de montaje con los proporcionados a través de los agujeros de cada lado y de la parte delantera del alargador.
-
Página 15: Accessories And Parts
Marcone: 1-800-287-1627 peuvent être achetés auprès de nos distributeurs. Marcone: 1-800-287-1627 Reliable Parts: 1-800-663-6060 Reliable Parts: 1-800-663-6060 Marcone: 1-800-287-1627 Reliable Parts: 1-800-663-6060 1901 MAIN STREET, SUITE 600, IRVINE, CA 92614 // 800-735-4328 // WWW.THERMADOR.COM © 2018 BSH Home Appliances Corporation 9001329419...


