Publicidad
Enlaces rápidos
D
Anhängevorrichtung
CZ
Závěsné zařízení
DK
Anhængertræk
E
Enganche
Instrucciones de montaje y de servicio
F
Attelage
Notice de montage et d'utilisation
FIN
Perävaunun vetolaite
GB
Tow bar
Installation and Operating Instructions
GR
∆ιάταξη ζεύξης
H
Vonóhorog
Beszerelési utasítás
I
Gancio di traino
N
Tilhengerfeste
NL
Trekhaak
Montage- en gebruikshandleiding
PL
Hak holowniczy
RUS
Фapкoп
Инструкция по монтажу и эксплуатации
S
Dragkrok
Monterings- och bruksanvisning
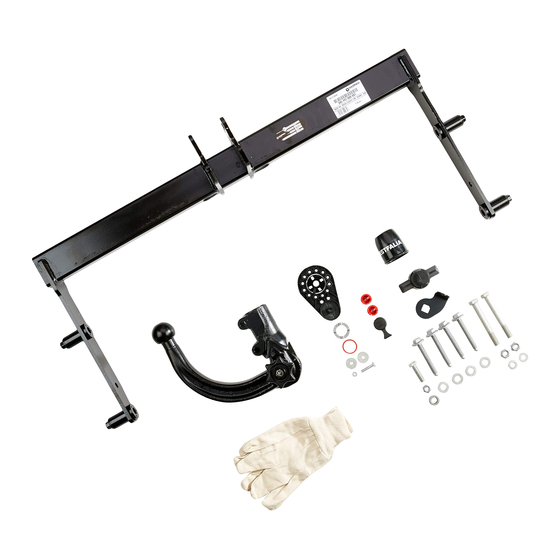
Audi A4 B9
305 447 600 001
Westfalia-Automotive GmbH
Am Sandberg 45
D-33378 Rheda-Wiedenbrück
Montage- und Betriebsanleitung, Originalbetriebsanleitung
Montážní a provozní návod
Montage- og driftsvejledning
Asennus- ja käyttöohjeet
Οδηγίες συναρμολόγησης και λειτουργίας
Istruzioni di montaggio e per l'uso
Monterings- og bruksanvisning
Instrukcja montażu i eksploatacji
Audi A4
Allroad Quattro
55R - 01 4101
TYPE
305 447
A 50-X
CLASS
PN
A4 Allroad Quattro
D-VALUE
D
11,2 kN
MAX. VERT. LOAD
S
85 kg
CHARGE
Audi A4 B9,
305 447 691 101 - 001
Publicidad

Manuales relacionados para Westfalia 305 447 600 001


Resumen de contenidos para Westfalia 305 447 600 001
- Página 1 55R - 01 4101 D-VALUE TYPE 11,2 kN 305 447 MAX. VERT. LOAD A 50-X CLASS 85 kg CHARGE 305 447 600 001 Audi A4 B9, A4 Allroad Quattro Westfalia-Automotive GmbH Am Sandberg 45 D-33378 Rheda-Wiedenbrück 305 447 691 101 - 001...
- Página 2 305 447 691 101 - 001...
- Página 3 19kg x+19kg 305 447 691 101 - 001...
- Página 4 Achtung: Sämtliche Befestigungselemente (Schrauben, Scheiben, Muttern usw.) die drehwinkelgesteuert angezogen werden, dürfen nur 1x zum Montieren genutzt werden! Pozor: všechny montážní elementy (šrouby, podložky, matice), které se utahují v závislostí na újlu natočení, se mohou při montování použit jen jednou! Obs.: Samtlige befæstelsesdele, der spændes fast (skruer, skiver, møtrikker osv.), må...
- Página 5 305 447 691 101 - 001...
- Página 6 2x 12,5x30x3 2x 12,5x30x3 2x M10x75 2x M10x75 M10x75 60Nm + 90° 10,5x20x2 10,5x20x2 Audi A4 B9 Audi A4 Allroad Quattro 2x M12 2x M12 2x 12,5x30x3 10,5x20x2 10,5x20x2 2x 12,5x30x3 M10x40 M10x40 2x 12,5x30x3 2x 12,5x30x3 2x M12x100 2x M12x100 M10x40 40Nm M12x100...
- Página 7 305 447 691 101 - 001...
- Página 8 Der Freiraum nach Anhang 7, Abbildung 25a und 25b der Richtlinie ECE-R 55 ist zu gewährleisten. Volný prostor ve smyslu Přílohy 7, obr. 25a a 25b směrnice ECE-R 55 musí být zaručen. Det skal sikres, at der er spillerum i overensstemmelse med bilag 7, fig.
- Página 9 Operating instructions for the detachable ball bar Important! Check the following points to ensure correct locking of the detachable ball bar before each journey: • The green marking on the handwheel is aligned with the green area on the ball bar. •...
- Página 10 Installation of the ball bar: Remove the plug from the receiver. The ball bar is usually in the unlocked position when it is removed from the boot of the vehicle. This is the case if there is a visible gap of approx. 5 mm between the handwheel and the ball bar (see diagram) and the red marking on the handwheel is aligned with the green marking on the ball bar.