Publicidad
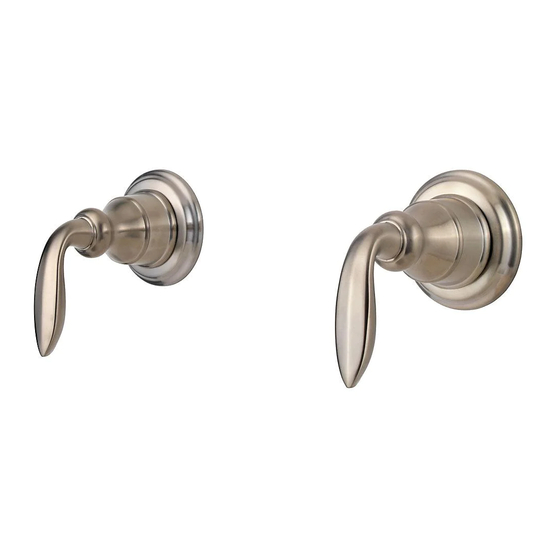
2 Handle Tub & Shower Upgrade
2 Handle Tub & Shower Upgrade
La mejora de tina y ducha en 2 manijas
La mejora de tina y ducha en 2 manijas
La amélioration de bain et douche dans 2
La amélioration de bain et douche dans 2
1-800-PFAUCET (1-800-732-8238) or visit www.pfisterfaucets.com
Español:
Para obtener información mediante llamadas gratis,
llame al 1-800-PFAUCET
(1-800-732-8238) o visite www.pfisterfaucets.com
• Apoyo a instaladores
• Información sobre cuidado y garantías
Copyright © 2020, Pfister Inc.
■S10-40■
poignées
poignées
1-800-PFAUCET (1-800-732-8238)
For Toll-Free Pfaucet information call
• Installation Support
• Care and Warranty Information
Français:
Pour les renseignment concernant le service san
frais de Pfaucet, appelez 1-800-PFAUCET (1-800-
732-8238) appel ou visite www.pfisterfaucets.com
• Assistance à l'installation
• Informations sur l'entretien et la garantie
12568-36
January 15, 2020
35134-0300
Publicidad
Tabla de contenido

Manuales relacionados para Pfister Avalon S10-40


Resumen de contenidos para Pfister Avalon S10-40
- Página 1 732-8238) appel ou visite www.pfisterfaucets.com (1-800-732-8238) o visite www.pfisterfaucets.com • Apoyo a instaladores • Assistance à l’installation • Informations sur l’entretien et la garantie • Información sobre cuidado y garantías January 15, 2020 35134-0300 12568-36 Copyright © 2020, Pfister Inc.
-
Página 2: Before Proceeding
This product should be installed in accordance with all local and state plumbing and building codes. WARNING: This product has been designed for use with the Price Pfister 03, 05, or 07 series valve. It will not work with any other product. - Página 3 4 COMPONENT REMOVAL For removal of HOT and COLD Water Valves (4A/4B), be sure Stems (4C) are in the full ON position and water is turned off. Remove old unit such as Trim (4D), Flanges (4E), Nipples (4F) and Valves (4A/4B), as shown. Clean the mounting surface thoroughly.
-
Página 4: Instalación De Los Nuevos Componentes
6 NEW COMPONENT INSTALLATION Insert Rubber Washers (6A), Hot/Cold Valves (6B/6C) into existing Valve Body (6E). Set Stems (6F) in the CLOSED position. Position Flanges (6G) on Valves (6B/6C) with Drain Hole (6H) at the bottom. Screw Retainer Sleeves (6J) onto threaded section of the Stem (6F). - Página 5 7 SHOWER ARM INSTALLATION Remove existing Shower Arm and Shower Flange. Insert the long end of Shower Arm (7A) through the Shower Flange (7B). Apply PTFE plumber's tape to both ends of Shower Arm (7A) according to manufacturer's instructions. Screw the end of Shower Arm (7A) into pipe elbow inside the wall.
- Página 6 For warranty information go to www.pfisterfaucets.com Para la información de la garantía vaya a www.pfisterfaucets.com Pour l’information de garantie allez à www.pfisterfaucets.com Pfister Pfister Pfister Garantía Mecánica y sobre el Lifetime Limited Mechanical Une garantie limitée à vie pour ce qui est Acabado Limitada de por Vida &...