Publicidad
Enlaces rápidos
• Shut off the water supply.
Abastecimiento de agua cerrado.
Couper l'alimentation en eau.
fitting.
Sustituyendo una instalación existente, quite el
montaje viejo.
Si remplaçant une installation existante, enlevez
le vieux raccord.
Clean the sink mounting surfaces for your new
•
fitting
Fregadero limpio en toda superficie para su nueva
instalación.
Nettoyer les surfaces de montage de lavabo pour
votre nouvelle installation.
remove the old
43-010
43-011
43-018
43-019
Publicidad

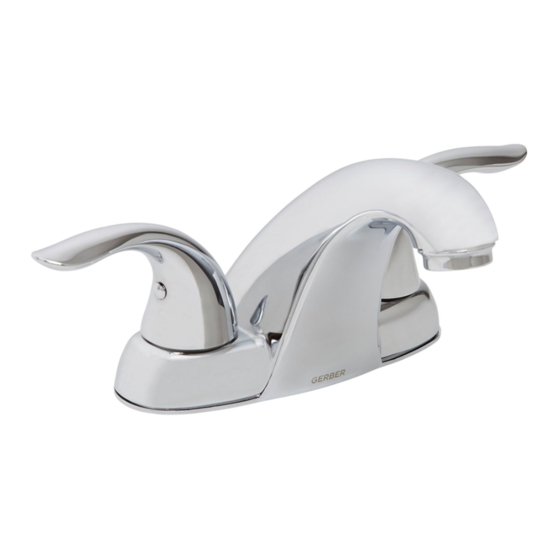
Resumen de contenidos para Gerber 43-010
- Página 1 Si remplaçant une installation existante, enlevez le vieux raccord. Clean the sink mounting surfaces for your new • fitting Fregadero limpio en toda superficie para su nueva instalación. Nettoyer les surfaces de montage de lavabo pour votre nouvelle installation. 43-010 43-011 43-018 43-019...
- Página 2 INSTALLATION STEPS / PASOS PARA LA INSTALACIÓN / ÉTAPES D’INSTALLATION : Install the faucet through the holes. Instale el grifo a través del orificios de montaje. Insérer le robinet dans les trous de montage. Figure 1 Attach the channel washer onto the threaded rods. Then use a wrench to tighten the Note: If the deck thickness (including tile) is less than 1/2"...
- Página 3 Apply the pipe tape to the threads of the inlet ports. Aplique cinta de teflón a las roscas de las entradas. Appliquer du ruban pour tuyau sur les filets des orifices d’entrée. Figure 3 Slip the coupling nut onto the inlet port and tighten the end of shank with a wrench.
- Página 4 Touch Down Drain Installation Instructions / Instrucciones para la instalación del desagüe touch down / Instructions d’installation de la bonde de vidange manuelle Check to make sure you have the following parts indicated below: Verifique que tenga todas las partes indicadas: Vérifier pour vous assurer que vous possédez les pièces au bas : 1.
- Página 5 For drain cartridge replacement or cleaning Para sustituir o limpiar el cartucho de desagüe Pour remplacer ou nettoyer la cartouche de renvoi Remove the cartridge (2) from the drain: Reinstall the cartridge (2) into the drain collar, thread on the stopper cap.
- Página 6 POP-UP DRAIN INSTALLATION / INSTALACIÓN DEL DESAGÜE LEVADIZO / INSTALLATION DE LA VIDANGE MÉCANIQUE Main plunger Lift rod Tapón del desagüe Varilla levadiza Dispositif principal Tige de levage de fermeture mobile Flange Thumb screw Brida Tornillo Bride Vis à oreilles Lift rod strap Prolongaci de varilla levadiza Sangle de tige de levageón...
- Página 7 Thread the lock nut (11) from underside of the sink until the rubber washer sits securely inside opening of sink. Tighten the lock nut. Enrosque la contratuerca (11) por debajo del lavabo hasta que el empaque de caucho se asegure dentro del orificio del lavabo.
- Página 8 Trouble-Shooting / Guía de Solucionar Problemas / Dépannage If you've followed the instructions carefully and your faucet still does not work properly, take these corrective steps. Si usted ha seguido las instrucciones cuidadosamente y su grifo todavía no funciona correctamente, sigue estos pasos correctivos.

