Tabla de contenido
Publicidad
Enlaces rápidos
Publicidad
Tabla de contenido

Manuales relacionados para Franke FF2700 Serie


Resumen de contenidos para Franke FF2700 Serie
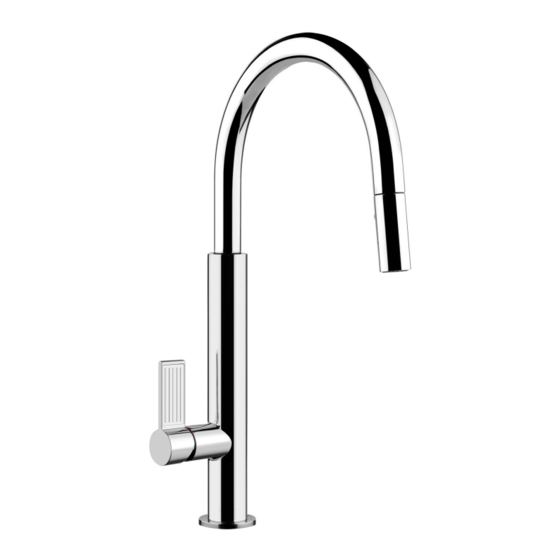
- Página 1 FF2700-FF2780 SERIES Pull-Out Spray Faucet Installation guide...
- Página 2 Pre-installation information - Préliminaires - Preliminares Fig. 1...
-
Página 3: Technical Features
Pre-installation information - Préliminaires - Preliminares Before installation and start-up Attention! The supply pipes have to be rinsed thoroughly before the installation of the mixer, so that no shavings, welding or hemp residues or other dirt are left in the pipes. Foreign bodies can enter the mixer through the rinsed pipes or the general water plant and could damage the washers/O-rings. - Página 4 Pre-installation information - Préliminaires - Preliminares - Complying with these indications will maintain the guarantee rights, ensures the declared properties of the products and guarantees full reliability. - Le respect de ces indications, assure les droits de garantie, garantit les caractéristiques déclarées des produits et il en assure la complète fiabilité.
- Página 5 Pre-installation information - Préliminaires - Preliminares - Prolonged contact with any even low aggressive substance can cause external braid damage and subsequent burst of the hose. - Le contact prolongé avec des substances même peu agressives peut provoquer la détérioration de la tresse et l’éclatement conséquent du flexible.
-
Página 6: Package Content
Pre-installation information - Préliminaires - Preliminares Fig. 2 Package content: 1 - Mixer 2 - Fastening set 3 - Lead counterweight 4 - Check valve-holder 5 - Wrench for aerator 6 - Allen wrench Contenu de l’emballage: 1 - Mèlangeur 2 - Set de fixage 3 - Poids en plomb 4 - Porte-vanne de non retour... - Página 7 Pre-installation information - Préliminaires - Preliminares Fig. 3 13/16” 1/2” [20 mm] [13 mm] 5/8” [16 mm] - Installation tools - Outils nécessaires pour l’installation - Herramienta necesaria para la instalación...
- Página 8 Pre-installation information - Préliminaires - Preliminares Fig. 4 The mixer can be installed both with the control positioned on the right side, and with the control positioned on the left side; this is possible thanks to 360° spout rotation. If the control is installed on the right side hot water is obtained turning it forward and cold water turning it backward.
- Página 9 Installation - Installation - Instalación Fig. 5 Fig. 6 Fig. 7 Fig. 8 Fig. 9 5/8” [16 mm] Blue 13/16” [20 mm] Cold 1/2” [13 mm]...
-
Página 10: Instalación
Installation - Installation - Instalación INSTALLATION Before inserting the single lever group in the hole of the sink, make sure that the base gasket is properly positioned in its seat and that the flexible hoses are well tightened to the body of the tap. Place the single lever group in the hole of the sink, orienting the spout toward the sink tank. - Página 11 Use - Usage - Uso Fig. 10 Fig. 11 COLD Fig. 12 Fig. 13a Fig. 13b 360° PUSH...
- Página 12 Use - Usage - Uso - Open the handle to the right to start water supply; the more the handle is opened the more water is supplied. When idle the handle is placed with the lever towards the top and when opened cold water is supplied - Turn up the handle to open cold water, turn it down to open hot water.
- Página 13 Maintenance - Entretien - Manutención Fig. 14 Spare parts: Piezas de repuesto: 1 - Complete lever 1 - Palanca completa 2 - Metal ring 2 - Virola de fijación del cartucho 3 - Cartridge 3 - Cartucho 4 - Fastening set 4 - Juego de fijación 5 - Supply hoses 5 - Flexibles de alimentación...
- Página 14 Maintenance - Entretien - Manutención Fig. 15 Fig. 16 1/8” [2,5 mm] Fig. 17 Fig. 18 1-1/16” [27 mm] Fig. 19 Fig. 20...
-
Página 15: Cartridge Replacement
Maintenance - Entretien - Manutención CARTRIDGE REPLACEMENT Before carrying out this operation make sure that water supply is turned off. Remove the finish plug paying attention not to damage it and unscrew the screw (A) to extract the handle (B).Lift the finishing ring nut (C) using the reference notch. Take away the indicator ring (D) and, using the wrench (E) supplied, unscrew the fastening ring nut (F) and remove the damaged cartridge (G) from the body of the mixer. -
Página 16: Limpieza / Sustitución Del Aireador
Maintenance - Entretien - Manutención Fig. 21 Fig. 22 Supplied Fourni Incluido en el suministro AERATOR CLEANING / REPLACING Before carrying out this operation make sure that water supply is turned off. If the supply is not fluid unscrew the aerator using the wrench supplied and remove it from its seat. If the aerator is clogged just rinse it with running water, without using detergents. - Página 17 Damage caused by impurities or acts beyond our control are not covered. Any product or part which has been repaired or altered in any manner outside of Franke’s factory, unless previously authorized in writing by Franke, will void warranty. Any replacement excludes transportation and any labor re-installation costs.
-
Página 18: Conditions De Garanties À Vie
Conditions de garanties à vie Franke consumer Products. Inc. kitchen systems division étend la durée de sa garantie. A partir du 01 janvier 2003, le produit est garanti à vie ( en référence à la personne ayant acheté le produit.). -
Página 19: Condiciones De Garantìa Limitada A Vida
La presente garantìa concierne todos los elementos ata- dos a la funciòn del produco. Franke, a su jucio, podrà arreglar o reemplazar el produco o los miembros necesarios a restablecer el buen funcionamiento del mismo. Franke se reserva el derecho a inspeccio- nar el produco antes de la sustituciòn del mismo o sus partes. - Página 20 ET 41929 - R0...