Tabla de contenido
Publicidad
Idiomas disponibles
Idiomas disponibles
Enlaces rápidos
KOBALT and logo design are trademarks or registered
trademarks of LF, LLC. All rights reserved.
ATTACH YOUR RECEIPT HERE
Serial Number
Questions, problems, missing parts? Before returning to your retailer, call our
customer service department at 1-888-3KOBALT (1-888-356-2258), 8 a.m. - 8 p.m., EST,
Monday - Sunday.
SM20259
Purchase Date
1
SCAN ME
A STEP-BY-STEP VIDEO ON HOW
TO ASSEMBLE & THE TOOLS
NEEDED
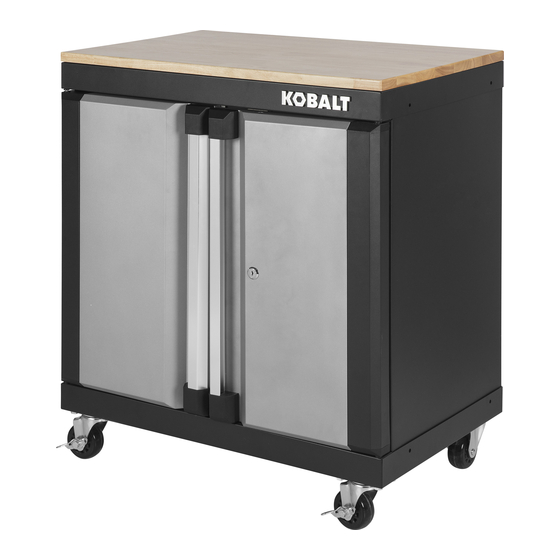
ITEM #2368779
28-IN 2-DOOR
BASE CABINET
MODEL #0019002
Español p. 11
Publicidad
Capítulos
Tabla de contenido
Solución de problemas

Manuales relacionados para Kobalt 0019002


Resumen de contenidos para Kobalt 0019002
- Página 1 ITEM #2368779 28-IN 2-DOOR BASE CABINET MODEL #0019002 Español p. 11 KOBALT and logo design are trademarks or registered trademarks of LF, LLC. All rights reserved. ATTACH YOUR RECEIPT HERE Serial Number Purchase Date Questions, problems, missing parts? Before returning to your retailer, call our customer service department at 1-888-3KOBALT (1-888-356-2258), 8 a.m.
-
Página 2: Tabla De Contenido
TABLE OF CONTENTS Package Contents...........................3 Hardware Contents..........................4 Safety Information..........................4 Preparation ............................5 Assembly Instructions........................6 Troubleshooting ..........................10 Warranty ............................10 Replacement Parts List ........................ 10 PRODUCT SPECIFICATIONS COMPONENTS SPECIFICATIONS Maximum load for wood top 100 lbs. Maximum load for bottom shelf 100 lbs. Maximum load for adjustable shelf 100 lbs. -
Página 3: Package Contents
PACKAGE CONTENTS PART DESCRIPTION QUANTITY PART DESCRIPTION QUANTITY Left back panel Adjustable shelf Right back panel Left door Left side panel Right door Right side panel Fixed caster Base panel Swivel caster with brake Top panel Wood top Bottom shelf... -
Página 4: Hardware Contents
HARDWARE CONTENTS (shown actual size) ST4.8 x 10 mm M8 x 25 mm M8 mm Spring M8 mm Flat Screw Bolt washer washer Qty. 12 + 2 Qty. 16 + 2 Qty. 16 + 2 Qty. 16 + 2 Lock (Preassembled to (Preassembled to right door(J)) -
Página 5: Preparation
SAFETY INFORMATION CAUTION • Do not exceed maximum load capacities listed in Product Specifications on Page 2. • When storing articles, equally distribute loads. Always balance the loads to avoid tipping. • Place more than half the total load weight on the bottom cabinet when possible. •... -
Página 6: Assembly Instructions
ASSEMBLY INSTRUCTIONS 1. Slide preassembled screws in left back panel (A) into key slots of right back panel (B) to connect the two back panels together. Tighten the screws. Note: Be sure to keep the back panels on a soft surface, such as carpeting or a piece of cardboard, to protect them from scratches. - Página 7 ASSEMBLY INSTRUCTIONS 3. Align the base panel (E) with the assembled unit from Step 2 carefully. Tap the base panel (E) into the unit until the clips are secured tightly. Repeat this step to attach the top panel (F) to the assembled unit.
- Página 8 ASSEMBLY INSTRUCTIONS 5. Mount the two fixed casters (K) to the base panel (E) using M8 x 25 mm bolts (BB), M8 mm spring washers (CC) and M8 mm flat washers (DD). Repeat this process for the swivel casters with brake (L) on the opposite side of the base panel (E).
- Página 9 ASSEMBLY INSTRUCTIONS 7. Lift and pull the L-shaped pivot pin on the tooltip edge of the left door (I), aligning the assembling holes of the base panel (E) and top panel (F), then release. Repeat for right door (J).
-
Página 10: Troubleshooting
TROUBLESHOOTING PROBLEM POSSIBLE CAUSE CORRECTIVE ACTION Screw(s) will not 1. Natural properties of sheet 1. Place screws into all aligned holes align into hole(s). metal cause slight changes in and hand tighten. Push a 3/8 in. pre-drilled hole location. hole-punch through both holes to force the alignment. -
Página 11: Gabinete Base Con 2 Puertas De 71,12 Cm
GABINETE BASE CON 2 PUERTAS DE 71,12 CM MODELO # 0019002 KOBALT y el diseño del logotipo son marcas comerciales o marcas registradas de LF, LLC. Todos los derechos reservados. ADJUNTE SU RECIBO AQUÍ Número de serie Fecha de compra ¿Preguntas, problemas, piezas Flatantes? Antes de volver a la tienda, llame a nuestro... -
Página 12: Especificaciones Del Producto
ÍNDICE Contenido del paquete........................13 Aditamentos........................14 Información de seguridad.......................14 Preparación...........................15 Instrucciones de ensamblaje......................16 Solución de problemas........................20 Garantía............................20 Lista de piezas de repuesto......................20 ESPECIFICACIONES DEL PRODUCTO COMPONENTES ESPECIFICACIONES Carga máxima para la cubierta de madera 45,35 kg Carga máxima para la repisa inferior 45,35 kg Carga máxima para la repisa ajustable 45,35 kg... -
Página 13: Contenido Del Paquete
CONTENIDO DEL PAQUETE PIEZA DESCRIPCIÓN CANTIDAD PIEZA DESCRIPCIÓN CANTIDAD Panel posterior izquierdo Repisa ajustable Panel posterior derecho Puerta izquierda Panel lateral izquierdo Puerta derecha Panel lateral derecho Rueda fija Panel de base Rueda giratoria con freno Panel superior Cubierta de madera Repisa inferior... -
Página 14: Aditamentos
ADITAMENTOS (se muestran en tamaño real) ST 4,8 x 10 mm M8 x 25 mm Arandela de Arandela plana Tornillo Perno resorte M8 mm M8 mm Cant. 12 + 2 Cant. 16 + 2 Cant. 16 + 2 Cant. 16 + 2 Cerradura Llave (Preensamblada a la... -
Página 15: Preparación
INFORMACIÓN DE SEGURIDAD PRECAUCIÓN • No exceda las capacidades de carga máximas que se indican en las Especificaciones del producto en la página 12. • Al almacenar artículos, distribuya las cargas por igual. Siempre equilibre las cargas para evitar vuelcos. •... -
Página 16: Instrucciones De Ensamblaje
INSTRUCCIONES DE ENSAMBLAJE 1. Deslice los tornillos preensamblados en el panel posterior izquierdo (A) en las ranuras para llaves del panel posterior derecho (B) para conectar los dos paneles posteriores. Apriete los tornillos. Nota: asegúrese de mantener los paneles posteriores sobre una superficie suave, como una alfombra o un trozo de cartón, para evitar rayarlos. - Página 17 INSTRUCCIONES DE ENSAMBLAJE 3. Alinee el panel de base (E) con la unidad ensamblada del Paso 2 con cuidado. Golpee el panel de base (E) en la unidad hasta que los sujetadores estén bien firmes. Repita este paso para fijar el panel superior (F) a la unidad ensamblada.
- Página 18 INSTRUCCIONES DE ENSAMBLAJE 5. Monte las dos ruedas giratorias fijas (K) en el panel base (E) con pernos M8 x 25 mm (BB), arandelas de resorte M8 mm (CC) y arandelas planas M8 mm (DD). Repita este proceso para las ruedas giratorias con freno (L) en el lado opuesto del panel base (E).
- Página 19 INSTRUCCIONES DE ENSAMBLAJE 7. Levante y jale del pasador giratorio en forma de L ubicado en el borde de la puerta izquierda (I), alinee los orificios de ensamblaje del panel de base (E) y el panel superior (F), luego suelte. Repita para la puerta derecha (J).
-
Página 20: Solución De Problemas
SOLUCIÓN DE PROBLEMAS PROBLEMA CAUSA POSIBLE ACCIÓN CORRECTIVA Los tornillos no 1. Las propiedades naturales de 1. Coloque los tornillos en todos los están alineados la placa de metal causan ligeros orificios alineados y apriételos a mano. con los orificios. cambios en la ubicación del Coloque un perforador de 3/8"...