Tabla de contenido
Publicidad
Idiomas disponibles
Idiomas disponibles
Enlaces rápidos
Publicidad
Tabla de contenido

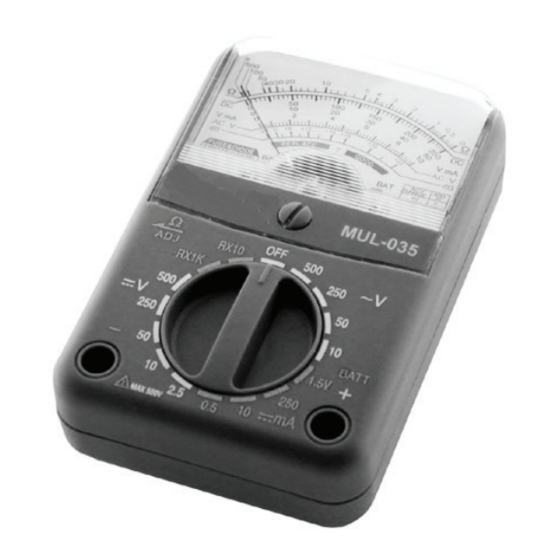
Resumen de contenidos para Steren MUL-035
-
Página 2: General Specifications
Before using your new Analog Multimeter, please read this Before using your new Analog Multimeter, please read this instruction manual to prevent any damage. Put them away instruction manual to prevent any damage. Put them away in a safe place for future references. in a safe place for future references. -
Página 3: Measuring Dc Current
OPERATION CAUTION The maximum input for current and voltage measuring are 500VAC, 500VDC and 250mA DC MEASURING DC / AC VOLTAGE If you are measuring a high-voltage, do not touch the testing If you are measuring a high-voltage, do not touch the testing points. -
Página 4: Replacing The Fuse
3.- Do the measure. 4.- Read the value of the resistance in the green Ohm scale. If you cannot set the arrow to zero, you must change the If you cannot set the arrow to zero, you must change the battery. -
Página 6: Especificaciones Generales
Antes de utilizar su nuevo Multímetro Analógico de Bolsillo Antes de utilizar su nuevo Multímetro Analógico de Bolsillo lea este instructivo para evitar cualquier mal lea este instructivo para evitar cualquier mal funcionamiento. Guárdelo para futuras referencias. funcionamiento. Guárdelo para futuras referencias. ESPECIFICACIONES GENERALES Este nuevo multímetro está... -
Página 7: Operacion
de poner la aguja del panel a cero del lado izquierdo, posteriormente como lo es en el caso de ohms, hay una perilla de lado izquierdo lateral, inserte las puntas negro con (-) y rojo con (+), junte las puntas de los banana y en la escala Rx10 notará... -
Página 8: Medicion De Resistencia
MEDICION DE RESISTENCIA Instale una batería “AA” para medir la resistencia. PRECAUCION: No aplique voltaje a las terminales mientras el switch selector esté en la posición Ohms. 1. Conecte las puntas de prueba en “-” y las entradas “+” y “-”. 2. -
Página 9: Probador De Bateria
Inserte la pila “AA” en el compartimiento de la batería, observando la polaridad correcta. Nunca deje una pila vieja en su aparato. Retire la batería cuando no vaya ha usar su aparato por más de una semana. PROBADOR DE BATERIA 1. - Página 10 WARRANTY This Steren product is warranted under normal usage agains defects in workman- ship and materials to the original purchaser for one year from the dat of purchase. CONDITIONS 1.- This warranty card with all the required information, invoice or purchase ticket, product box or package, and product, must be presented when warranty service is required.
-
Página 11: Póliza De Garantía
1.- Para hacer efectiva la garantía, presente ésta póliza y el producto, en donde fue adquirido o en Electrónica Steren S.A. de C.V. 2.- Electrónica Steren S.A de C.V. se compromete a reparar el producto en caso de estar defectuoso sin ningún cargo al consumidor. Los gastos de transportación serán cubiertos por el proveedor.


